


使用到的数据库软件为
mariadb-server.x86_64
数据目录在/var/lib/mysql
主配置文件为 /etc/my.cnf.d/mariadb-server.cnf
服务启动脚本为 /usr/lib/systemd/system/mariadb.service
软件安装完成后 启动服务
systemctl enable --now mariadb
初始化脚本为
mysql_secure_installation
按顺序为
询问数据库原始密码,没有密码直接回车
是否设定数据库管理员密码
是否禁止匿名用户登录
是否禁止管理员通过远程登陆
是否删除测试库
是否刷新数据库
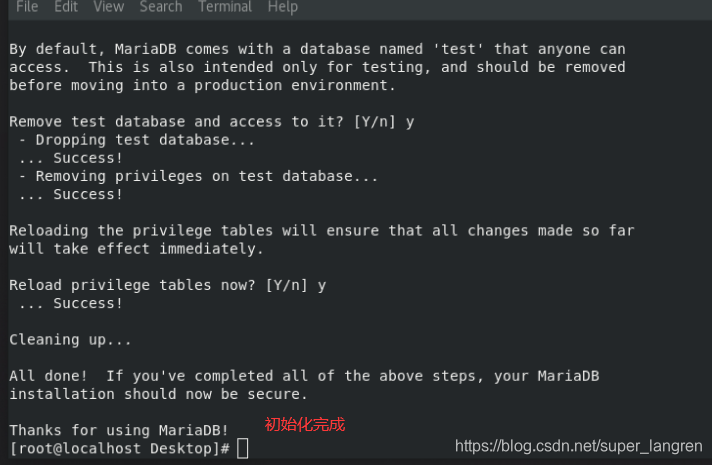
完成后使用命令可登录数据库、
mysql -uroot -p

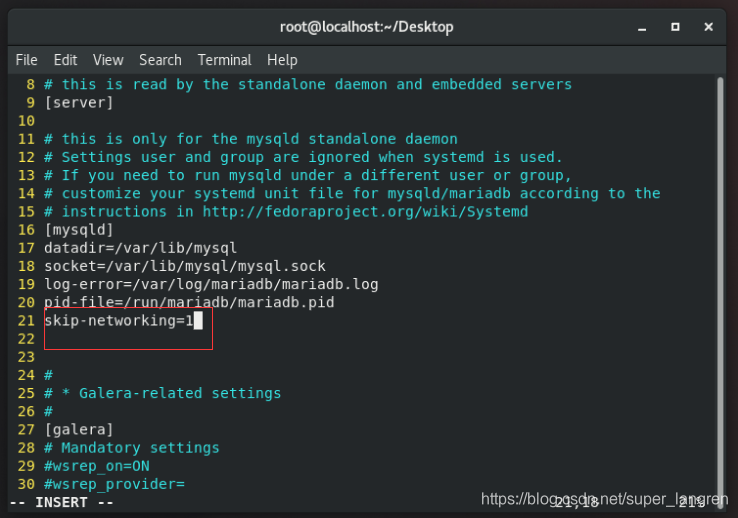
默认情况下数据库对外开放网路端口为3306 一般在企业中需要关闭
修改文件 /etc/my.cnf.d/mariadb-server.cnf
在21行添加 skip-networking=1#关闭数据库网络端口
在数据库软件中
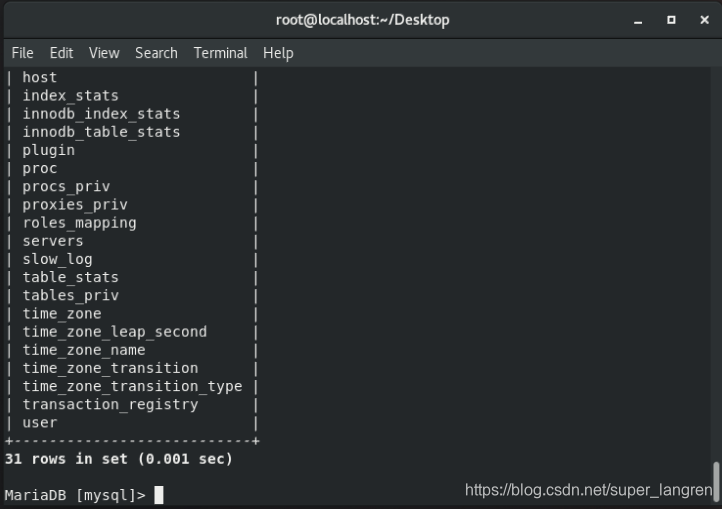
show databases; #显示库名称
use mysql; #进入mysql库
show tables; #显示库中所有表
select * from user; #查询user中所有数据
select Host,User,Password from user #查询user中指定字段

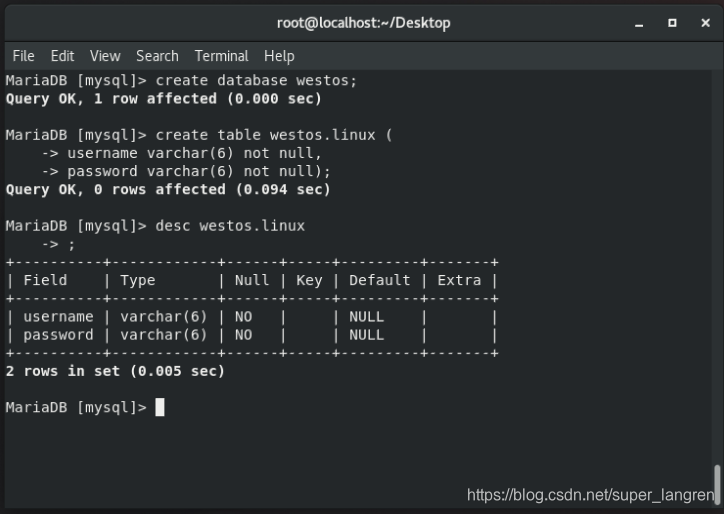
建立库
create database westos; #建立westos库
create table westos.linux ( username varchar(6) not null, password varchar(30) not null );
#建立westos库下表格linux username列格式为varchar 长度为6 不能为空,password列格式为varchar 最大长度为30 不能为空
desc westos.linux; #查看表格结构
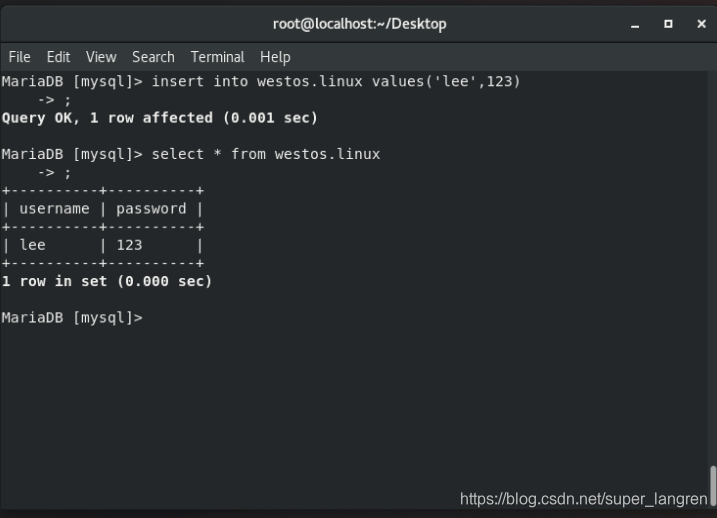
insert into westos.linux values (‘lee’,123); #在westos库中的linux 表格中插入内容 lee 123
insert into westos.linux values (‘lee1’,123),(‘lee2’,123); #在表格中插入多条内容
alter table linux rename userlist; #更改表格linux 名称为userlist
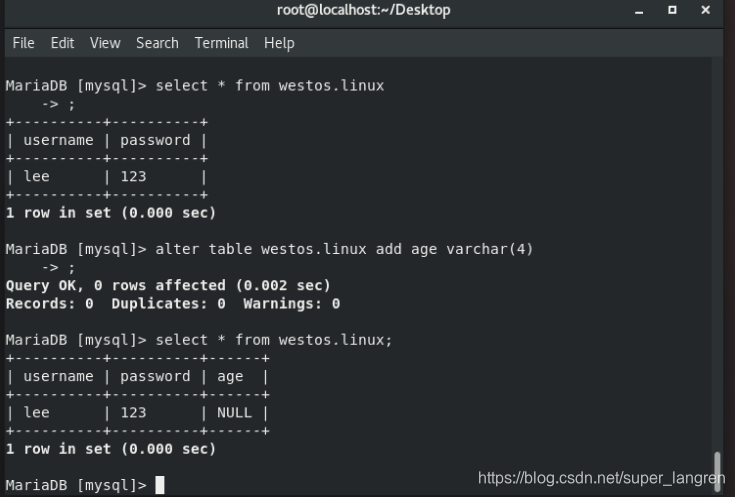
alter table linux add age varchar(4); #在表格linux 中添加列age 最大长度为4个字符
alter table linux drop age; #删除age列
alter table linux add age varchar(4) after username;#在username列后面添加age列
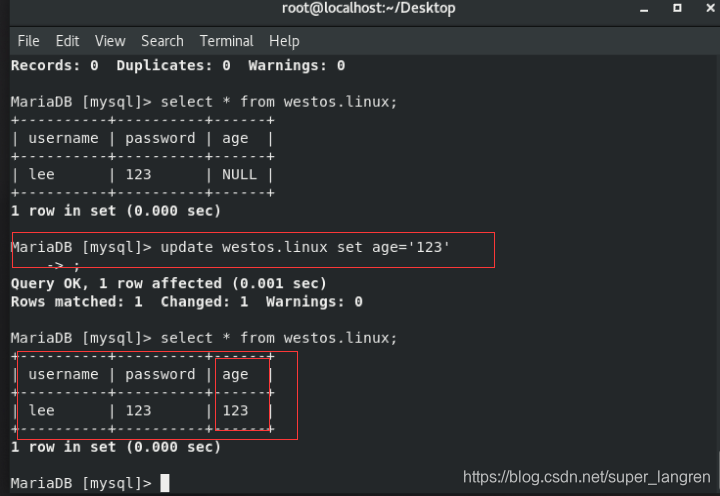
update linux set age=‘123’;#修改所有的age 为123
update linux set age=‘18’ where username=‘lee1’ #修改username为lee1 的数据的 age为18
delete from linux where username=‘lee’ and age=‘123’; #删除username为lee 且age=123 的数据
drop table westos.linux; #删除表格linux
drop database westos; #删除数据库westos
##root 用户密码更改
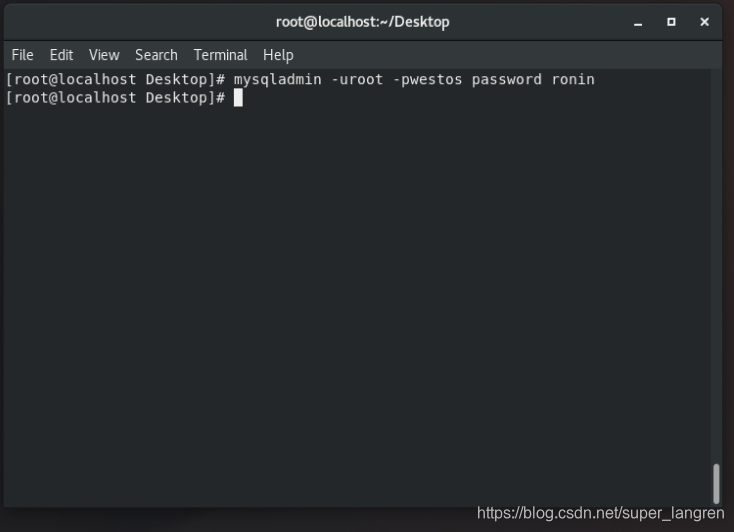
#知道原始密码的情况下可以直接修改密码
mysqladmin -uroot -p原密码 password 更改后的密码
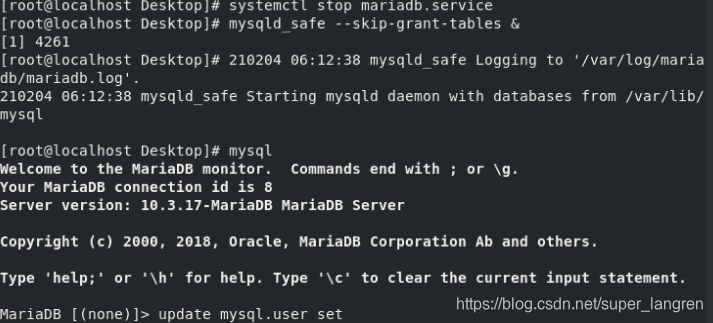
#忘记原密码的情况下可以跳过授权表运行数据库
使用命令
systemctl stop mariadb
mysqld_safe --skip-grant-tables &
两条命令跳过授权表运行数据库
命令mysql
进入数据库中
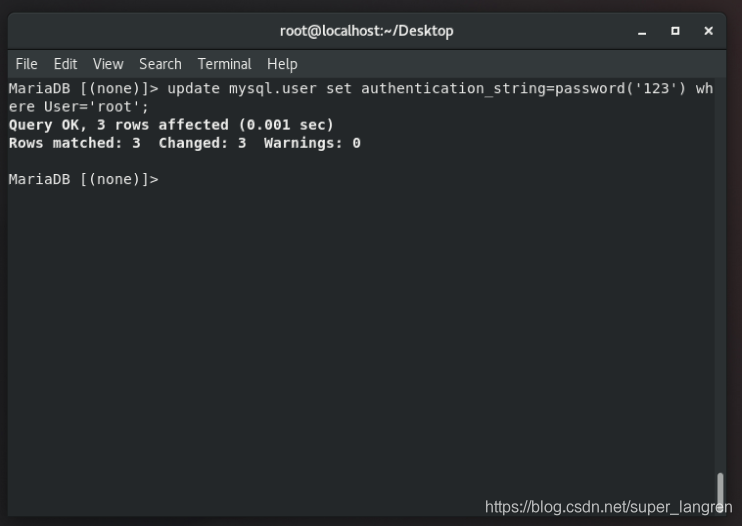
使用命令
update mysql.user set authentication_string=passwrod(‘123’) where User=‘root’;
更改root用户密码为123
#数据库用户授权
###建立数据库用户
create user 用户名@localhost identified by ‘密码’
建立本机登陆的数据库用户
create user 用户名@’%’ identified by ‘密码’
#%表示此用户可以通过网络登录数据库 可网络登录的前提是 开启了数据库的网络端口
用户建立后 可以使用命令
mysql -u用户名 -p密码 #明文密码登录数据库
mysql -u用户名 -p密码 -h192.168.1.1 #使用网络链接数据库
root 用户建立的数据库不会被普通用户所查看
数据库中的权限管理
使用root用户登录数据库
使用命令
grant select on 数据库名.* to 用户名@localhost;#使指定数据库可以被指定用户执行select命令
查看授权
show grants for 用户名@localhost;#查看指定用户对于指定数据库 的权限
取消授权
revoke 权限 on 数据库名.* from 用户名@localhost
#数据库的备份
在shell中
mysqldump -uroot -p mysql > /mnt/mysql.sql #备份mysql库
mysqldump -uroot -p mysql --no-data> /mnt/mysql.sql #备份mysql库的库结构 不备份库中的数据
mysqldump -uroot -p --all-databases > /mnt/all.sql #备份所有库到指定文件
mysqldump -uroot -p --all-databases --no-data > /mnt/all.sql #备份所有库到指定文件 不备份库中的数据
备份库的还原
mysql -uroot -p -e “create database westostest;” #建立westostest库
mysql -uroot -p westostest< /mnt/westostest.sql #将备份文件还原到数据库中
图形化的管理数据库
在服务端安装完成
httpd php php-mysqllnd.x86_64 三个软件
启用httpd 服务 并使httpd服务可以通过防火墙
firewall-cmd --permanent --add-service=http
重新加载防火墙
firewall-cmd --reload
下载phpMyAdmin bz2软件包
tar jxf phpMyAdmin-3.4.0-all-languages.tar.bz2 -c /var/www/html #安装软件包到http服务可视目录中
重命名 phpMyAdmin-3.4.0-all-languages 为mysqladmin
进入mysqladmin目录下
cp config.sample.inc.php config.sample.php
完成之后可以使用httpd服务进行可视化的数据库管理


 246
246


 被折叠的 条评论
为什么被折叠?
被折叠的 条评论
为什么被折叠?
 到【灌水乐园】发言


