


vue源码(三)-vue组件插件开发
插件通常用来为 Vue 添加全局功能。插件的功能范围没有严格的限制——一般有下面几种:
-
添加全局方法或者属性。如: vue-custom-element
-
添加全局资源:指令/过滤器/过渡等。如 vue-touch
-
通过全局混入来添加一些组件选项。如 vue-router
-
添加 Vue 实例方法,通过把它们添加到
Vue.prototype上实现。 -
一个库,提供自己的 API,同时提供上面提到的一个或多个功能。如 vue-router
使用插件
通过全局方法 Vue.use() 使用插件。它需要在你调用 new Vue() 启动应用之前完成:
// 调用 `MyPlugin.install(Vue)`
Vue.use(MyPlugin)
new Vue({
  // ...组件选项
})
也可以传入一个可选的选项对象:
Vue.use(MyPlugin, { someOption: true })
Vue.use 会自动阻止多次注册相同插件,届时即使多次调用也只会注册一次该插件。
Vue.js 官方提供的一些插件 (例如 vue-router) 在检测到 Vue 是可访问的全局变量时会自动调用 Vue.use()。然而在像 CommonJS 这样的模块环境中,你应该始终显式地调用 Vue.use():
// 用 Browserify 或 webpack 提供的 CommonJS 模块环境时
var Vue = require('vue')
var VueRouter = require('vue-router')

// 不要忘了调用此方法
Vue.use(VueRouter)
awesome-vue 集合了大量由社区贡献的插件和库。
开发插件
Vue.js 的插件应该暴露一个 install 方法。这个方法的第一个参数是 Vue 构造器,第二个参数是一个可选的选项对象:
MyPlugin.install = function (Vue, options) {
  // 1. 添加全局方法或属性
  Vue.myGlobalMethod = function () {
    // 逻辑...
  }

  // 2. 添加全局资源
  Vue.directive('my-directive', {
    bind (el, binding, vnode, oldVnode) {
      // 逻辑...
    }
    ...
  })

  // 3. 注入组件选项
  Vue.mixin({
    created: function () {
      // 逻辑...
    }
    ...
  })

  // 4. 添加实例方法
  Vue.prototype.$myMethod = function (methodOptions) {
    // 逻辑...
  }
}
开发日志记录插件
开发一个插件,用来记录日志信息,能够在生命周期中混入方法
1.创建插件Kpluginlog.js,提供可供下载安装使用的插件,通过提供log方法,让组件能够使用方法进行打印日志。其中log中需要两个参数type, message,分别代表console中日志打印类型,message代表需要打印的信息。
let Vue;
class PluginLog {
    constructor(option) {
        this.app  = new Vue({
            data : {
                ...option
            }
        });

        this.log = this.log.bind(this);
    }
    log(type, message) {
        const showMessage = `
        ${this.app.start}
        [${new Date()}]
        ${this.app.prefix}:${message}:${this.app.suffix}
        ${this.app.end}
        `;
        console[type](showMessage); // eslint-disable-line
    }
}
PluginLog.install = function (_Vue) {
    Vue = _Vue;
    Vue.mixin({
        beforeCreate() {
            if (this.$options.pluginLog) { // 判断是否有添加配置,如果有的话在进行添加操作
                Vue.prototype.$pluginLog = this.$options.pluginLog;
            }
        },
        mounted() {
            if (this.$options.pluginLog) {
                this.$options.pluginLog.log('info', '加载成功...')
            }
        }
    });
};

export default PluginLog;
2.创建插件配置文件,插件中需要手动设置的一些信息,在这里包含4个需要传递的参数,用于设置打印日志时信息块,值得注意的是Vue.use(KPluginLog);在这里使用。
import Vue from "vue";
import KPluginLog from "./Kpluginlog";
Vue.use(KPluginLog);
export default new KPluginLog({
    start: '[-开始记录信息-]',
    prefix: '[vue日志记录]',
    suffix: '[end]',
    end: '[-结束记录信息-]',
});
3.在main.js中导入配置项,导入pluginLog配置项块,使用插件配置内容
import Vue from "vue";
import App from "./App.vue";

import pluginLog from './pluginlog';

new Vue({
  data: {
    bar: 'bar'
  },
  pluginLog,
  render: h => h(App)
}).$mount("#app");
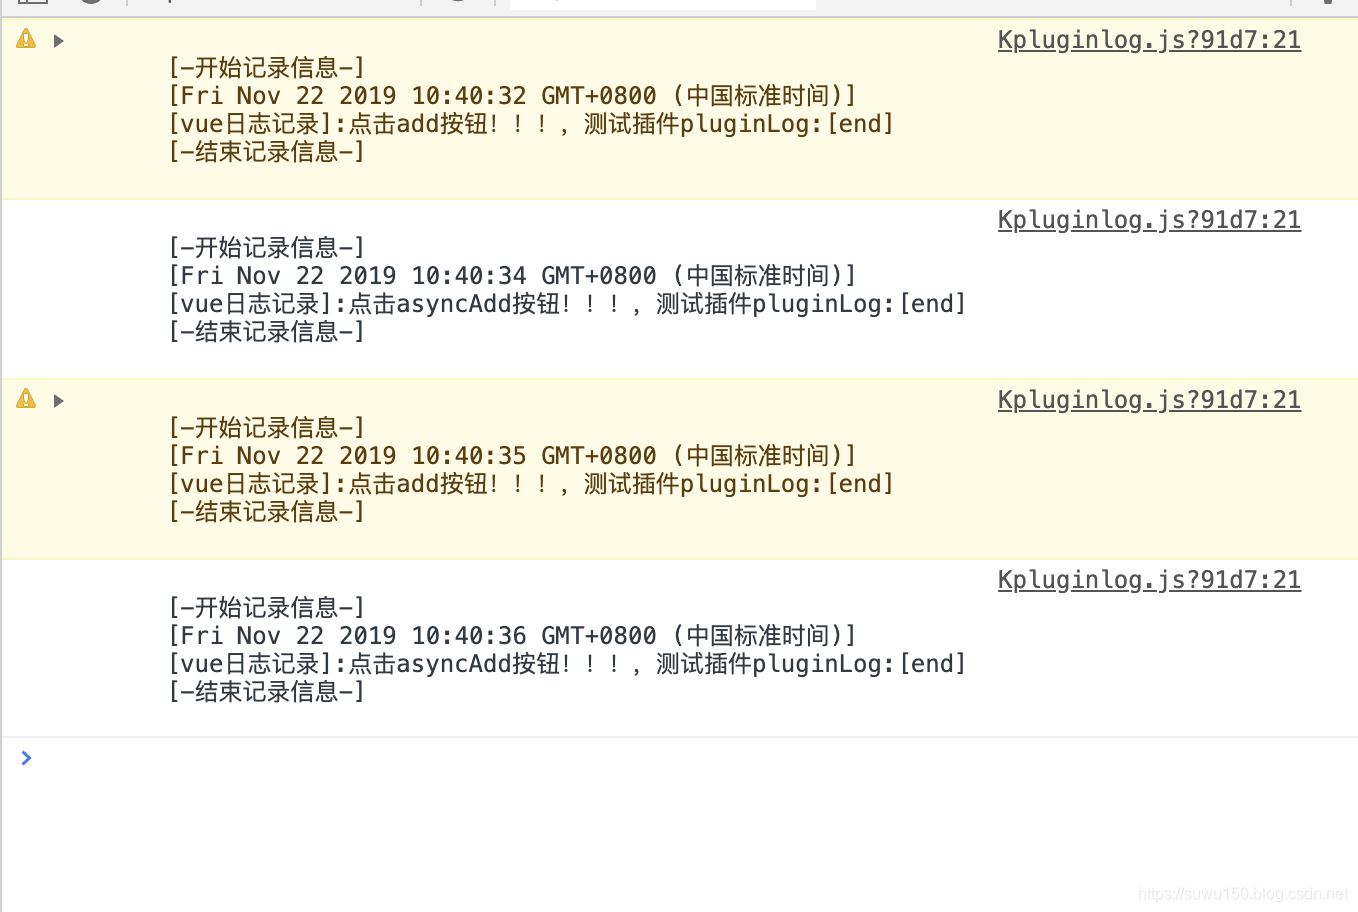
4.页面中具体使用,点击按钮,通过 this.$pluginLog.log调用插件方法,进行打印日志。
<script>
export default {
  name: "PluginLogCom",
  methods: {
    add() {
      this.$pluginLog.log('warn', '点击add按钮!!!,测试插件pluginLog');
    },
    asyncAdd() {
      this.$pluginLog.log('info', '点击asyncAdd按钮!!!,测试插件pluginLog');
    }
  }
};
</script>
5.点击按钮后效果显示需要打印的信息:
开发Toast自定义组件
开发一个Toast插件,用来进行提示信息
1.创建插件wtoast.js,使用Vue.component进行注册组件,其中注册的组件原始样式通过import wToast from './wtoast.vue'导入注册,组件名称使用wToast.name 组件的name属性。
import wToast from './wtoast.vue'
let wtoast = {};
wtoast.install = function (Vue, options) {
  Vue.component(wToast.name, wToast) // wToast.name 组件的name属性
}
export default wtoast;
2.创建wtoast.vue文件,通过template规定组件显示布局样式,name提供名称属性,数据默认为空,并且不显示状态,同时提供toastPlugin方法进行使用时调用。
<template>
  <div>
    <div class="toast"  ref='toastPosition' :class="{active: toastHidden}">
      <div class="toast-warpper">
        {{text}}
      </div>
    </div>
  </div>
</template>

<script>
  export default {
    name: 'test-wtoast',
    data () {
      return {
        text: '',
        toastHidden: false
      }
    },
    // created () {
    //   this.toastPlugin()
    // },
    components: {
    },
    methods: {
      toastPlugin (msg, time) {
        this.text = msg
        this.toastHidden = true
        setTimeout(() => {
          this.toastHidden = false
        }, time)
      }
    }
  }
</script>

<style>
  .toast {
    position: absolute;
    left: 50%;
    top: 50%;
    transform: translate(-50%, -50%);
    width: 0px;
    min-height: 0px;
    text-align: center;
    background: rgba(0, 0, 0, 0.5);
    border-radius: 5px;
    color: #fff;
    transition: all 0.5s;
    z-index: -1;
    opacity: 0;
  }
  .toast.active {
    width: 150px;
    min-height: 25px;
    opacity: 1;
    z-index: 11;
  }
</style>
3.在main.js中导入并且使用
import Vue from "vue";
import App from "./App.vue";

import pluginLog from './pluginlog';
// 引入插件并使用
import WToast from './plugin/wtoast';
Vue.use(WToast);


new Vue({
  data: {
    bar: 'bar'
  },
  pluginLog,
  render: h => h(App)
}).$mount("#app");
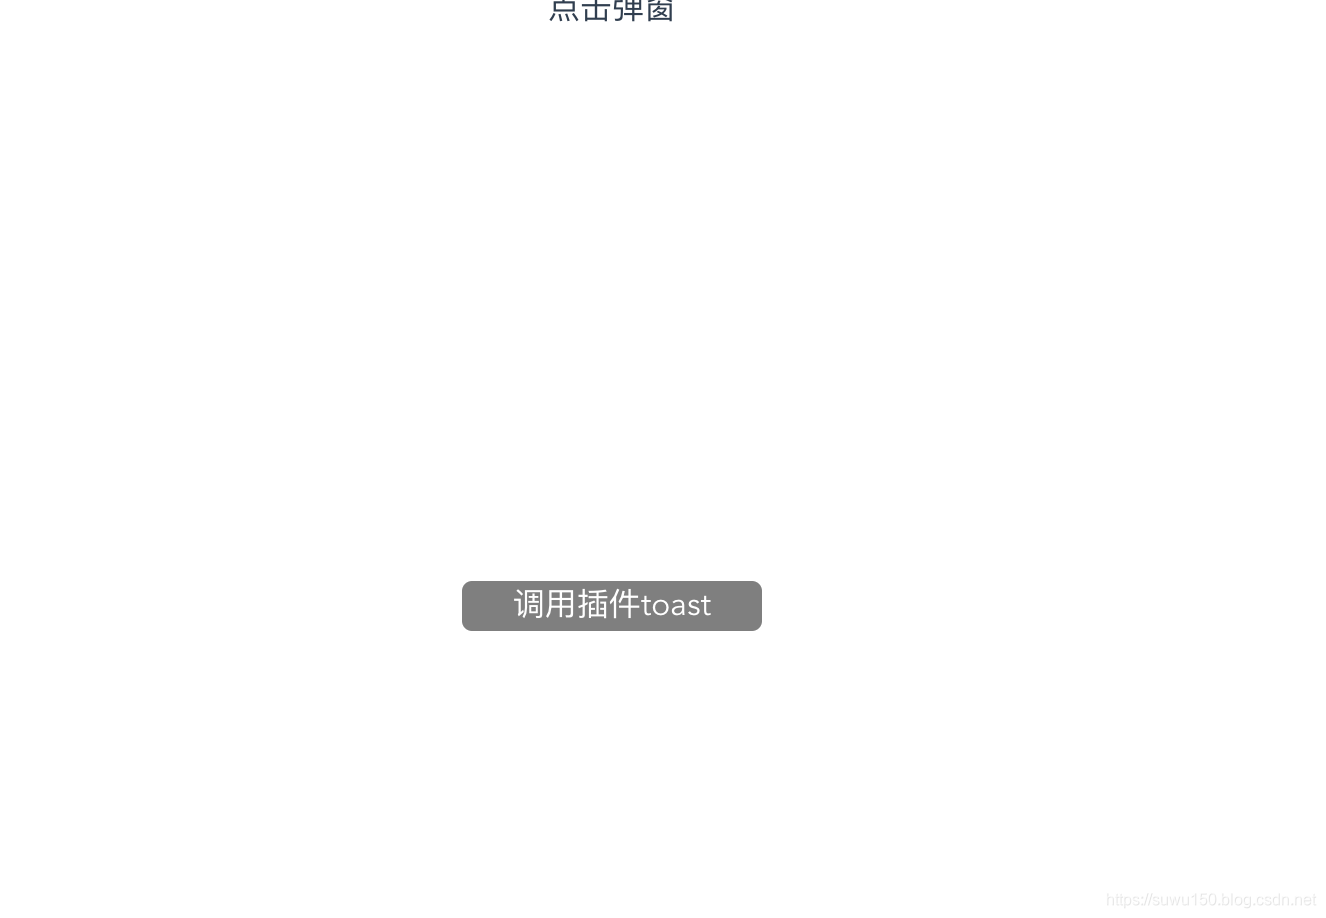
4.页面中具体使用,点击按钮,通过调用插件toastPlugin方法,进行打印日志。
<template>
  <div class="home">
    <test-wtoast ref="wToast"></test-wtoast>
    <div @click="showMessage">点击弹窗</div>
  </div>
</template>

<script>

export default {
  name: 'home',
  methods: {
    showMessage(){
      console.log(this.$refs.wToast);
      this.$refs.wToast.toastPlugin('调用插件toast', 5000);
    }
  }
}
</script>
5.点击按钮后效果显示Toast信息:


 2191
2191


 被折叠的 条评论
为什么被折叠?
被折叠的 条评论
为什么被折叠?
 到【灌水乐园】发言


