


利用ANT+TestNG能够是自动化测试自己跑起来,不需要人工干预。
![]()
![]()
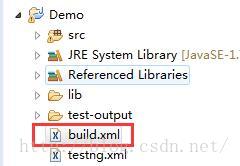
1. 在项目的根目录下新建build.xml
2. 在testng.xml文件中定义要执行的case
<?xml version="1.0" encoding="UTF-8"?><!DOCTYPE suite SYSTEM "http://testng.org/testng-1.0.dtd"><suite name="myTest" verbose='1'><test name="test"><classes><class name="com.mytest.test"/></classes></test></suite>
3. 编写build.xml文件
首先,我们需要定义TestNG的ANT任务如下:
<!-- Define <testng> task --><taskdef name="testng" classname="org.testng.TestNGAntTask"><classpath><pathelement location="./lib/testng-6.9.10.jar"/></classpath></taskdef>
根据实际需求编写build.xml, 编译 -> 运行
<?xml version="1.0" encoding="UTF-8"?><project name="TestNG" default="runtest" basedir="."><property name="srcdir" location="${basedir}/src" /><property name="libdir" location="${basedir}/lib" /><property name="testng.output.dir" location="${basedir}/test-output" /><property name="testng.file" value="testng.xml" /><path id="cp"><fileset dir="${libdir}" includes="*jar" /><fileset dir="${libdir}" includes="*zip" /><pathelement location="${basedir}/bin" /></path><!-- Define <testng> task --><taskdef name="testng" classname="org.testng.TestNGAntTask"><classpath><pathelement location="./lib/testng-6.9.10.jar"/></classpath></taskdef><target name="clean"><delete dir="${basedir}/bin" /></target><target name="compile" depends="clean"><mkdir dir="${basedir}/bin" /><javac srcdir="${srcdir}" encoding="UTF-8" destdir="${basedir}/bin" classpathref="cp" includeantruntime="off" debug="on" debuglevel="lines,vars,source" /></target><target name="runtest" depends="compile"><testng outputdir="${testng.output.dir}" classpathref="cp"><xmlfileset dir="${basedir}" includes="${testng.file}"/></testng></target></project>
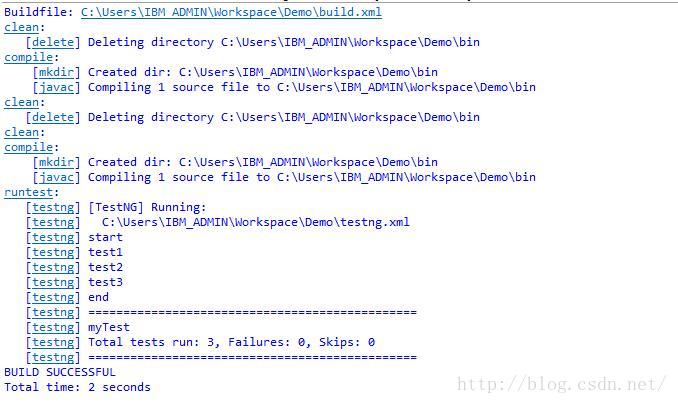
4. 执行build.xml


 105
105


 被折叠的 条评论
为什么被折叠?
被折叠的 条评论
为什么被折叠?
 到【灌水乐园】发言


