


背景
- 需要把文件夹,包括里面的文件,复制到SD卡(单片机文件系统,emmc)中。
- 单个复制,比较的复杂,需要建立文件夹(mkdir),还要cp(每次只能一个文件)
- 目前支持untar命令,所以,打算把文件打成tar包(不压缩),然后拷贝到USB挂在的U盘中,然后解压缩的方式,把所有文件,解压复制到指定位置。
方法
- 可以使用VC++或是QT开发这样的工具,但比较耗时,所以,使用python脚本。
- 本机已经安装好了python的环境,方便脚本的调试运行。
打包脚本
这里使用python,打包成tar格式,python打包脚本如下 :
import os
import sys
import tarfile

tar_system_dir_name = "system"
tar_user_dir_name = "user"
tar_default_type = ".tar"


def make_tar_package(out_filename, source_dir, tar_type):
    if not os.path.exists(source_dir):
        sys.stdout.write("[tar.err] source dir is null!\n" )
        return
    with tarfile.open(out_filename, tar_type) as tar:
        tar.add(source_dir, os.path.basename(source_dir))


def tar_pak(out_filename, source_dir):
    if not os.path.exists(source_dir):
        sys.stdout.write("[tar.err] source dir is null!\n")
        return
    with tarfile.open(out_filename, "w") as tar:
        tar.add(source_dir, os.path.basename(source_dir))


# 获取上级路径
def get_parent_path():
    return os.path.dirname(os.getcwd().replace('\\', '/'))


# main 函数入口
if __name__ == "__main__":
    _source_dir = ""
    _tar_type = ""

    sys.stdout.write("[tar.file] start!! \n")
    # 文件夹初始化
    if len(sys.argv) >= 2:
        _source_dir = sys.argv[1]
        sys.stdout.write("[tar] source directory:" + _source_dir + "\n")

    if len(sys.argv) >= 3:
        _tar_format = "w:" + sys.argv[2]
        sys.stdout.write("[tar] tar type:" + _tar_type + "\n")

    if _source_dir != "":
        system_src_dir = os.path.join(get_parent_path(), (_source_dir + "/" + tar_system_dir_name)).replace('\\', '/')
        user_src_dir = os.path.join(get_parent_path(), (_source_dir + "/" + tar_user_dir_name)).replace('\\', '/')
    else:
        system_src_dir = os.path.join(get_parent_path(), tar_system_dir_name).replace('\\', '/')
        user_src_dir = os.path.join(get_parent_path(), tar_user_dir_name).replace('\\', '/')

    system_tar_filename = os.path.join(get_parent_path(), _source_dir + "/" + tar_system_dir_name + tar_default_type).replace('\\', '/')
    user_tar_filename = os.path.join(get_parent_path(), _source_dir + "/" + tar_user_dir_name + tar_default_type).replace('\\', '/')

    if os.path.exists(system_src_dir):
        tar_pak(system_tar_filename, system_src_dir)
        sys.stdout.write("[tar.file] " + system_src_dir + " ==>" + system_tar_filename + " \n")
    else:
        sys.stdout.write("[tar.file] not found dir: " + system_src_dir + " \n")

    if os.path.exists(user_src_dir):
        tar_pak(user_tar_filename, user_src_dir)
        sys.stdout.write("[tar.file] " + user_src_dir + " ==>" + user_tar_filename + " \n")
    else:
        sys.stdout.write("[tar.file] not found dir: " + user_src_dir + " \n")
    sys.stdout.write("[tar.file] end!! \n")
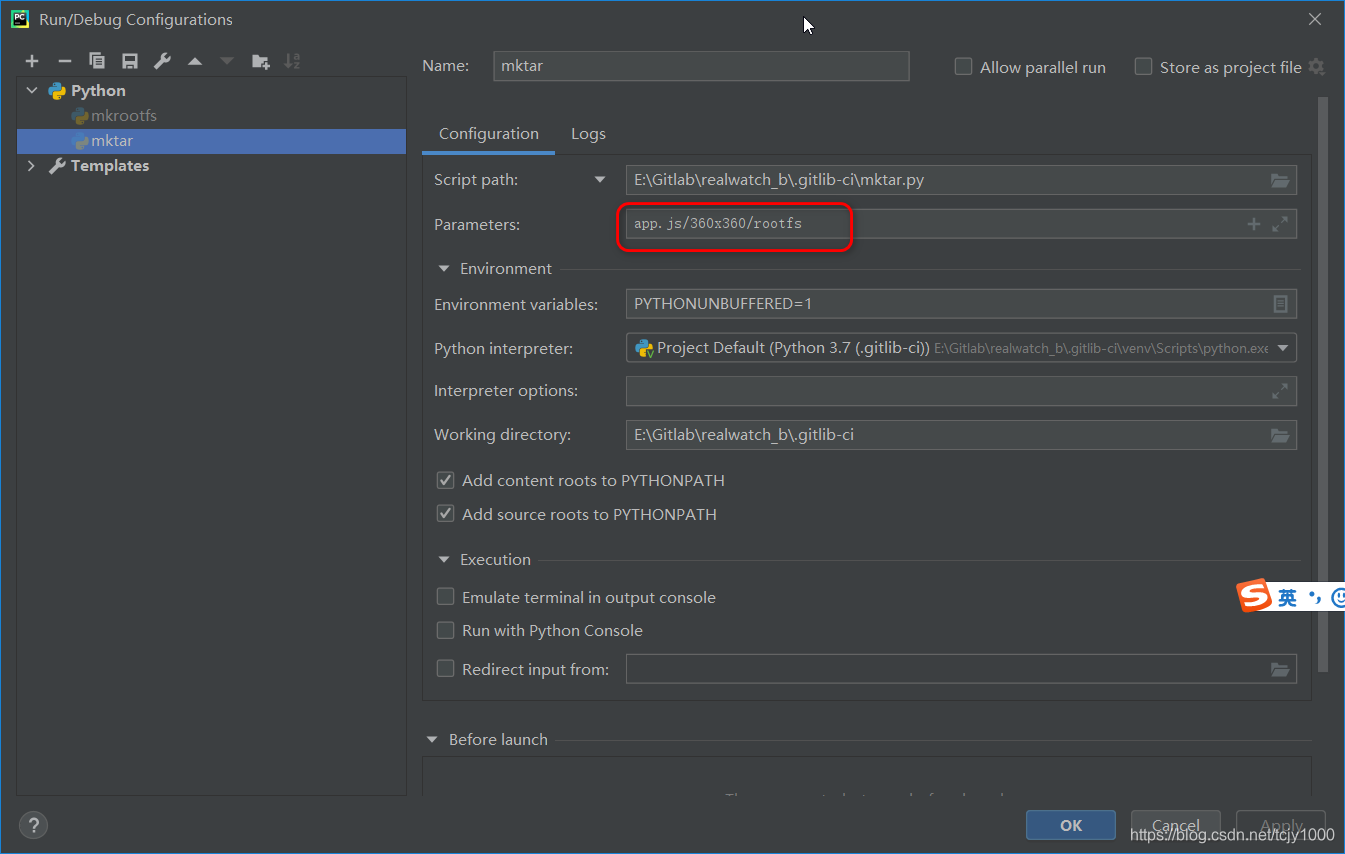
脚本运行
可以使用命令行运行,也可以使用 PyCharm Community Edition 2020.3 x64。
python mktar.py output
E:\Gitlab\realwatch_b\.gitlib-ci\venv\Scripts\python.exe E:/Gitlab/realwatch_b/.gitlib-ci/mktar.py app.js/360x360/rootfs
[tar.file] start!!
[tar] source directory:app.js/360x360/rootfs
[tar.file] E:/Gitlab/realwatch_b/app.js/360x360/rootfs/system ==>E:/Gitlab/realwatch_b/app.js/360x360/rootfs/system.tar
[tar.file] E:/Gitlab/realwatch_b/app.js/360x360/rootfs/user ==>E:/Gitlab/realwatch_b/app.js/360x360/rootfs/user.tar
[tar.file] end!!

Process finished with exit code 0
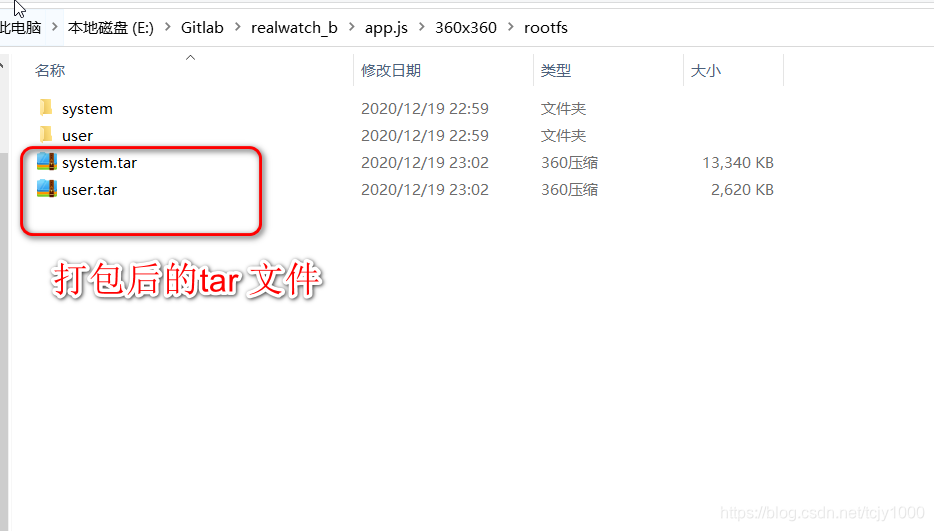
打包的文件
总结
- 多使用python这样的脚本,快捷的解决问题。
- 多总结一些常用的功能,用于以后的开发。


 243
243


 被折叠的 条评论
为什么被折叠?
被折叠的 条评论
为什么被折叠?
 到【灌水乐园】发言


