


前工作中也用CXF,但都是用别人现成搭好的环境,这次自己重头搭建一遍环境。过程中也有遇到的问题,也做了简单的整理。
对于CXF是干什么用的,我不想多说,大家都知道这是我们在java编程中webService技术的一种实现工具。我们说说为什么用CXF来实现webService:
1. Java的webService实现本身就是一个很耗性能的实现方案(xml与java对象之间在服务端以及客户端的互转比较消耗性能)
2. 目前java主流的webService应用以CXF、AXIS2为主;
3. 通过网络渠道的了解,目前CXF的效率要比AXIS2高出至少50%;
4. 另外有一个webService的工具metro的效率比CXF高出10%;
5. CXF的实现资料网上可以随便找出一大堆,metro的资料相对少一些;
6. CXF在java应用实现中已经很成熟,企业更倾向于用这样一个成熟的解决方案;
基于以上原因,我选择CXF来实现webService。
参考资料:
Java Web 服务: CXF 性能比较----CXF 与最新版本的 Axis2 和 Metro 之间的性能对比
http://www.ibm.com/developerworks/cn/java/j-jws14/
一 以annotation注解方式实现发布webService应用
1、 基础环境
新建java web工程cxf之后,下载cxf工具包。解压CXF之后,把cxf工具包lib下的jar包全部放到工程的lib下。
此处用到的cxf工具包版本为:apache-cxf-2.7.12
下载地址:
http://www.apache.org/dyn/closer.cgi?path=/cxf/2.7.12/apache-cxf-2.7.12.zip
2、 编写服务接口
3、 服务接口实现
4、 发布服务app
右键 run as 选择java application发布服务;然后在浏览器输入地址:http://localhost:8080/helloWorld?wsdl
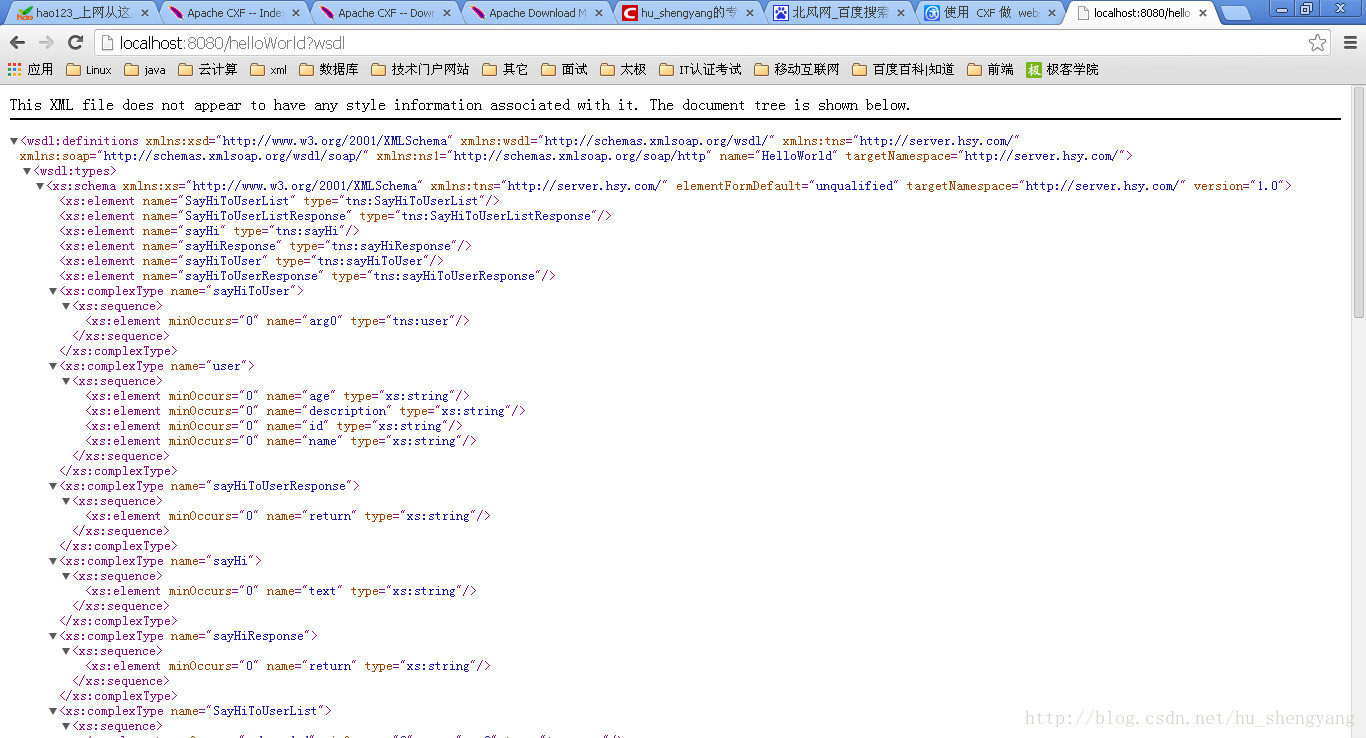
说明webService服务发布成功。
5、 客户端访问服务
右键 run as 选择java application,控制台打印如图:
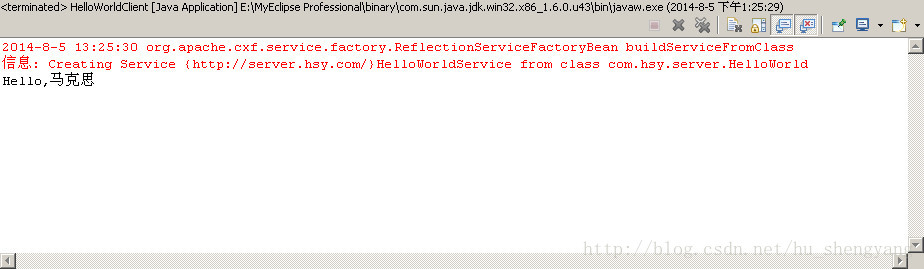
Ok,客户端访问也成功了。
6、 附:
二与spring集成实现webService
1、 配置web.xml
见文件web.xml
2、 配置applicationContext.xml
3、 修改客户端代码
4、 启动tamcat发布webService
然后在浏览器输入地址:http://localhost:8080/cxf/webservice/helloWorld?wsdl

说明webService服务发布成功。
5、 运行客户端代码访问webService
右键 run as 选择java application,控制台打印如图:
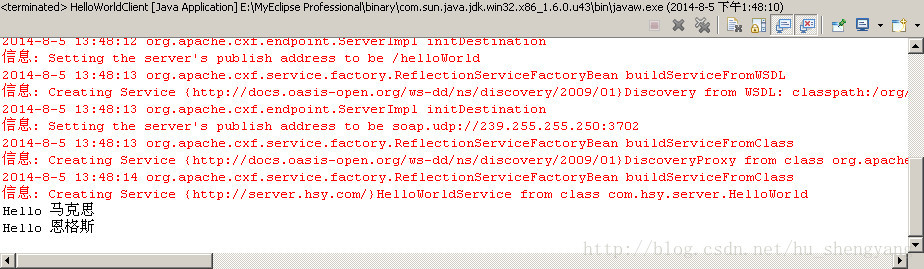
Ok,客户端访问也成功了。
此篇实现了webService服务的发布以及在本工程下的客户端调用服务的示例,或许不是很直观。
请看下一篇:CXF客户端代码生成与服务调用(二)
http://blog.csdn.net/hu_shengyang/article/details/38384839


 515
515

 被折叠的 条评论
为什么被折叠?
被折叠的 条评论
为什么被折叠?
 到【灌水乐园】发言


