


环境说明
jdk 1.8 , maven 3.3.9,spring-boot 1.4.7,git,idea2016
创建一个spring-boot项目 自己创建或者使用spring提供的例子
spring官方的例子地址:
https://github.com/spring-projects/spring-boot/tree/master/spring-boot-samples/spring-boot-sample-simple
使用idea创建项目
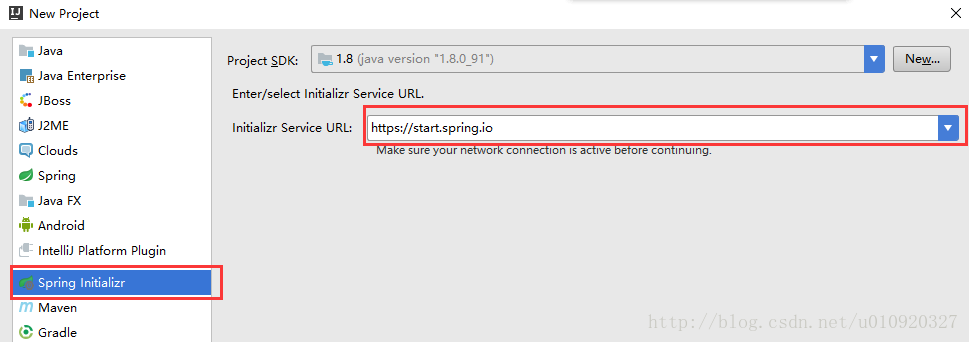
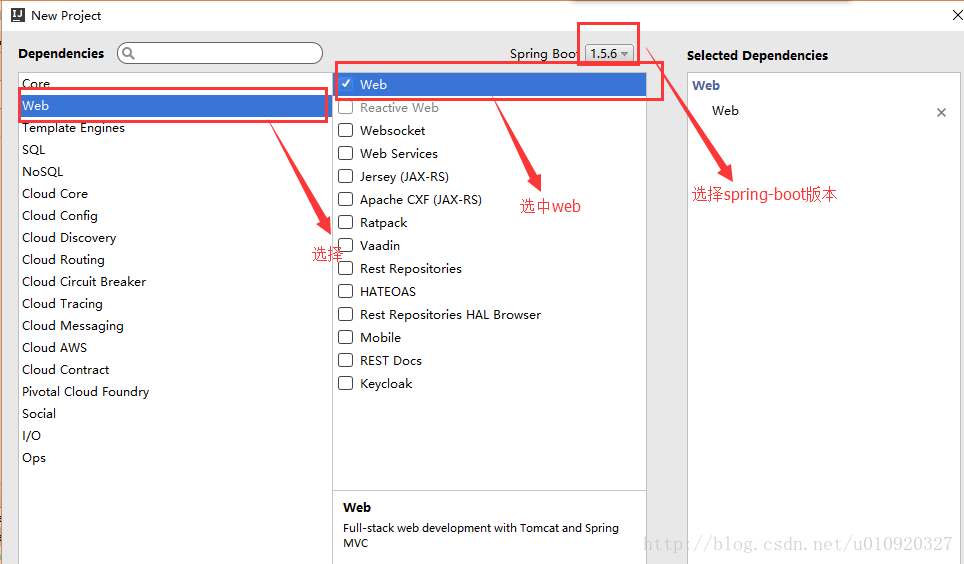
选择中红框部分下一步
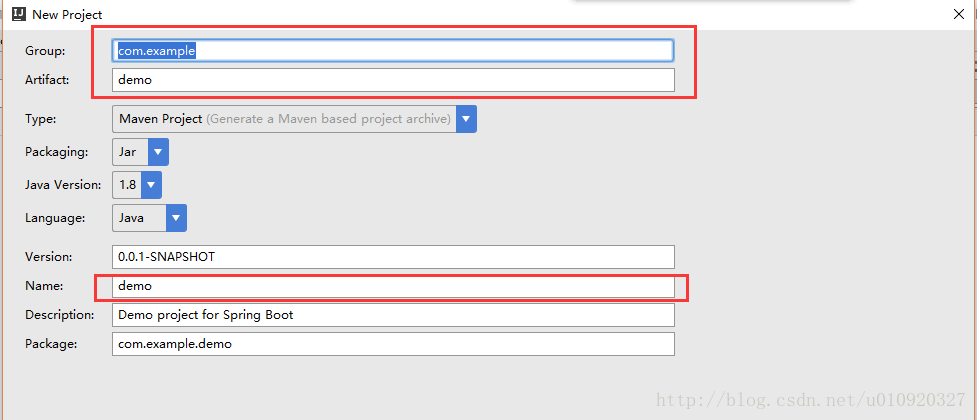
填写如图中信息
spring-boot controller
在controller层采用采用rest风格的url整体风格比较简洁
//这里采用了全新的restful风格
@RestController//相当于 @Controller @ResponseBody
public class HelloControl {
    //编写一个Hello world
    @GetMapping("/helloWorld")//相当于 @RequestMapping(value = "/rest2",method = RequestMethod.GET)
    public String sayHelloWorld(){
       return "Hello Spring Boot!";
    }
}
启动方式 :
1.找到Application.java文件 启动查看
2.mvn spring-boot:run
3.java -jar 项目名字 (这个在后期生产环境测试环境可以带启动参数)
打开浏览器 输入 http://127.0.0.1:8080/项目名
查看到第一个spring-boot启动成功
返回一个页面
首先在pom文件中加入模板
<dependency>
    <groupId>org.springframework.boot</groupId>
    <artifactId>spring-boot-starter-thymeleaf</artifactId>
</dependency>
注意这个模板只支持html解析
修改controller
@GetMapping("/helloWorld")
public String sayHelloWorld(){
   return "index";
 }
在resources/templates中创建index.html页面
启动项目 http://127.0.0.1/helloWorld 访问到了index页面
至此初个spring-boot完成
https://docs.spring.io/spring-boot/docs sping-boot官方文档


 1210
1210


 被折叠的 条评论
为什么被折叠?
被折叠的 条评论
为什么被折叠?
 到【灌水乐园】发言


