


1、新建工程,把工程编码改为utf-8
2.把JSP的编码格式改为utf-8
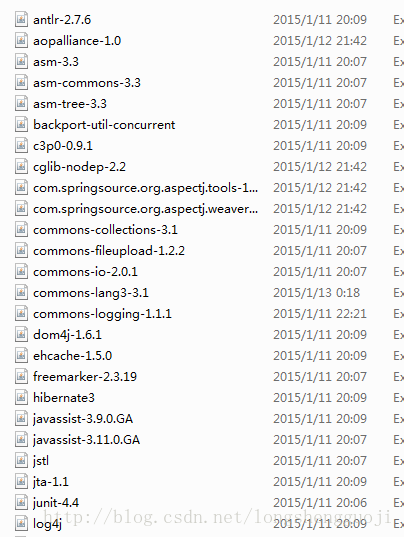
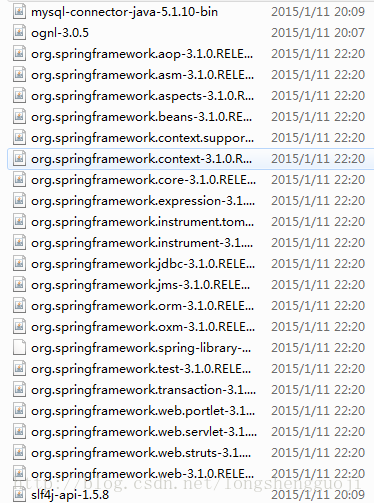
3.把所需jar包放入到lib下
4、建立三个src folder
Src:存放源代码
Config:存放配置文件
Test:存放测试文件
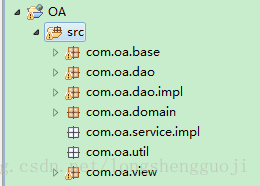
5、在src下建立package包
domain
dao
daoImpl
service
serviceImpl
view
util
在WebRoot文件夹下建立几个新的文件夹
script :存放JavaScript文件
style:存放style文件
-----img:存放图片资源
6.在WEB-INF文件夹下建立JSP文件夹,目录如下:
Jsp:存放jsp文件
7.在WebRoot—>WEB-INFàlib文件夹下放置所需的jar包

8、整合spring和hibernate
8.1 添加配置文件
在config目录中添加spring配置文件application.xml
hibernate配置文件hibernate.cfg.xml和jdbc.properties
在domain包中新建POJO类Users和其对应的映射文件Users.hbm.xml
8.2 具体文件代码
具体文件的代码如下:
Users类代码为:
Users.hbm.xml文件代码为:
Jdbc.properties中代码为:
hibernate配置文件hibernate.cfg.xml代码为:
Spring配置文件代码为:
8.3编写测试文件:
一般测试spring和hibernate是否整合是通过sessionFactory来进行,具体方法为:
在test文件夹中新建SessionFactoryTest类,具体代码为:
执行测试文件,没有出错,说明spring和hibernate成功整合
9、整合spring和Struts2
9.1添加配置文件
在config目录中添加Struts2配置文件struts.xml
在view包中新建UserAction
9.2添加代码
UserAction类代码如下:
Struts.xml配置代码如下:
9.3 编写测试文件
10.配置web.xml
加入spring的监听器
加入struts2的过滤器
<!-- 配置Struts2核心过滤器 -->
<filter>
<filter-name>struts2</filter-name>
<filter-class>org.apache.struts2.dispatcher.ng.filter.StrutsPrepareAndExecuteFilter</filter-class>
</filter>
<filter-mapping>
<filter-name>struts2</filter-name>
<url-pattern>/*</url-pattern>
</filter-mapping>


 419
419

 被折叠的 条评论
为什么被折叠?
被折叠的 条评论
为什么被折叠?
 到【灌水乐园】发言


