


一、UITableBarController(标签栏控制器)中的界面跳转
我是在AppDelegate.m中写的代码,代码如下
- (BOOL)application:(UIApplication *)application didFinishLaunchingWithOptions:(NSDictionary *)launchOptions {
self.window = [[UIWindow alloc]initWithFrame:[UIScreen mainScreen].bounds];
//创建标签栏控制器tabBarController
UITabBarController *tabBarController = [[UITabBarController alloc] init];
//初始化firstView和secondView
FirstViewController *firstView = [[FirstViewController alloc] init];
SecondViewController *secondView = [[SecondViewController alloc]init];
//添加子视图控制器firstView和secondView
[tabBarController addChildViewController:firstView];
[tabBarController addChildViewController:secondView];
//设置底部标签栏上的title
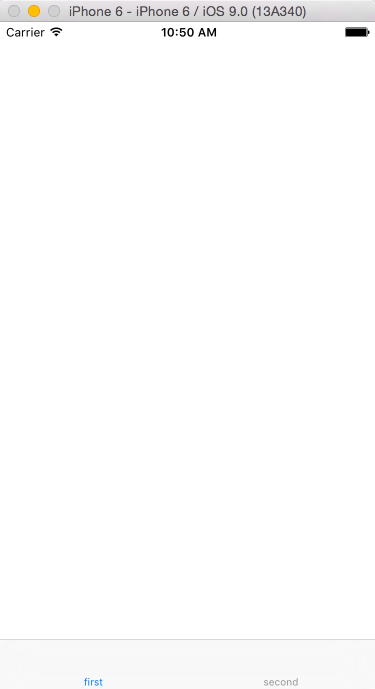
firstView.tabBarItem.title = @"first";
secondView.tabBarItem.title = @"second";
self.window.rootViewController = tabBarController;
[self.window makeKeyAndVisible];
return YES;
}效果如下:
二、UINavigationController(导航控制器)中的界面跳转
AppDelegate.m中
- (BOOL)application:(UIApplication *)application didFinishLaunchingWithOptions:(NSDictionary *)launchOptions {
    self.window = [[UIWindow alloc]initWithFrame:[UIScreen mainScreen].bounds];

    FirstViewController *firstView = [[FirstViewController alloc] init];

    //创建导航控制器
    UINavigationController *nav = [[UINavigationController alloc] initWithRootViewController:firstView];
    self.window.rootViewController = nav;

    [self.window makeKeyAndVisible];
    return YES;
}
FirstViewController.m中
- (void)viewDidLoad {
[super viewDidLoad];
self.view.backgroundColor = [UIColor whiteColor];
//创建一个Lable标记这是fistView
UILabel *lable = [[UILabel alloc] initWithFrame:CGRectMake(50, 50, 100, 100)];
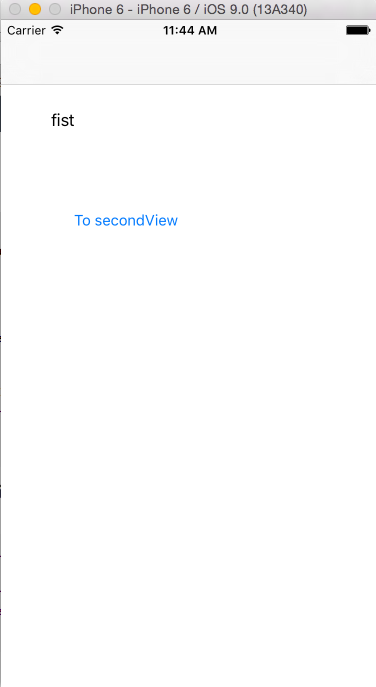
lable.text = @"fist";
[self.view addSubview:lable];
//创建一个button实现界面间的跳转
UIButton *button = [UIButton buttonWithType:UIButtonTypeRoundedRect];
button.frame = CGRectMake(50, 150, 150, 100);
[button setTitle:@"To secondView" forState:UIControlStateNormal];
[button addTarget:self action:@selector(buttonPressed) forControlEvents:UIControlEventTouchUpInside];
[self.view addSubview:button];
}
-(void)buttonPressed
{
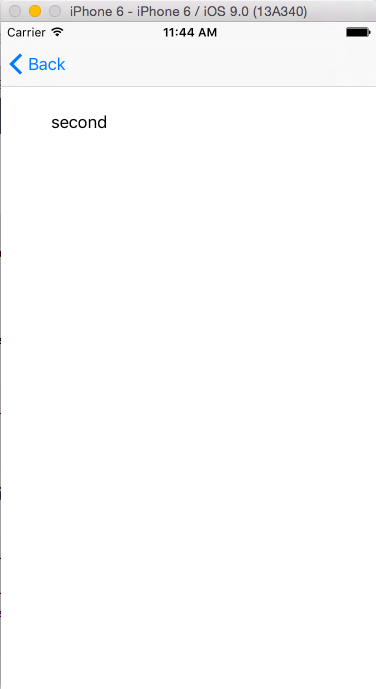
SecondViewController *secondView = [[SecondViewController alloc] init];
//跳转到secondView的实现方法
[self.navigationController pushViewController:secondView animated:YES];
}
UINavigationController中跳转有三个方法,上述例子只实现了一个方法,还有其他两个方法。这里总结一下:
1.[self.navigationController pushViewController:firstView animated:YES];跳转到firstView界面
2.[self.navigationController popViewControllerAnimated:YES]; //返回上一页面
3.[self .navigationController popToRootViewControllerAnimated: YES ];  //返回根控制器
三、模态视图
很简单,就两个方法
[ self presentViewController:SVC animated: YES completion:nil];

[ self dismissViewControllerAnimated: YES completion: nil ];


 777
777


 被折叠的 条评论
为什么被折叠?
被折叠的 条评论
为什么被折叠?
 到【灌水乐园】发言


