


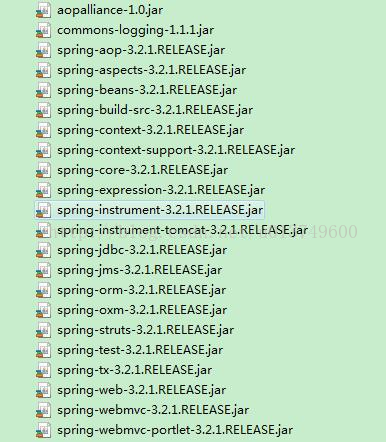
一、导入相关的包
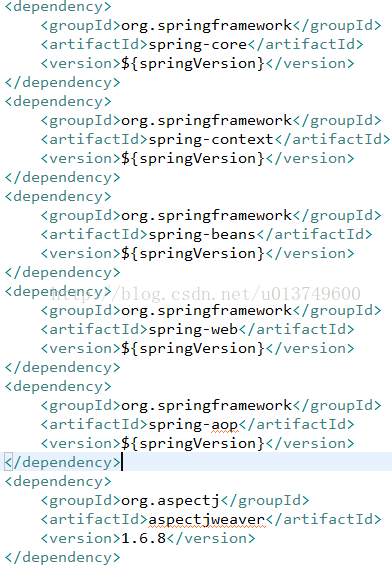
<properties>
        <springVersion>4.1.6.RELEASE</springVersion>
</properties>
二、在web.xml中配置spring
<listener>
        <description>Spring监听器</description>
        <listener-class>org.springframework.web.context.ContextLoaderListener</listener-class>
</listener>

<context-param>
    <param-name>contextConfigLocation</param-name>
    <param-value>classpath:applicationContext.xml</param-value>
</context-param>1、 配置头文件中必须要有
xmlns:task="http://www.springframework.org/schema/task"http://www.springframework.org/schema/taskhttp://www.springframework.org/schema/task/spring-task.xsd3、task的类必须要在spring扫描的的包下面
<context:annotation-config />

<context:component-scan base-package="com.test.task" />

<task:annotation-driven/>
<task:annotation-driven/>四、写定时任务类
package com.test.task;

import java.text.DateFormat;
import java.util.Date;
import org.springframework.scheduling.annotation.Scheduled;
import org.springframework.stereotype.Component;

@Component
public class TestTask {
    @Scheduled(cron = "*/5 * * * * ?")
    public void print5(){
        String time = DateFormat.getDateTimeInstance().format(new Date());
        System.out.println("我5秒打印一次"+time);
    }
    @Scheduled(cron = "*/4 * * * * ?")
    public void print4(){
        String time = DateFormat.getDateTimeInstance().format(new Date());
        System.out.println("我4秒打印一次"+time);
    }
}
tip:延迟加载的话,需要启动之后访问一下
http://cron.qqe2.com/


 4143
4143


 被折叠的 条评论
为什么被折叠?
被折叠的 条评论
为什么被折叠?
 到【灌水乐园】发言


