


本文的编写IDE为VSTS2008和.NET Framework3.5 ,其他版本的VS或.Net Framework类似
本示例程序说明:从WinForm程序调用本机的WebServices的方法,返回两个数的和
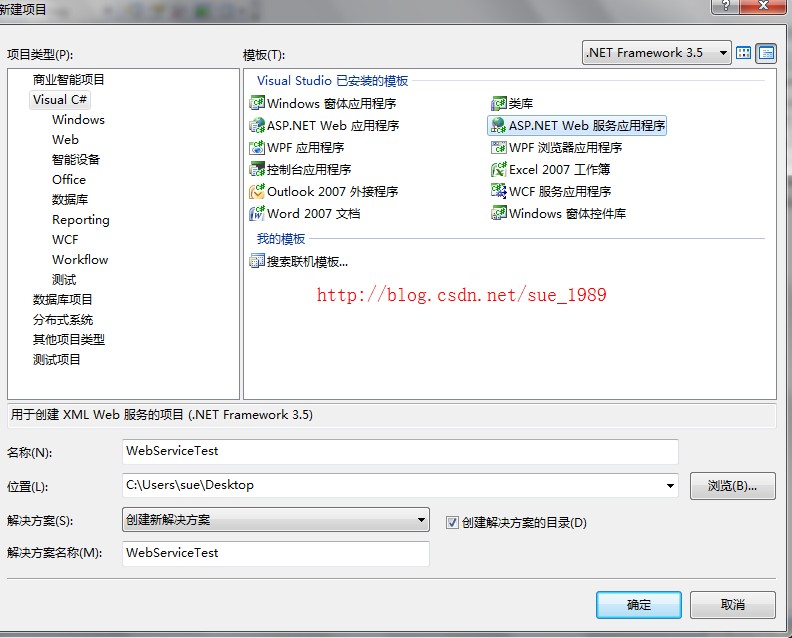
1. 新建>>项目>>ASP.NET Web 服务应用程序,命名为 WebServiceTest,OK
2.打开Service1.asmx.cs, 添加方法 Add(),请注意方法前的 [WebMethod(Description="Add")] 为必须。
- namespace WebServiceTest
- {
- /// <summary>
- /// Service1 的摘要说明
- /// </summary>
- [WebService(Namespace = "http://tempuri.org/")]
- [WebServiceBinding(ConformsTo = WsiProfiles.BasicProfile1_1)]
- [ToolboxItem(false)]
- // 若要允许使用 ASP.NET AJAX 从脚本中调用此 Web 服务,请取消对下行的注释。
- // [System.Web.Script.Services.ScriptService]
- public class Service1 : System.Web.Services.WebService
- {
- [WebMethod]
- public string HelloWorld()
- {
- return "Hello World"+"world hello";
- }
- [WebMethod(Description="Add")]
- public int add(int x,int y)
- {
- return x + y;
- }
- }
- }
namespace WebServiceTest
{
    /// <summary>
    /// Service1 的摘要说明
    /// </summary>
    [WebService(Namespace = "http://tempuri.org/")]
    [WebServiceBinding(ConformsTo = WsiProfiles.BasicProfile1_1)]
    [ToolboxItem(false)]
    // 若要允许使用 ASP.NET AJAX 从脚本中调用此 Web 服务,请取消对下行的注释。
    // [System.Web.Script.Services.ScriptService]
    public class Service1 : System.Web.Services.WebService
    {

        [WebMethod]
        public string HelloWorld()
        {
            return "Hello World"+"world hello";
        }

        [WebMethod(Description="Add")]
        public int add(int x,int y)
        {
            return x + y;
        }

    }
}
3.启动程序,浏览器器会自动启动,如下图表示WebService正常启动
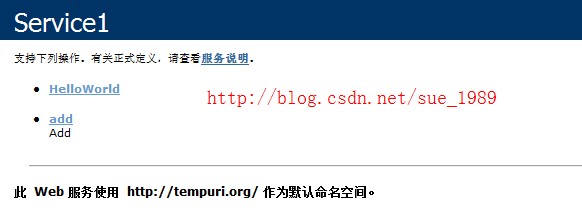
注意浏览器的URL,这个将在后面的应用程序中引用时作为地址,很重要

4. 点击Add, 进入调用, 分别输入参数x,y的值,点击调用,浏览器会跳转,显示如下的XML(一般情况下会在浏览器中显示XML文本)


5.以上步骤表示我们建立的WebService可以正常使用,现在可以不停止此程序的调试,即暂时不关闭此服务的运行,暂时放一边不管它
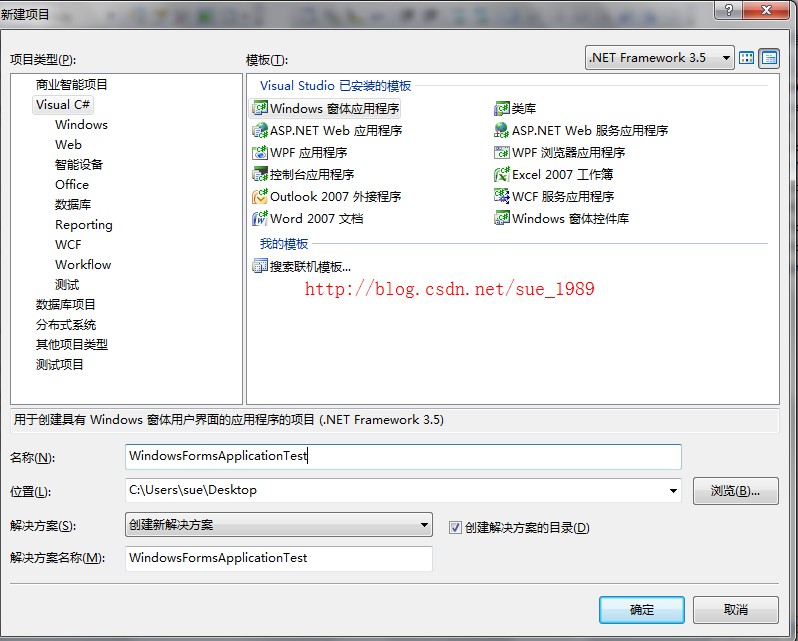
6. 另打开一个VS,新建>>项目>>Windows窗体应用程序,命名为WindowsFormsApplicationTest>>OK
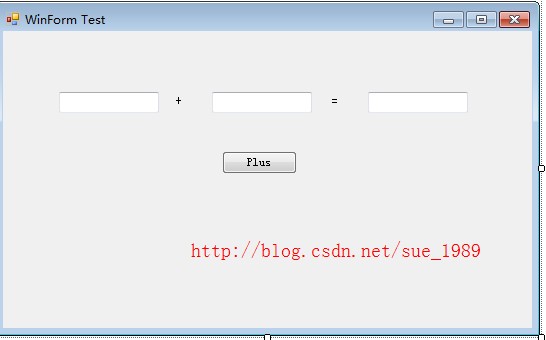
7.添加控件,三个TextBox, 两个Lable,一个Button
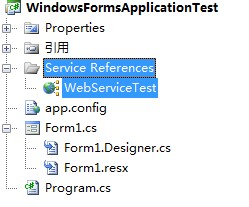
8.引用刚才建立的WebService到这个项目
右键点击解决方案管理器中的项目,选择“添加服务引用”,弹出如下对话框
输入刚才的WebServices的地址,点击前往,添加Service1Soap, 把 命名空间改为 WebServiceTest,确定,就会生成如下的引用,现在就可以使用这个WebService了

结果:
9.添加Button的事件处理
- namespace WindowsFormsApplicationTest
- {
- public partial class mainForm : Form
- {
- public mainForm()
- {
- InitializeComponent();
- }
- private void btnPlus_Click(object sender, EventArgs e)
- {
- int var1=int.Parse(this.textBox1.Text);
- int var2=int.Parse(this.textBox2.Text);
- WebServiceTest.Service1SoapClient ws = new WebServiceTest.Service1SoapClient();
- int result=ws.add(var1, var2);
- this.textBox3.Text = result.ToString();
- }
- }
- }
namespace WindowsFormsApplicationTest
{
    public partial class mainForm : Form
    {


        public mainForm()
        {
            InitializeComponent();
        }

        private void btnPlus_Click(object sender, EventArgs e)
        {
            int var1=int.Parse(this.textBox1.Text);
            int var2=int.Parse(this.textBox2.Text);
            WebServiceTest.Service1SoapClient ws = new WebServiceTest.Service1SoapClient();
            int result=ws.add(var1, var2);
            this.textBox3.Text = result.ToString();

        }


    }
}
上面的处理中用到的string和int型的互转这里就不解释了
关键方法是WebServiceTest.Service1SoapClient ws = new WebServiceTest.Service1SoapClient()
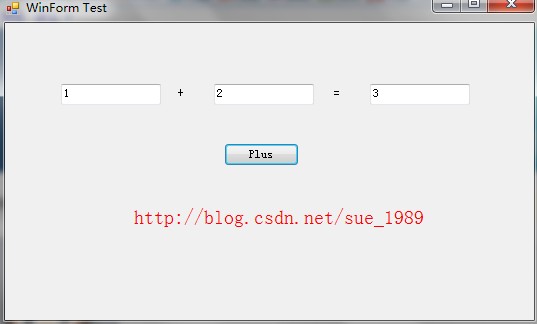
10. 运行
输入数据,点击就OK了
其他的WebService方法大家也可以自己试试。
如果遇到报错说服务没有或异常,是因为WebService的服务没有启动,在第一个程序中其中就行。


 631
631


 被折叠的 条评论
为什么被折叠?
被折叠的 条评论
为什么被折叠?
 到【灌水乐园】发言


