


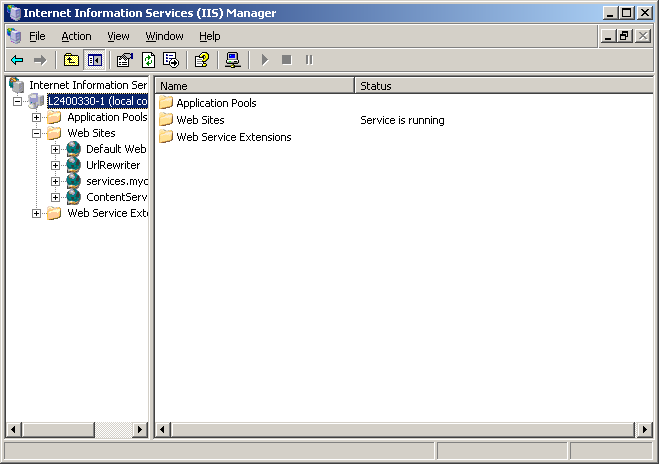
- Open Internet Information Services (IIS) Manager
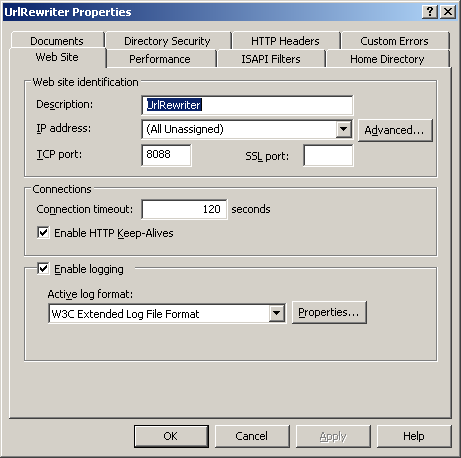
click to expand - Right-click on the website where you want to configure UrlRewriter.NET and select Properties.
click to expand - Click on the Home Directory tab.
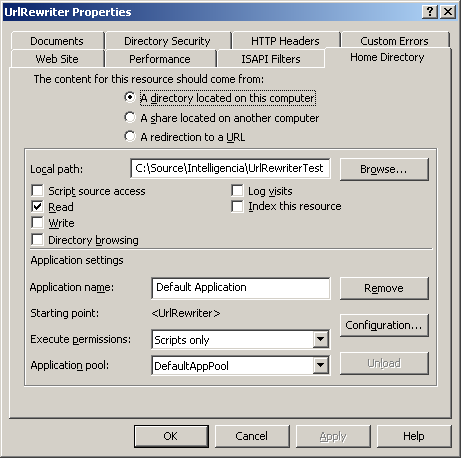
click to expand - Click the Configuration button.
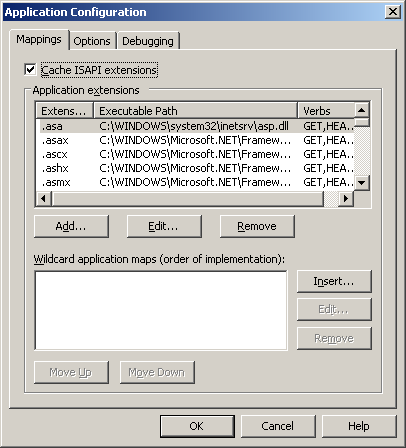
click to expand - Select the .asax application extension and click Edit…
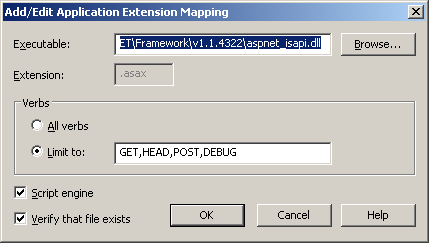
click to expand - Copy the Executable path (…/aspnet_isapi.dll) to the clipboard and click Cancel.
click to expand - Click Insert…
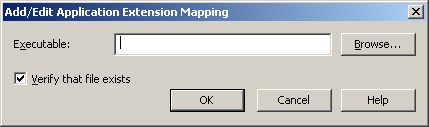
click to expand - Paste the Executable path (…/aspnet_isapi.dll) from the clipboard, untick Verify that file exists.
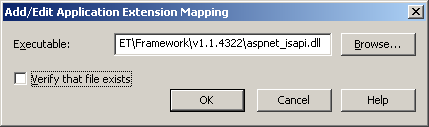
click to expand - Click OK to close the Add/Edit Application Extension Mapping dialog
click to expand - Click OK to close the Application Configuration dialog.
click to expand - Click OK to close the Properties dialog.
- That’s it! The server is configured to allow UrlRewriter.NET to work its magic.


There are a few things to note with this configuration:
- All web requests will now be sent through the ASP.NET runtime.
- Default documents specified in IIS will stop working. You will need to add a rule to your rewrite rules to support the default documents you want, as in:
<rewrite url=”^(.*)/(/?.+)?$” to=”$1/default.aspx$2″ /> - Requests for images, stylesheets, favicon.ico and everything else will be processed by .NET. You may want to add rules to cater for these. This is also a bonus, in that you can now restructure your website assets and put in place the correct rewriting rules to ensure these can be found in the new location.


 6625
6625

 被折叠的 条评论
为什么被折叠?
被折叠的 条评论
为什么被折叠?
 到【灌水乐园】发言


