


We have already covered in our previous article about SpagoBI installation in Linux and working properly. After successfully installation of SpagoBI, Here i’m going to explain the steps to connect the new mysql datasource into SpagoBI Server.
Step-1
1) Login to biadmin >> Resources >> Data Source.
Step-2
2) In Data Source area >> Add.
Step-3
3) In Data Source area >> You need to enter your data source (mysql database details) values. Here i’m going to add mysql data source
Data source connection string:
- Label : Your wish (add based on your DB or project name)
- Description : Your wish (add based on your DB or project name)
- Dialect : mysql (Must be choose mysql because we are going to connect mysql data source)
- Choose : Read and Write
- Choose : jdbc
- Url : jdbc:mysql://Your-server-IP:3306/Your-DB-Name (I’m connecting to remote server that’s y i mentioned remote server IP, If you going to connect locally, add localhost)
- User : Your-DB-User-Name
- Password : Your-DB-Password
- Driver : com.mysql.jdbc.Driver

Step-4
4) After updating all the required above values. Test your data source value by clicking T button top most right on your SpagoBI.
Step-5
5) Finally save your data Source by clicking T button top most right on your SpagoBI.
Step-6
6) See the below screen shot, your new data source has been created in SpagoBI.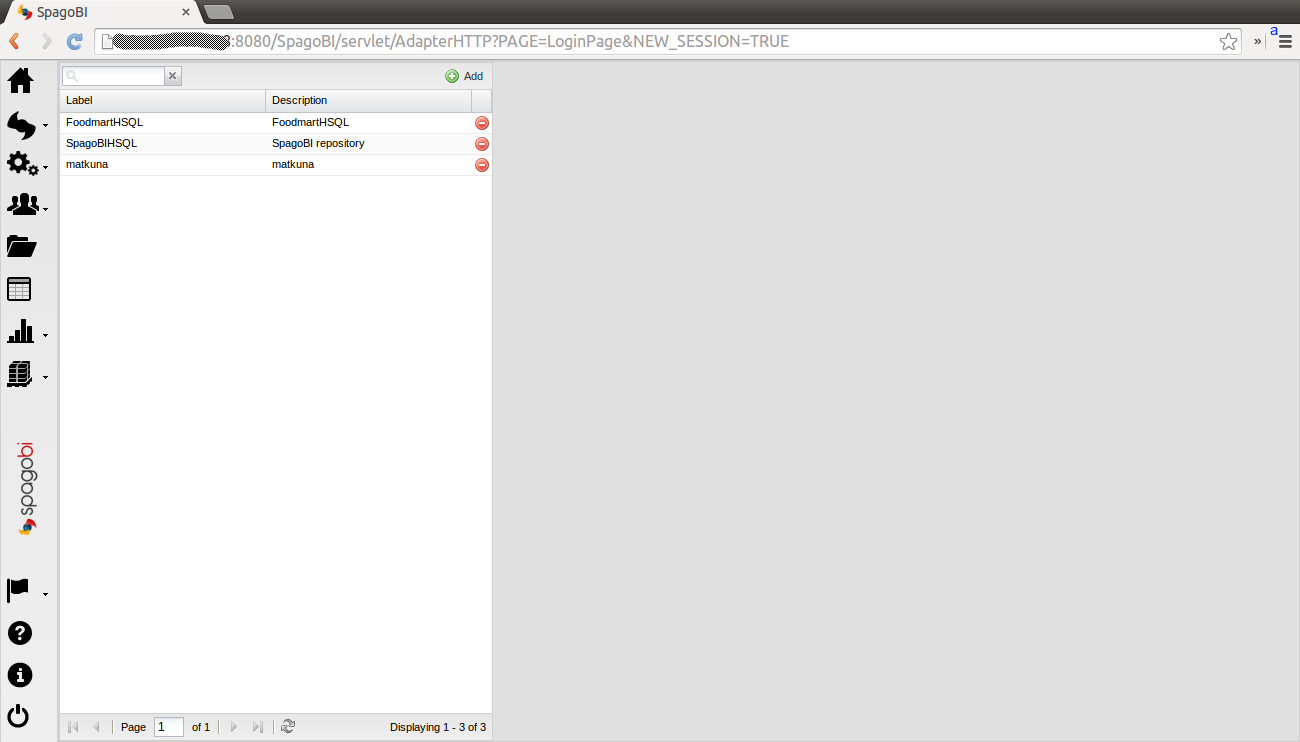
We are preparing all articles in-depth to understand by all level/stage
转载:https://www.2daygeek.com/how-to-add-data-source-in-spagobi/


 5779
5779

 被折叠的 条评论
为什么被折叠?
被折叠的 条评论
为什么被折叠?
 到【灌水乐园】发言


