


文章目录
第三章 初识网络爬虫
博主说明
- 原书中使用的Python2运行,而urllib2/urllib在Python3中有较大改动,本次总结(抄书)将原书的代码都改成了Python3,代码相较原书有一定变化,但尽量不改动原书中的代码逻辑
- 在有些情况下,原书中的代码直接运行会产生错误(如不加headers访问www.zhihu.com可能产生HTTPError),这种情况下会选择修改代码(如增加headers)或放弃截图(仍然会修改成Python3运行不会报语法错误的形式)
- 由于我本人也处于学习阶段,修改后的代码运行结果可能并不能达到原书的期望,特别是对于放弃截图的代码,我也不清楚如果正常运行会产生什么效果。参考本博客时请务必注意。
- 关于urllib和urllib2在Python3中的改变,可以参考https://blog.csdn.net/fengxinlinux/article/details/77281253(抄录在下面)
| Python2代码 | 对应的Python3代码 |
|---|---|
| import urllib2 | import urllib.request, urllib.error |
| import urllib | import urllib.request, urllib.error, urllib.parse |
| import urlparse | import urllib.parse |
| import urlopen | import urllib.request.urlopen |
| import urlencode | import urllib.parse.urlencode |
| import urllib.quote | import urllib.request.quote |
| cookielib.CookieJar | http.CookieJar |
| urllib2.Request | urllib.request.Request |
3.1 网络爬虫概述
3.1.1 网络爬虫及其应用
-
网络爬虫是一种按照一定规则,自动地抓取万维网信息的程序或脚本
-
网络爬虫按照系统构建和实现技术,可以分为:
- 通用网络爬虫
- 聚焦网络爬虫
- 增量式网络爬虫
- 深层网络爬虫
实际的网络爬虫系统通常是几种爬虫技术相结合实现的
-
通用网络爬虫:搜索引擎是一种大型复杂的网络爬虫,属于通用性网络爬虫的范畴。但存在一些局限性:
- 通用搜索引擎所返回的结果包含大量用户不关心的网页
- 有限的搜索引擎服务器资源与无限的网络数据资源之间存在巨大的矛盾
- 通用搜索引擎对图片、数据库、音频、视频等信息含量密集且具有一定结构的数据不能很好的发现和获取
- 通用搜索引擎大多提供基于关键词的检索,难以支持根据语义信息提出的查询
-
聚焦网络爬虫:通用网络爬虫解决了通用网络爬虫的一些局限性。聚焦网络爬虫是一个自动下载网页的程序,根据既定的抓取目标,有选择地访问万维网上的网页与相关的链接,获取所需要的信息。为面向主题的用户查询准备数据资源
-
增量式网络爬虫:增量式网络爬虫是指对已下载网页采取增量式更新和只爬行新产生的或者已经发生变化网页的爬虫。增量式爬虫只会在需要的时候爬行新产生或发生更新的页面,并不重新下载没有变化的页面,可有效减少数据下载量,减少时间和空间上的花费,但增加了爬行算法的复杂度和实现难度
-
深层网络爬虫:Web页面按存在方式可以分为表层网页和深层网页。
- 表层网页是指传统搜索引擎可以索引的页面,以超链接可以到达的静态网页为主构成的Web页面
- 深层网页是那些大部分内容不能通过静态链接获取的、隐藏在搜索表单后的,只有用户提交一些关键词才能获得的Web页面
3.1.2 网络爬虫结构
-
通用的网络爬虫结构
-
网络爬虫的基本工作流程:
- 首先选取一部分精心挑选的种子URL
- 将这些URL放入待抓取URL队列
- 从待抓取URL队列中读取待抓取网页的URL,解析DNS,并且得到主机的IP,并将URL对应的网页下载下来,存储进已下载网页库中。此外,将这些URL放进已抓取URL队列。
- 分析已抓取URL队列中的URL,从已下载的网页数据中分析出其他URL,并和已抓取的URL进行比较去重,最后将去重过的URL放入待抓取URL队列
3.2 HTTP请求的Python实现
-
Python中有三种方式实现HTTP请求
- urllib2/urllib
- httplib/urllib
- Requests
3.2.1 urllib2/urllib实现
Python3中urllib2被集成到urllib中,请参考文首说明,本博并不修改原书标题
1. 首先实现一个完整的请求与响应模型
-
最简单的形式:
import urllib.request
response=urllib.request.urlopen('http://www.zhihu.com')
html=response.read()
print(html)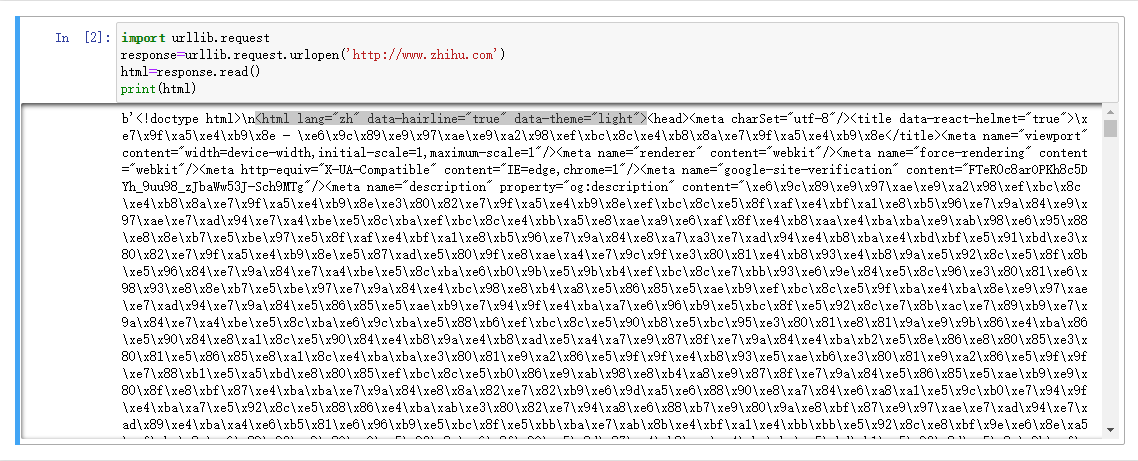
-
上面的步骤可以分为两步,一步是请求,一步是响应,形式如下:
import urllib.request
#请求
request=urllib.request.Request('http://www.zhihu.com')
#响应
response = urllib.request.urlopen(request)
html=response.read()
print(html)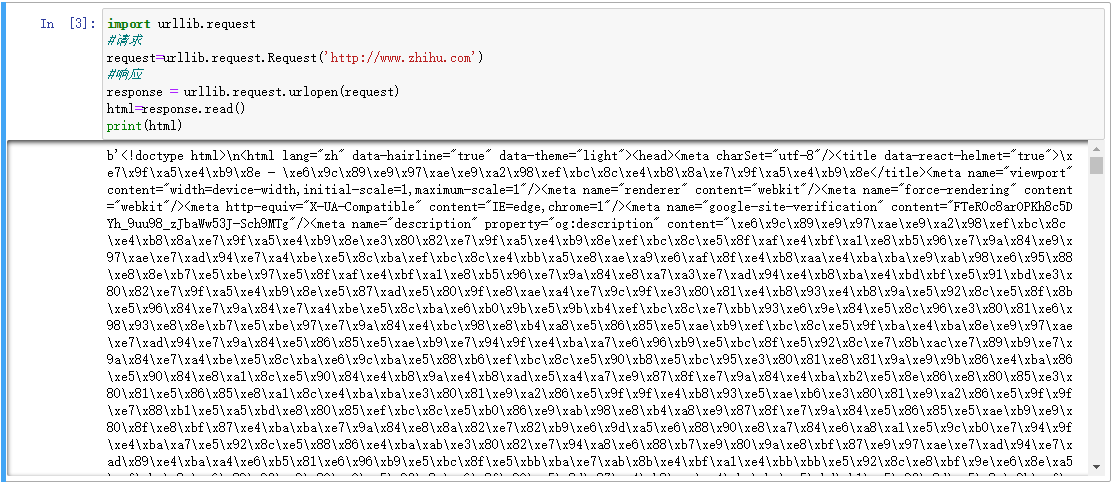
-
以上两种形式都是GET请求,接下来演示POST请求,通过urllib.parse.urlencode()增加了请求数据:
import urllib url = 'http://www.xxxxxx.com/login' postdata = {'username' : 'qiye', 'password' : 'qiye_pass'} #info 需要被编码为urllib2能理解的格式,这里用到的是urllib data = urllib.parse.urlencode(postdata).encode("utf-8") req = urllib.request.Request(url, data) response = urllib.request.urlopen(req) html = response.read().decode("utf-8") print(html) # 这里没有具体网址,所以没有截图 -
有时也会出现这种情况:即使POST请求的数据是对的,但是服务器拒绝你的访问。问题可能出在请求中的头信息,服务器会检验请求头,来判断是否是来自浏览器的访问,这也是反爬虫的常用手段。
2. 请求头headers处理
-
将上面的例子加上请求头信息,设置请求头中的User-Agent域和Referer域信息
import urllib url = 'http://www.xxxxxx.com/login' user_agent = 'Mozilla/4.0 (compatible; MSIE 5.5; Windows NT)' referer='http://www.xxxxxx.com/' postdata = {'username' : 'qiye', 'password' : 'qiye_pass'} # 将user_agent,referer写入头信息 headers={'User-Agent':user_agent,'Referer':referer} data = urllib.parse.urlencode(postdata).encode("utf-8") req = urllib.request.Request(url, data, headers) response = urllib.request.urlopen(req) html = response.read().decode("utf-8") -
也可以用add_header来添加请求头信息
import urllib url = 'http://www.xxxxxx.com/login' user_agent = 'Mozilla/4.0 (compatible; MSIE 5.5; Windows NT)' referer='http://www.xxxxxx.com/' postdata = {'username' : 'qiye', 'password' : 'qiye_pass'} data = urllib.parse.urlencode(postdata).encode("utf-8") req = urllib.request.Request(url) # 将user_agent,referer写入头信息 req.add_header('User-Agent',user_agent) req.add_header('Referer',referer) # req.add_data(data) # 这个方法在Python3中不存在 # urllib.request.data = data # 这个在Python3中可以运行,但是没测试过是否能真的发送data # response = urllib.request.urlopen(req) response = urllib.request.urlopen(req, data) # 没测试过上一条命令,所以最好还是直接放这里 html = response.read().decode("utf-8") -
对有些header要特别留意,服务器会针对这些header做检查:
- User-Agent:有些服务器或Proxy会通过该值来判断是否是浏览器发出的请求
- Content-Type:在使用REST接口时,服务器会检查该值,用来确定HTTP Body中的内容该怎样解析。在使用服务器提供的RESTful或SOAP服务时,Content-Type设置错误会导致服务器拒绝服务。常见的取值有:
- application/xml:在XML RPC,如RESTful/SOAP调用时使用
- application/json:在JSON RPC调用时使用
- application/x-www-form-urlencoded:浏览器提交Web表单时使用
- Referer:服务器有时候会检查防盗链
3. Cookie处理
-
以下演示得到某个Cookie的值:
import urllib
from http import cookiejar
cookie = cookiejar.CookieJar()
opener = urllib.request.build_opener(urllib.request.HTTPCookieProcessor(cookie))
response = opener.open('http://www.zhihu.com')
for item in cookie:
    print(item.name + ':' + item.value)

# 输出:
# _xsrf:2VJj0A5wbVnf3er3A7jKoYGs9yptD58Q
# _zap:c1528c61-5946-45d6-ab3a-c9580195572c
# KLBRSID:81978cf28cf03c58e07f705c156aa833|1603469046|1603469046
-
如果想自己添加Cookie内容,可以通过设置请求头中的Cookie域来做:
import  urllib
opener = urllib.request.build_opener()
opener.addheaders.append( ( 'Cookie', 'email=' + "xxxxxxx@163.com" ) )
req = urllib.request.Request( "http://www.zhihu.com/" )
response = opener.open(req)
print(response.headers)
retdata = response.read()

# 注:知乎不加user_agent和refer可能会返回403(只是可能,上一张截图就不是403),所以截图代码加上了这两项
# 以后的代码如因没有加headers无法正常访问,则直接不附截图
# 输出:
# Server: nginx/1.13.5
# Date: Fri, 23 Oct 2020 16:10:54 GMT
# Content-Type: text/html; charset=utf-8
# Transfer-Encoding: chunked
# Connection: close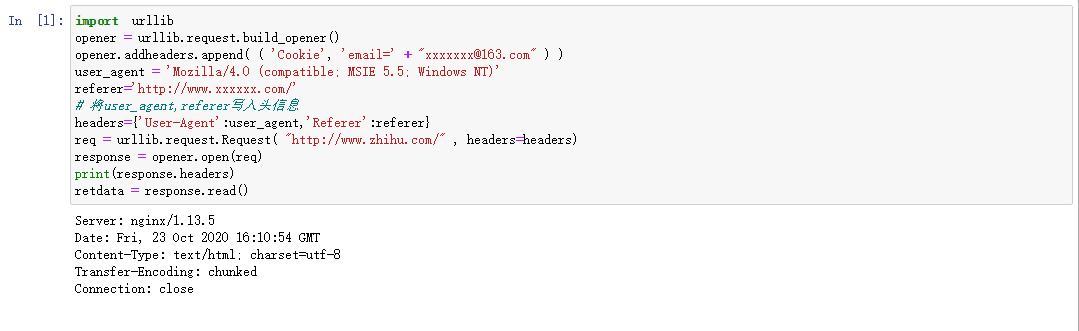
4. Timeout设置超时
-
设置全局Timeout值:
import urllib import socket socket.setdefaulttimeout(10) # 10 秒钟后超时 urllib.request.socket.setdefaulttimeout(10) # 另一种方式 -
设置urlopen函数的Timeout值:
import urllib
request=urllib.request.Request('http://www.zhihu.com')
response = urllib.request.urlopen(request,timeout=2)
html=response.read()
print(html)
5. 获取HTTP响应码
-
对于200 OK状态来说,只要使用urlopen返回的response对象的getcode()方法就可以得到HTTP的返回码
-
对其他返回码来说,urlopen会抛出异常,可以使用以下代码来检查异常对象的code属性:
import urllib
try:
    response = urllib.request.urlopen('http://www.google.com')
    print(response)
except urllib.error.HTTPError as e:
    if hasattr(e, 'code'):
        print('Error code:',e.code)

# 输出:
# Error code: 403
6. 重定向
-
urllib(原书中为urllib2,但Python3将urllib2和urllib合并了)默认情况下会针对HTTP 3XX返回码自动进行重定向操作
-
要检测是否发生了重定向,只需要检查Response的URL和Request的URL是否一致即可
import urllib response = urllib.request.urlopen('http://www.zhihu.cn') isRedirected = response.geturl() == 'http://www.zhihu.cn' -
如果不想自动重定向,可以自定义HTTPRedirectHandler类:
import urllib
class RedirectHandler(urllib.request.HTTPRedirectHandler):
    # 301:永久性转移
    def http_error_301(self, req, fp, code, msg, headers):
        pass
    # 302:暂时性转移
    def http_error_302(self, req, fp, code, msg, headers):
        result = urllib.request.HTTPRedirectHandler.http_error_301(self, req, fp, code, msg, headers)
        result.status = code
        result.newurl = result.geturl()
        return result
opener = urllib.request.build_opener(RedirectHandler)
opener.open('http://www.zhihu.cn')
7. Proxy的设置
-
urllib(原书中为urllib2)默认会使用环境变量http_proxy来设置HTTP Proxy
-
但我们一般不选择这种方式,而是使用ProxyHandler在程序中动态设置代理:
import urllib proxy = urllib.request.ProxyHandler({'http': '127.0.0.1:8087'}) opener = urllib.request.build_opener(proxy) urllib.request.install_opener(opener) response = urllib.request.urlopen('http://www.zhihu.com/') print(response.read().decode("utf8")) -
使用urllib.request.install_opener()会设置urllib的全局opener,之后所有的HTTP访问都会使用这个代理
-
比较好的做法是不使用install_opener()去更改全局的设置,而只是调用opener的open方法代替全局的urlopen方法
import urllib
proxy = urllib.request.ProxyHandler({'http': '127.0.0.1:8087'})
opener = urllib.request.build_opener(proxy)
response = opener.open("http://www.zhihu.com/")
print(response.read().decode("utf8"))
3.2.2 httplib/urllib实现
-
httplib是一个底层基础模块,可以看到建立HTTP请求的每一步,但实现的功能比较少,正常情况下比较少用到
-
在爬虫开发中基本用不到httplib模块,所以在此只是进行普及,简单介绍常用对象和函数:
功能 命令 创建HTTPConnection对象 class httplib.HTTPConnection(host[, port[, strict[, timeout[, source_address]]]]) 发送请求 HTTPConnection.request(method, url[, body[, headers]]) 获得响应 HTTPConnection.getresponse() 读取响应信息 HTTPResponse.read([amt]) 获得指定头信息 HTTPResponse.getheader(name[, default]) 获得响应头(header, value)的元组列表 HTTPResponse.getheaders() 获得底层socket文件描述符 HTTPResponse.fileno() 获得头内容 HTTPResponse.msg 获得头http版本 HTTPResponse.version 获得返回状态码 HTTPResponse.status 获得返回说明 HTTPResponse.reason -
Python 2.x中的httplib模块在Python 3.x中变为http.client,以上代码和描述仍然是从原书中摘录,以下代码将修改为Python3代码
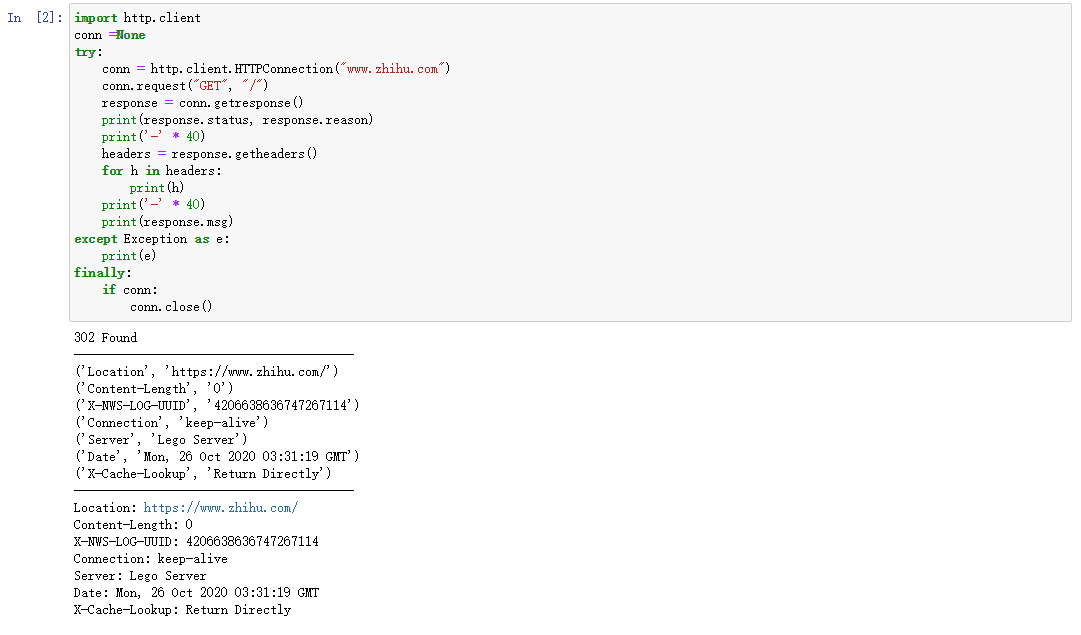
发送GET请求示例
import http.client
conn =None
try:
    conn = http.client.HTTPConnection("www.zhihu.com")
    conn.request("GET", "/")
    response = conn.getresponse()
    print(response.status, response.reason)
    print('-' * 40)
    headers = response.getheaders()
    for h in headers:
        print(h)
    print('-' * 40)
    print(response.msg)
except Exception as e:
    print(e)
finally:
    if conn:
        conn.close()

# 输出:
# 302 Found
# ----------------------------------------
# ('Location', 'https://www.zhihu.com/')
# ('Content-Length', '0')
# ('X-NWS-LOG-UUID', '4206638636747267114')
# ('Connection', 'keep-alive')
# ('Server', 'Lego Server')
# ('Date', 'Mon, 26 Oct 2020 03:31:19 GMT')
# ('X-Cache-Lookup', 'Return Directly')
# ----------------------------------------
# Location: https://www.zhihu.com/
# Content-Length: 0
# X-NWS-LOG-UUID: 4206638636747267114
# Connection: keep-alive
# Server: Lego Server
# Date: Mon, 26 Oct 2020 03:31:19 GMT
# X-Cache-Lookup: Return Directly
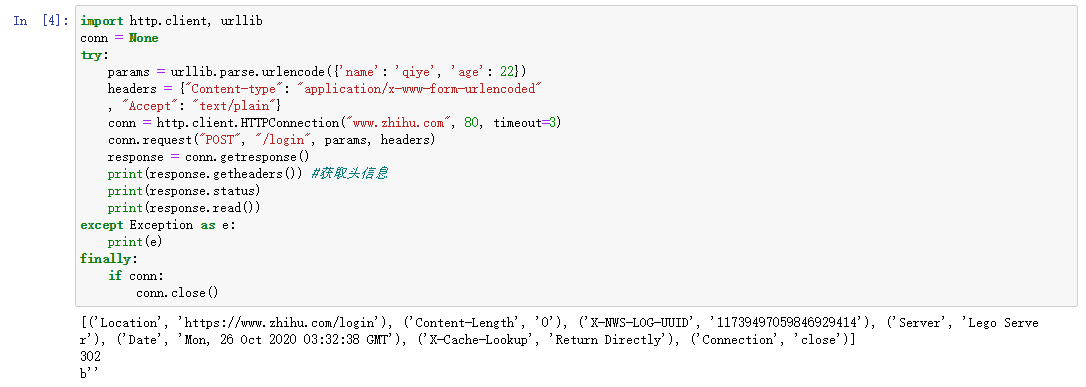
发送POST请求示例:
import http.client, urllib
conn = None
try:
    params = urllib.parse.urlencode({'name': 'qiye', 'age': 22})
    headers = {"Content-type": "application/x-www-form-urlencoded"
    , "Accept": "text/plain"}
    conn = http.client.HTTPConnection("www.zhihu.com", 80, timeout=3)
    conn.request("POST", "/login", params, headers)
    response = conn.getresponse()
    print(response.getheaders()) #获取头信息
    print(response.status)
    print(response.read())
except Exception as e:
    print(e)
finally:
    if conn:
        conn.close()

# 输出:
# [('Location', 'https://www.zhihu.com/login'), ('Content-Length', '0'), ('X-NWS-LOG-UUID', '11739497059846929414'), ('Server', 'Lego Server'), ('Date', 'Mon, 26 Oct 2020 03:32:38 GMT'), ('X-Cache-Lookup', 'Return Directly'), ('Connection', 'close')]
# 302
# b''
3.2.3 更人性化的Requests
0. 安装
- 安装:
- pip install requests
- 下载链接:https://github.com/kennethreitz/requests/releases,下载解压后运行setup.py
- 安装后再Python的shell中输入import requests,不报错即为安装成功
1. 首先还是实现一个完整的请求与响应模型
-
以GET请求为例,最简单的形式如下:
import requests
r = requests.get('http://www.baidu.com')
print(r.content)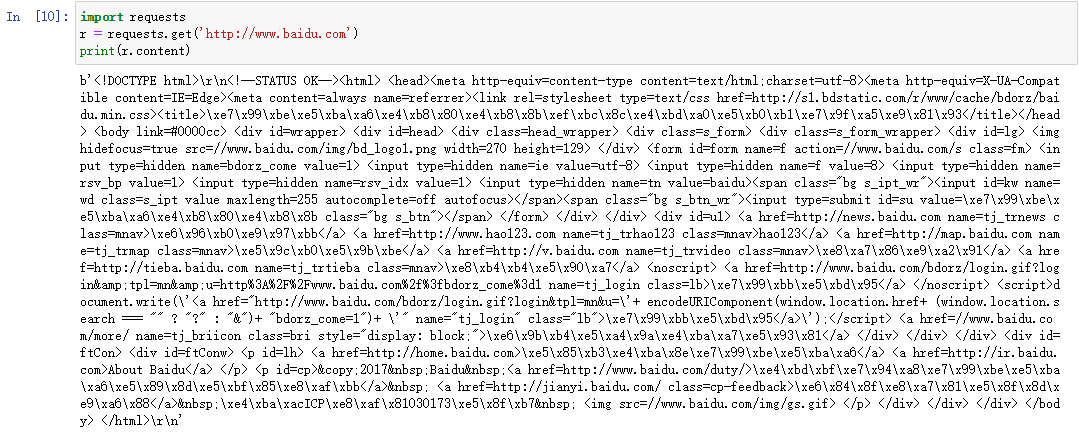
-
POST请求示例:
import requests postdata={'key':'value'} r = requests.post('http://www.xxxxxx.com/login',data=postdata) print(r.content) -
HTTP中的其他请求方式也可以用Requests来实现:
r = requests.put('http://www.xxxxxx.com/put', data = {'key': 'value'})r = requests.delete('http://www.xxxxxx.com/delete')r = requests.head('http://www.xxxxxx.com/get')r = requests.options('http://www.xxxxxx.com/get')
-
在网页URL中使用?后面跟明码参数的形式,在Requests中也有支持:
import requests
payload = {'Keywords': 'blog:qiyeboy','pageindex':1}
r = requests.get('http://zzk.cnblogs.com/s/blogpost', params=payload)
print(r.url)
# 输出:
# https://zzk.cnblogs.com/s/blogpost?Keywords=blog%3Aqiyeboy&pageindex=1
2. 响应与编码
-
示例代码:
import requests r = requests.get('http://www.baidu.com') print('content-->'+r.content) print('text-->'+r.text) print('encoding-->'+r.encoding) r.encoding='utf-8' print('new text-->'+r.text) # 输出过长,省略- r.content返回的是字节格式
- t.text返回的是文本格式
- r.encoding返回的是根据HTTP头猜测的网页编码格式
- 输出结果:text-->之后的内容是乱码,encoding-->之后的内容是ISO-8859-1(实际编码为UTF-8)的乱码
-
可以通过r.encoding来设置字符编码
-
可以通过更简单的chardet库来实现自动更新编码:
- 安装:pip install chardet
- 使用chardet.detect()返回字典,其中confidence是检测精确度,encoding是编码形式
- 直接将chardet探测到的编码赋给r.encoding实现解码
import requests
import chardet
r = requests.get('http://www.baidu.com')
print(chardet.detect(r.content))
r.encoding = chardet.detect(r.content)['encoding']
print(r.text)
-
除了上面那种直接获取全部响应的方式,还有一种流模式,使响应以字节流方式进行读取,r.raw.read函数指定读取的字节数
import requests
r = requests.get('http://www.baidu.com', stream=True)
print(r.raw.read(10))

# 输出:
# b'\x1f\x8b\x08\x00\x00\x00\x00\x00\x00\x03'
3. 请求头headers处理
-
在Requests的get函数中添加headers参数
import requests
user_agent = 'Mozilla/4.0 (compatible; MSIE 5.5; Windows NT)'
headers={'User-Agent':user_agent}
r = requests.get('http://www.baidu.com',headers=headers)
print(r.content)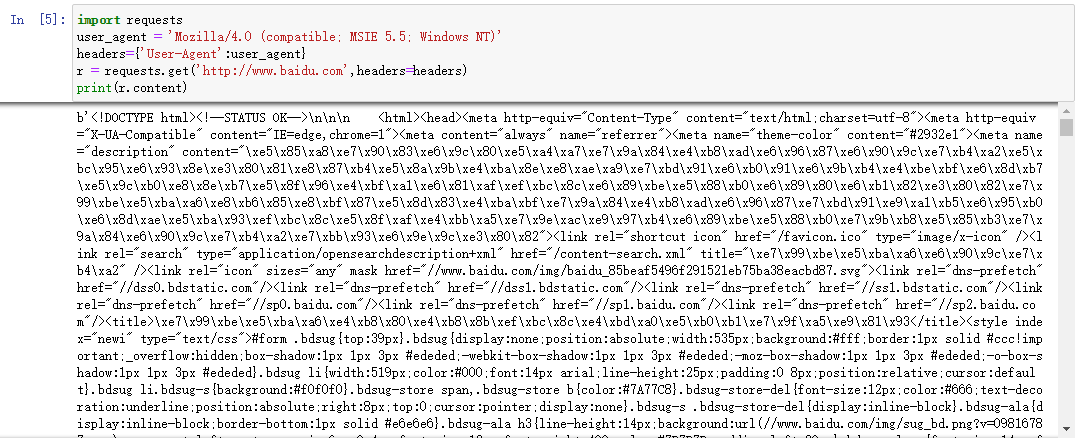
4. 响应码code和响应头headers处理
-
使用Requests中的status_code字段获取响应码
-
使用Requests中的headers字段获取全部响应头
- 可以通过get函数获取其中的某一个字段,如果没有这个字段会返回None
- 可以通过字典引用的方式获取字典值,但如果没有这个字段则会抛出异常
-
r.raise_for_status可以主动产生一个异常,当响应码是4XX或5XX时,raise_for_status会抛出异常;当响应码为200时,raise_for_status返回None
import requests
r = requests.get('http://www.baidu.com')
if r.status_code == requests.codes.ok:
    print(r.status_code)#响应码
    print(r.headers)#响应头
    print(r.headers.get('content-type'))#推荐使用这种获取方式,获取其中的某个字段
    print(r.headers['content-type'])#不推荐使用这种获取方式
else:
    r.raise_for_status()

# 输出:
# 200
# {'Cache-Control': 'private, no-cache, no-store, proxy-revalidate, no-transform', 'Connection': 'keep-alive', 'Content-Encoding': 'gzip', 'Content-Type': 'text/html', 'Date': 'Mon, 26 Oct 2020 03:37:28 GMT', 'Last-Modified': 'Mon, 23 Jan 2017 13:28:16 GMT', 'Pragma': 'no-cache', 'Server': 'bfe/1.0.8.18', 'Set-Cookie': 'BDORZ=27315; max-age=86400; domain=.baidu.com; path=/', 'Transfer-Encoding': 'chunked'}
# text/html
# text/html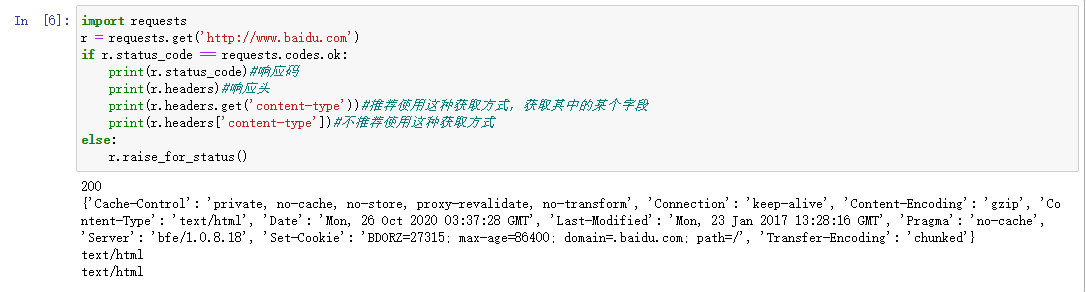
5. Cookie处理
-
可以通过以下方式获取Cookie字段的值:
import requests
user_agent = 'Mozilla/4.0 (compatible; MSIE 5.5; Windows NT)'
headers={'User-Agent':user_agent}
r = requests.get('http://www.baidu.com',headers=headers)
#遍历出所有的cookie字段的值
for cookie in r.cookies.keys():
    print(cookie+':'+r.cookies.get(cookie))

# 输出:
# BAIDUID:D7C2F6796085FDA28A31BE315DDA891A:FG=1
# BIDUPSID:D7C2F6796085FDA270112C0795ABEEEB
# H_PS_PSSID:32755_1429_32840_32230_7516_7605
# PSTM:1603683926
# BDSVRTM:15
# BD_HOME:1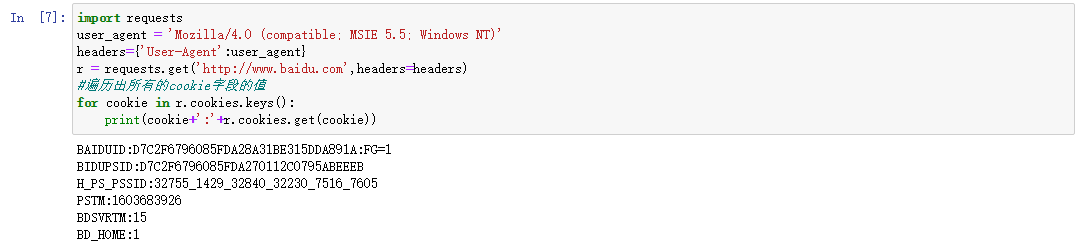
-
可以通过以下方式自定义Cookie值:
import requests
user_agent = 'Mozilla/4.0 (compatible; MSIE 5.5; Windows NT)'
headers={'User-Agent':user_agent}
cookies = dict(name='qiye',age='10')
r = requests.get('http://www.baidu.com',headers=headers,cookies=cookies)
print(r.text)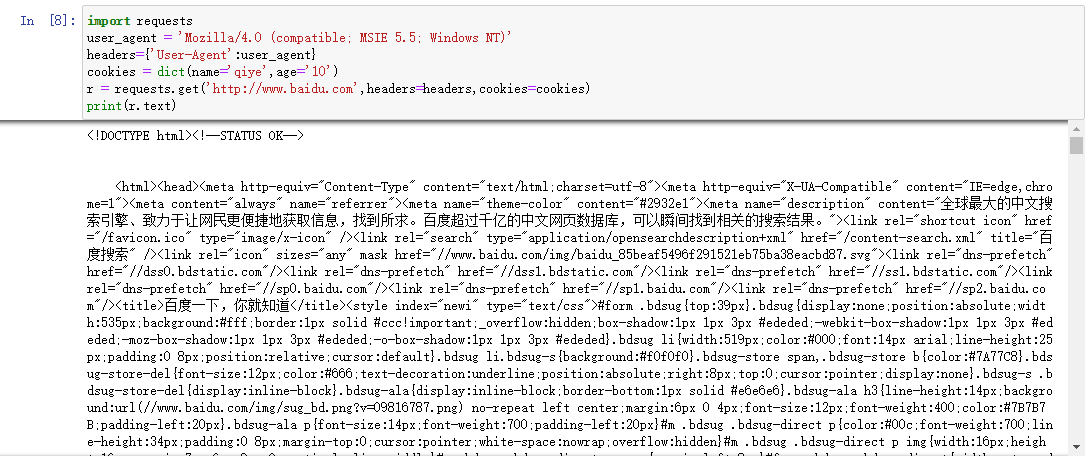
-
可以通过以下方式自动处理Cookie,在每次访问时,程序自动把Cookie的值带上,像浏览器一样
import requests loginUrl = 'http://www.xxxxxxx.com/login' s = requests.Session() #首先访问登录界面,作为游客,服务器会先分配一个cookie r = s.get(loginUrl,allow_redirects=True) datas={'name':'qiye','passwd':'qiye'} #向登录链接发送post请求,验证成功,游客权限转为会员权限 r = s.post(loginUrl, data=datas, allow_redirects= True) print(r.text) -
在上一步的代码中,如果没有第一步访问登录的页面(get请求),系统会把你当做非法用户,因为访问登录界面时会分配一个Cookie,需要将这个Cookie在发送Post请求时带上
6. 重定向与历史信息
-
处理重定向只需要设置allow_recirect子段即可
- True:允许重定向
- Fase:禁止重定向
-
如果允许重定向,可以通过r.history字段差好看历史信息,即访问成功之前的所有跳转信息
import requests
r = requests.get('http://github.com')
print(r.url)
print(r.status_code)
print(r.history)

# 输出:
# http://github.com/
# 200
# [<Response [301]>]
7. 超时设置
-
超时选项是通过参数timeout来进行设置的:
requests.get('http://github.com', timeout=2)
8. 代理设置
-
使用代理Proxy,可以为任意请求方法通过设置proxies参数来配置单个请求:
import requests proxies = { "http": "http://10.10.1.10:3128", "https": "http://10.10.1.10:1080", } requests.get("http://example.org", proxies=proxies) -
也可以通过环境变量HTTP_PROXY和HTTPS_PROXY来配置代理,但是在爬虫开发中不常用
-
代理如果需要HTTP Basic Auth,可以使用http://user:password@host语法:
proxies = {
    "http": "http://user:pass@10.10.1.10:3128/",
}


 1436
1436


 被折叠的 条评论
为什么被折叠?
被折叠的 条评论
为什么被折叠?
 到【灌水乐园】发言


