


文章目录
一:查看网卡信息
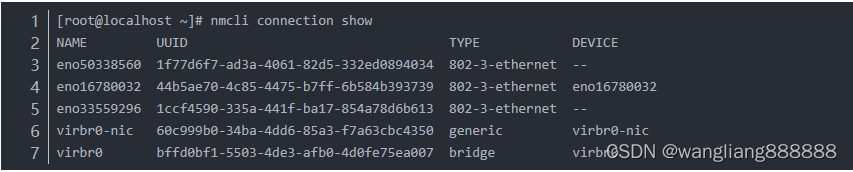
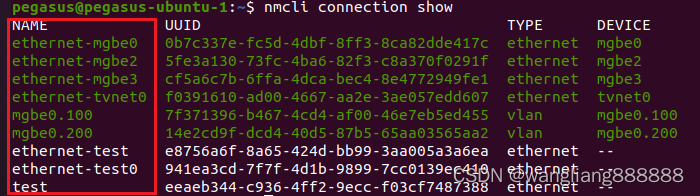
1、查看所有网络连接
nmcli connection show
2、查看活动的网络连接
nmcli connection show -active

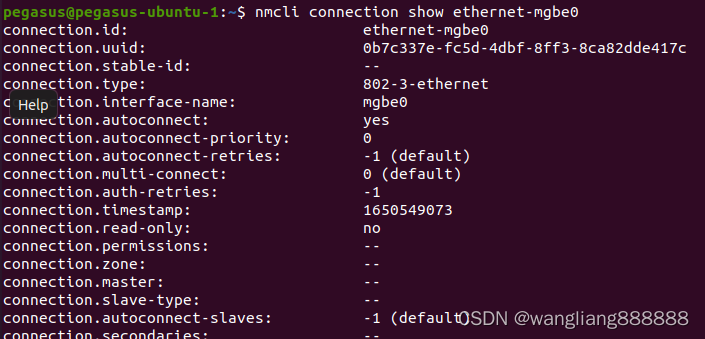
3、查看指定网卡的详细信息
nmcli connection show ethernet-mgbe0 # ethernet-mgbe0 为connection name,通过 nmcli connection show查询
4、显示设备的连接状态
nmcli device status

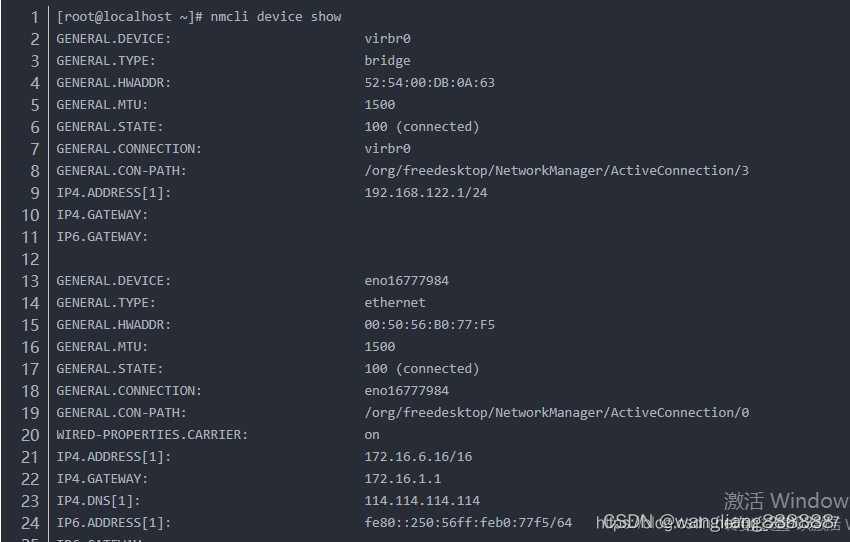
5、显示所有设备网络设备详情信息
nmcli device show
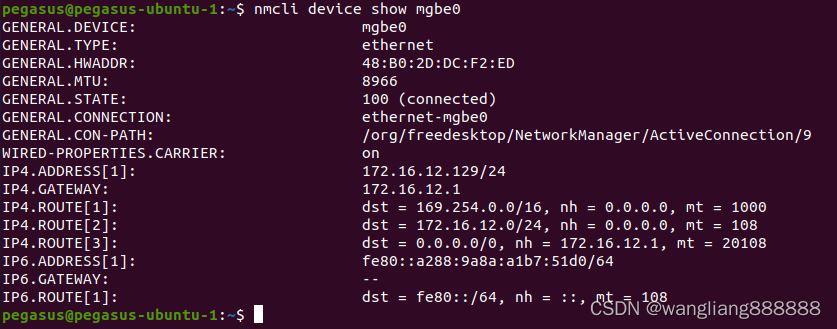
6、显示指定网络设备的详细信息
nmcli device show mgbe0 # mgbe0 为网卡名称
二:网卡修改命令
1、启用网络连接
nmcli connection up ethernet-mgbe0 # ethernet-mgbe0为连接名称

2、停用网络连接-可以被自动激活
nmcli connection down ethernet-mgbe0 # ethernet-mgbe0为连接名称

3、禁用网卡放置被激活
nmcli device disconnect mgbe0 # mgbe0为网卡名称
4、删除网络连接的配置文件
nmcli connection delete ethernet-mgbe0 # ethernet-mgbe0为连接名称
5、重新加载网络配置文件
nmcli connection reload
三:修改网卡配置
1、设置自动启动网卡
nmcli connection modify ethernet-mgbe0 connection.autoconnect yes # ethernet-mgbe0为连接名称

2、设置IP地址获取方式是手动或者DHCP
手动设置IPv4地址,如果原本是DHCP获取地址,改手动后,如果后面不接IP地址,可能会报错
[root@localhost network-scripts]nmcli connection modify ethernet-mgbe0 ipv4.method manual ipv4.addresses 172.16.10.1/16

设置IP地址为DHCP
network-scripts]nmcli connection modify ens37 ipv4.method auto

实际修改的是网卡配置文件BOOTPROTO,BOOTPROTO=none 表示手动;BOOTPROTO=dhcp 表示dhcp
3、修改IP地址
nmcli connection modify ethernet-mgbe0 ipv4.addresses 172.16.10.100/24 # ethernet-mgbe0为连接名称

4、修改网关
nmcli connection modify ethernet-mgbe0 ipv4.gateway 172.16.1.1 # ethernet-mgbe0为连接名称

5、添加第二个IP地址
nmcli connection modify ethernet-mgbe0 +ipv4.addresses 172.16.10.10/24 # ethernet-mgbe0为连接名称

6、添加DNS
nmcli connection modify ethernet-mgbe0 ipv4.dns 114.114.114.114 # ethernet-mgbe0为连接名称

7、添加第二个DNS
nmcli connection modify ethernet-mgbe0 +ipv4.dns 8.8.8.8 # ethernet-mgbe0为连接名称

8、删除第二个DNS
nmcli connection modify ethernet-mgbe0 -ipv4.dns 8.8.8.8 # ethernet-mgbe0为连接名称

9、添加网卡
【root@localhost】nmcli connection add type ethernet ifname ens8 con-name ethernet-ens8


 6563
6563


 被折叠的 条评论
为什么被折叠?
被折叠的 条评论
为什么被折叠?
 到【灌水乐园】发言


