


一、项目结构
新建报表微服务模块,这是我的项目结构图。

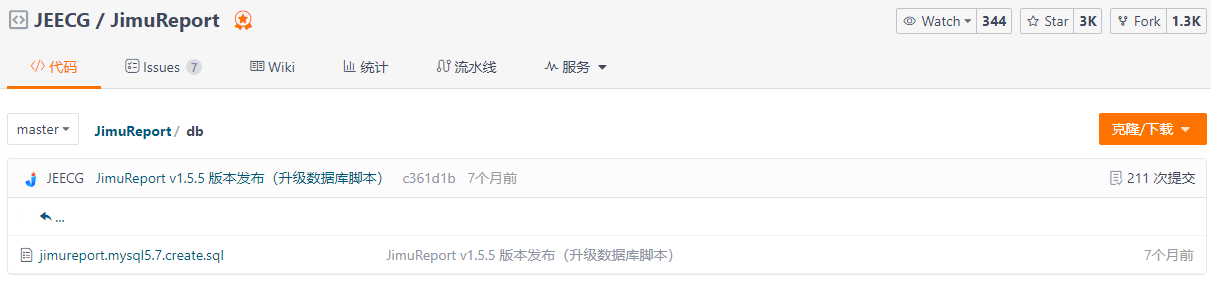
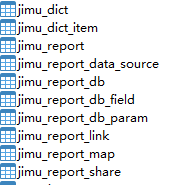
二、执行初始化数据脚本
运行积木报表的初始化脚本,创建相关表结构,github速度太慢,推荐使用 gitee地址。选择你要建表的数据库,我是跟业务库放到了一起,执行完后会新增以下这几张表。
三、pom中引入积木报表依赖
在顶级父pom中声明积木报表的版本号:
<properties>
    <jeccg.jimureport.version>1.5.6</jeccg.jimureport.version>
</properties>
在报表微服务模块添加积木报表的依赖:
<!-- JimuReport -->
<dependency>
    <groupId>org.jeecgframework.jimureport</groupId>
    <artifactId>jimureport-spring-boot-starter</artifactId>
    <version>${jeccg.jimureport.version}</version>
</dependency>
四、启动类添加积木扫描目录
在报表微服务启动类上添加积木报表扫描注解,@SpringBootApplication(exclude = {MongoAutoConfiguration.class},
scanBasePackages = {"org.jeecg.modules.jmreport", "com.iotings.report"}),下面是完整的启动类代码块:
package com.iotings.report;

import com.iotings.common.security.annotation.EnableCustomConfig;
import com.iotings.common.security.annotation.EnableRyFeignClients;
import com.iotings.common.swagger.annotation.EnableCustomSwagger2;
import org.springframework.boot.SpringApplication;
import org.springframework.boot.autoconfigure.SpringBootApplication;
import org.springframework.boot.autoconfigure.mongo.MongoAutoConfiguration;

/**
 * @description: 报表中心模块
 * @author: wzlUp
 * @date: 2023/06/16 17:05
 * @motto: Done is better than perfect.
 */
@EnableCustomConfig
@EnableCustomSwagger2
@EnableRyFeignClients
@SpringBootApplication(exclude = {MongoAutoConfiguration.class},
        scanBasePackages = {"org.jeecg.modules.jmreport", "com.iotings.report"})
public class IotingsReportApplication {

    public static void main(String[] args) {
        SpringApplication.run(IotingsReportApplication.class, args);
        System.out.println(
                "  .------------------------------------. \n" +
                " :     __                               :\n" +
                " :  =='_))  __-:!:-                     :\n" +
                " :    ,.' .'  ))-:!:-                   :\n" +
                " :   ((_,'  .'-:!:-  - Report Started - :\n" +
                " :  ~^~~~^~~^~~~^~                      :\n" +
                "  `------------------------------------' ");
    }
}
五、配置积木报表数据源
使用代码方式进行数据源的配置:
package com.iotings.report.config;

import org.springframework.boot.context.properties.ConfigurationProperties;
import org.springframework.boot.jdbc.DataSourceBuilder;
import org.springframework.context.annotation.Bean;
import org.springframework.context.annotation.Configuration;
import javax.sql.DataSource;
/**
 * @description: 数据源配置类
 * @author: wzlUp
 * @date: 2023/06/25 16:17
 * @motto: Done is better than perfect.
 */
@Configuration
public class DataSourceConfig{
    /**
     *  1、bean的名称必须为minidaoDataSource,否则不生效
     *  2、jeecg.minidao-datasource对应的是yml中的jeecg下的minidao-datasource,可自定义
     */
    @Bean(name="minidaoDataSource")
    @ConfigurationProperties(prefix = "jeecg.minidao-datasource")
    public DataSource dataSource(){
        return DataSourceBuilder.create().build();
    }
}
六、报表微服务配置
在 nacos 中新建 iotings-report-dev.yml 配置文件
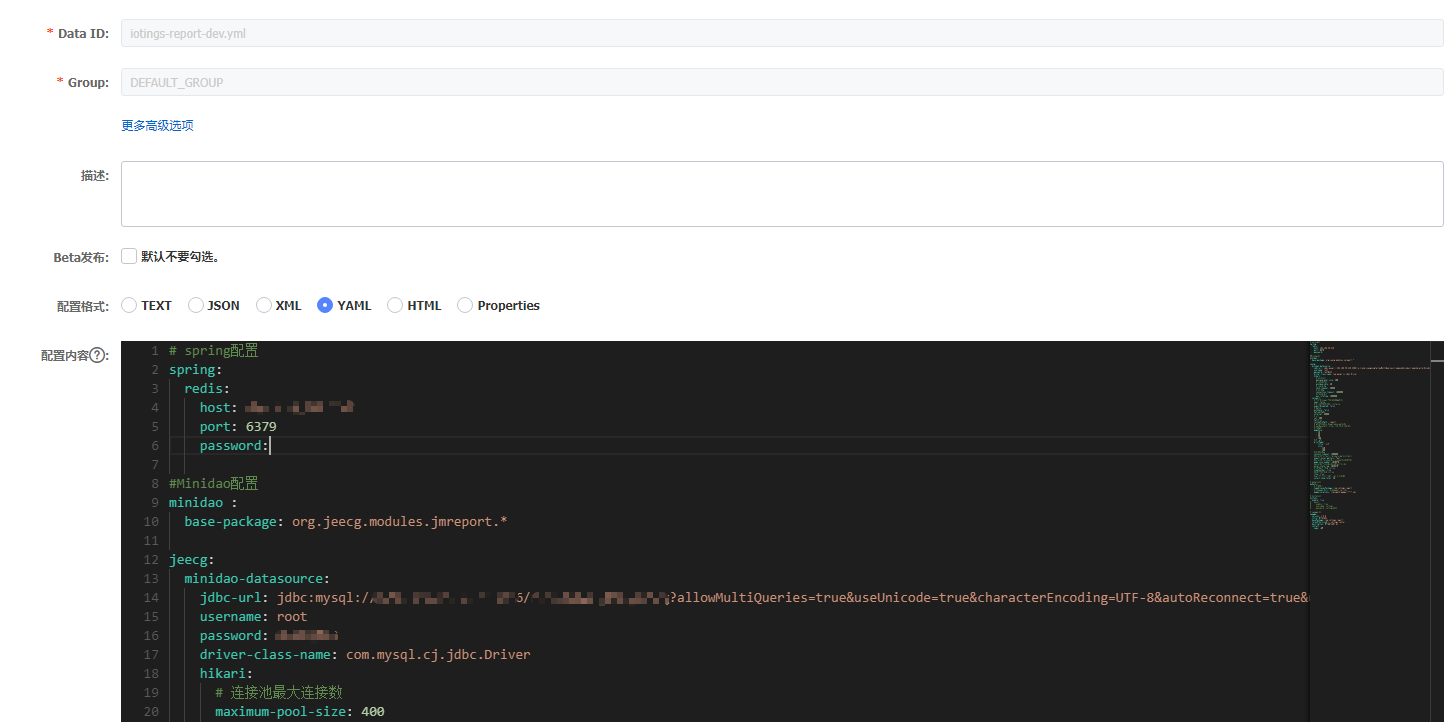
以下是我的完整配置数据项:
# spring配置
spring:
  redis:
    host: 127.0.0.1
    port: 6379
    password: 123456

#Minidao配置
minidao :
  base-package: org.jeecg.modules.jmreport.*

jeecg:
  minidao-datasource:
    jdbc-url: jdbc:mysql://127.0.0.1:3306/ry-cloud?allowMultiQueries=true&useUnicode=true&characterEncoding=UTF-8&autoReconnect=true&useSSL=false&serverTimezone=GMT%2b8
    username: root
    password: 123456
    driver-class-name: com.mysql.cj.jdbc.Driver
    hikari:
      # 连接池最大连接数
      maximum-pool-size: 400
      # 空闲时保持最小连接数
      minimum-idle: 20
      # 空闲连接存活时间
      idle-timeout: 30000
      # 连接超时时间
      connection-timeout: 1800000
      #池中连接最长生命周期
      max-lifetime: 1800000
  jmreport:
    #数据字典是否进行saas数据隔离(限制只能看自己的字典)
    saas: false
    #是否 禁用导出PDF和图片的按钮 默认为false
    exportDisabled: false
    #是否自动保存
    autoSave: false
    #自动保存间隔时间毫秒
    interval: 20000
    # 列索引
    col: 300
    #自定义项目前缀
    customPrePath: /report
    # 自定义API接口的前缀 #{api_base_path}的值
    # apiBasePath: http://10.10.0.138:83/
    #预览分页自定义
    pageSize:
      - 10
      - 20
      - 50
      - 100
    #打印纸张自定义
    printPaper:
      - title: 标签打印
        size:
          - 140
          - 100
    #接口超时设置(毫秒)
    connect-timeout: 1800000
    #Excel导出模式(fast/快、primary/精致模式,默认fast)
    export-excel-pattern: fast
    #Excel导出数据每个sheet的行数,每个sheet最大1048576行
    page-size-number: 1048576
    #excel样式超过多少行显示默认样式(只在fast模式下有效)
    excel-style-row: 1048576
    #预览页面的工具条 是否显示 默认true
    viewToolbar: true
    #设计页面表格的线是否显示 默认true
    line: true
    #sql数据源不写字典下拉框显示条数 版本1.4.2之后被放弃
    select-show-total: 10

# mybatis配置
mybatis:
    # 搜索指定包别名
    typeAliasesPackage: com.iotings.report
    # 配置mapper的扫描,找到所有的mapper.xml映射文件
    mapperLocations: classpath:mapper/**/*.xml

# knife4j配置
knife4j:
  enable: true
#   basic:
#     enable: true
#     username: iotings
#     password: iotings2023

# swagger配置
swagger:
  version: 1.0.0
  title: 报表中心接口文档
  basePackage: com.iotings.report
  termsOfServiceUrl: iotings-center
  description: 报表中心系统接口的说明文档
  contact:
    name: xxx
注意事项:
- customPrePath路径配置:需要跟网关的断言【predicates】报表关键字保持一致,否则无法进行正确的路由
七、网关微服务配置
在 iotings-gateway-dev.yml 配置文件中添加报表微服务的路由:
routes:
    # 报表中心服务
    - id: iotings-report
      uri: lb://iotings-report
      predicates:
        - Path=/report/**
      filters:
        - StripPrefix=1
在 iotings-gateway-dev.yml 配置文件中添加积木报表的安全配置和不校验白名单:
# 安全配置
security:
  # 验证码
  captcha:
    enabled: true
    type: math
  # 防止XSS攻击
  xss:
    enabled: true
    excludeUrls:
      - /system/notice
      - /report/jmreport/**
  # 不校验白名单
  ignore:
    whites:
      - /auth/logout
      - /auth/login
      - /auth/register
      - /*/v2/api-docs
      - /csrf
      - /message/websocket/**
      - /report/**
八、扩展:Token权限控制
package com.iotings.report.service.impl;

import com.iotings.common.core.utils.DateUtils;
import com.iotings.common.core.utils.StringUtils;
import com.iotings.common.security.service.TokenService;
import com.iotings.common.security.utils.SecurityUtils;
import com.iotings.system.api.model.LoginUser;
import org.jeecg.modules.jmreport.api.JmReportTokenServiceI;
import org.springframework.beans.factory.annotation.Autowired;
import org.springframework.http.HttpHeaders;
import org.springframework.stereotype.Component;

import javax.servlet.http.HttpServletRequest;
import java.util.HashMap;
import java.util.Map;

/**
 * @description: 自定义报表鉴权(如果不进行自定义, 则所有请求不做权限控制)
 * @author: wzlUp
 * @date: 2023/06/25 16:37
 * @motto: Done is better than perfect.
 */
@Component
public class JimuReportTokenServiceImpl implements JmReportTokenServiceI {

    @Autowired
    private TokenService tokenService;

    /**
     * 通过请求获取Token
     */
    @Override
    public String getToken(HttpServletRequest request) {
        String token = request.getParameter("token");
        String jmToken = request.getHeader("token");
        if (token == null || token.length() == 0) {
            token = jmToken;
        }
        LoginUser loginUser = tokenService.getLoginUser(token);
        if (loginUser != null) {
            return token;
        }
        return "";
    }

    /**
     * 获取登录人用户名
     */
    @Override
    public String getUsername(String s) {
        LoginUser loginUser = tokenService.getLoginUser(s);
        return loginUser.getUsername();
    }

    /**
     * Token校验
     */
    @Override
    public Boolean verifyToken(String s) {
        if (s != null && s.length() > 0) {
            LoginUser loginUser = tokenService.getLoginUser(s);
            return loginUser != null;
        }
        return false;
    }


    /**
     *  自定义请求头
     */
    @Override
    public HttpHeaders customApiHeader() {
        HttpHeaders header = new HttpHeaders();
        header.add("X-Access-Token", SecurityUtils.getToken());
        return header;
    }

    /**
     * 获取多租户id
     * @return tenantId
     */
    public String getTenantId() {
        String token = SecurityUtils.getCurrentRequestInfo().getParameter("token");
        String header = SecurityUtils.getCurrentRequestInfo().getHeader("X-Access-Token");
        LoginUser loginUser = null;
        if (StringUtils.isNotBlank(token)) {
            loginUser = tokenService.getLoginUser(token);
        } else if (StringUtils.isNotBlank(header)) {
            loginUser = tokenService.getLoginUser(header);
        } else {
            //都不具备则不能访问
            return "NO";
        }
        //具备admin或者管理员权限才可访问所有报表
        if (SecurityUtils.isAdmin(loginUser.getUserid())
                || loginUser.getRoles().contains("it")
                || loginUser.getRoles().contains("manger")) {
            return "";
        }
        return loginUser.getUsername();
    }

    @Override
    public Map<String, Object> getUserInfo(String token) {
        // 将所有信息存放至map 解析sql会根据map的键值解析,可自定义其他值
        Map<String, Object> map = new HashMap<>(20);
        LoginUser loginUser = tokenService.getLoginUser(token);
        map.put("sysUserCode", loginUser.getUsername());
        //设置当前日期(年月日)
        map.put("sysData", DateUtils.getDate());
        //设置昨天日期(年月日)
        map.put("sysYesterDay", DateUtils.getYesterday());
        //设置当前登录用户昵称
        map.put("sysUserName", loginUser.getSysUser().getNickName());
        //设置当前登录用户部门ID
        map.put("deptId", loginUser.getSysUser().getDeptId());
        //设置当前登录用户描述
//        map.put("describe", loginUser.getSysUser().getDept().getDescribes());
        map.put("describe", loginUser.getSysUser().getDept().getRemark());
        return map;
    }
}
九、前端页面配置
在前端页面中新建 jimureport 文件夹,新建以下vue文件
1、jimu.vue
<template>
  <i-frame :src="openUrl" id="jimuReportFrame"></i-frame>
</template>
<script>
  import { getToken } from '@/utils/auth'
  import iFrame from '@/components/iFrame/index'
  export default {
    name: "Jimu",
    components: {iFrame},
    data() {
      return {
        // 这里写暴露的统一的网关地址
        openUrl: "http://127.0.0.1:8080/report/jmreport/list?token=" + getToken(),
      };
    },
    mounted: function() {

    }
  };
</script>
2、view.vue
<template>
<i-frame :src="openUrl"/>
</template>
<script>
import {getToken} from '@/utils/auth'
import iFrame from "@/components/iFrame/index";
export default {
name: 'jimuview',
components: {iFrame},
props: {
reportID: {
type: [String],
required: false,
default: ''
},
},
data() {
return {
serverUrl: 'http://127.0.0.1:8080',
openUrl: '',
}
},
created() {
if (this.reportID.length != 0) {
this.openUrl = this.serverUrl + '/report/jmreport/view/' + this.reportID + '?token=' + getToken()
} else {
this.openUrl = this.serverUrl + '/report/jmreport/view/' + this.$route.path.substring(this.$route.path.lastIndexOf("/") + 1) + '?token=' + getToken()
}
console.log(this.openUrl)
}
}
</script>
<style scoped>
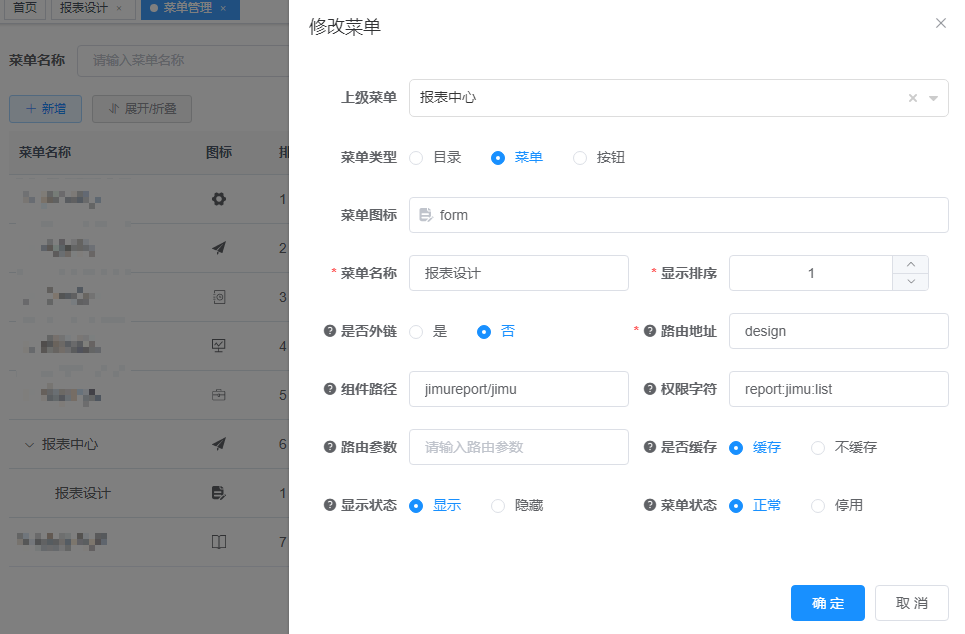
</style>十、配置报表菜单
先新建一个主类目,我是建立了一个二级菜单,这个可以自定义,随意配置
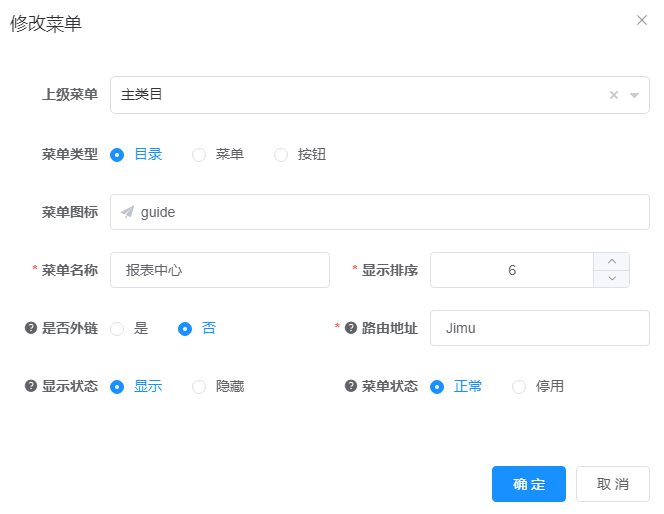
添加二级目录
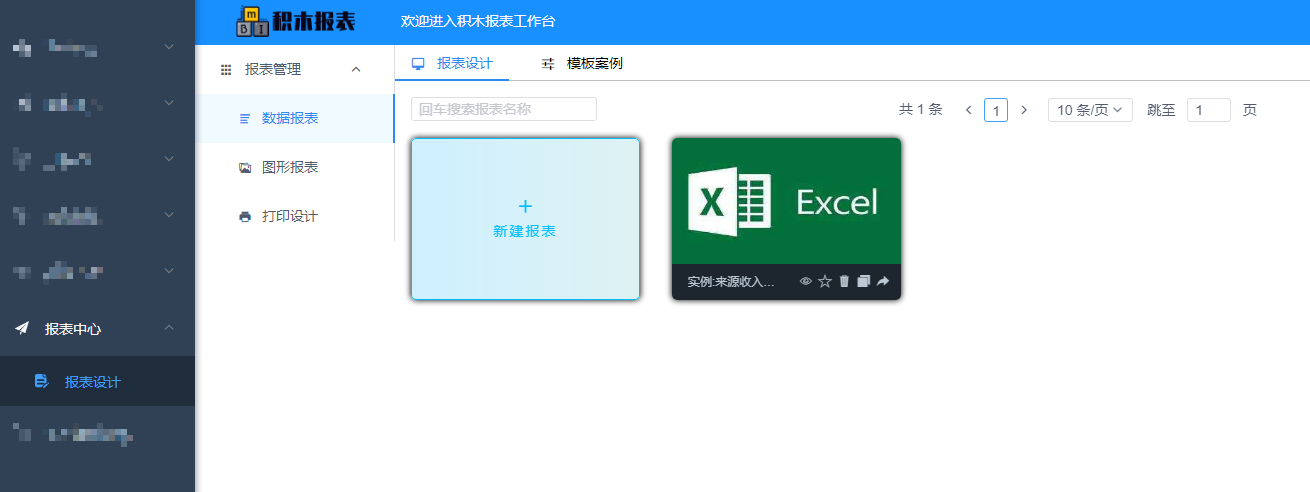
十一、集成效果展示
集成后的页面
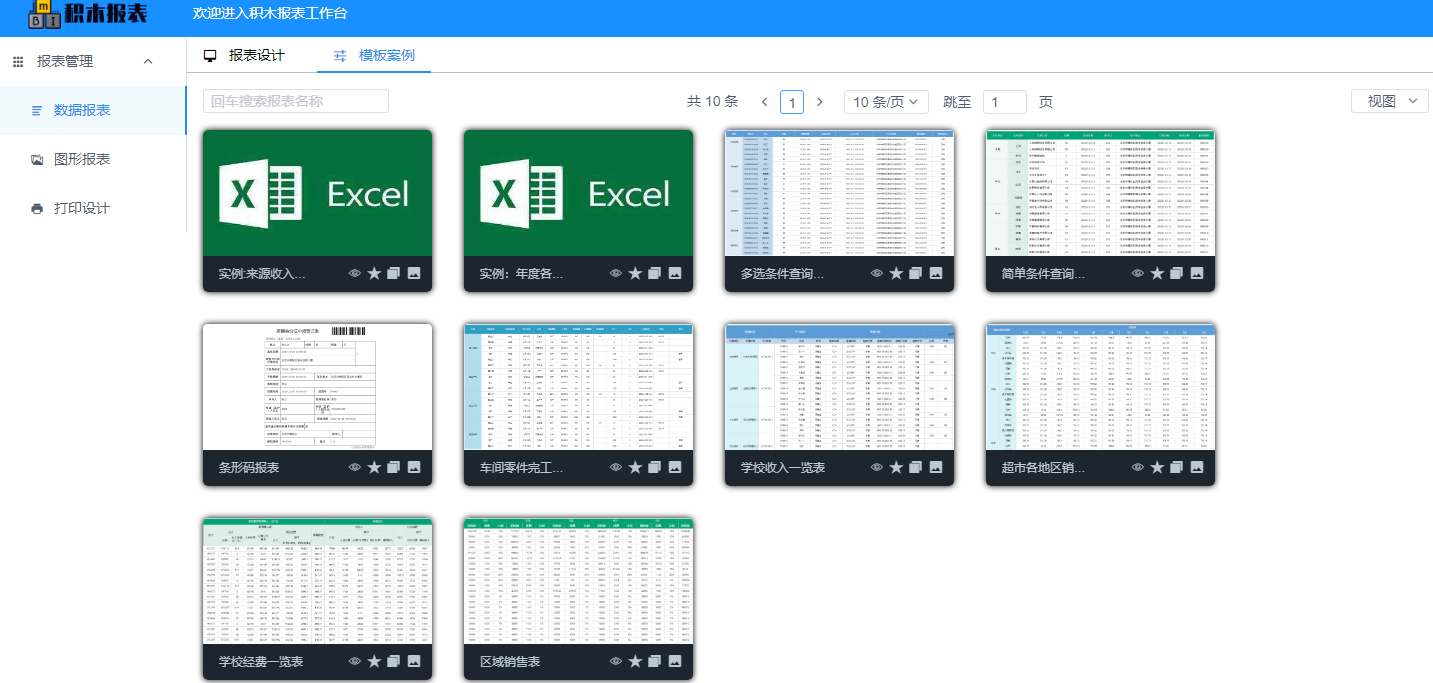
模板案例页面
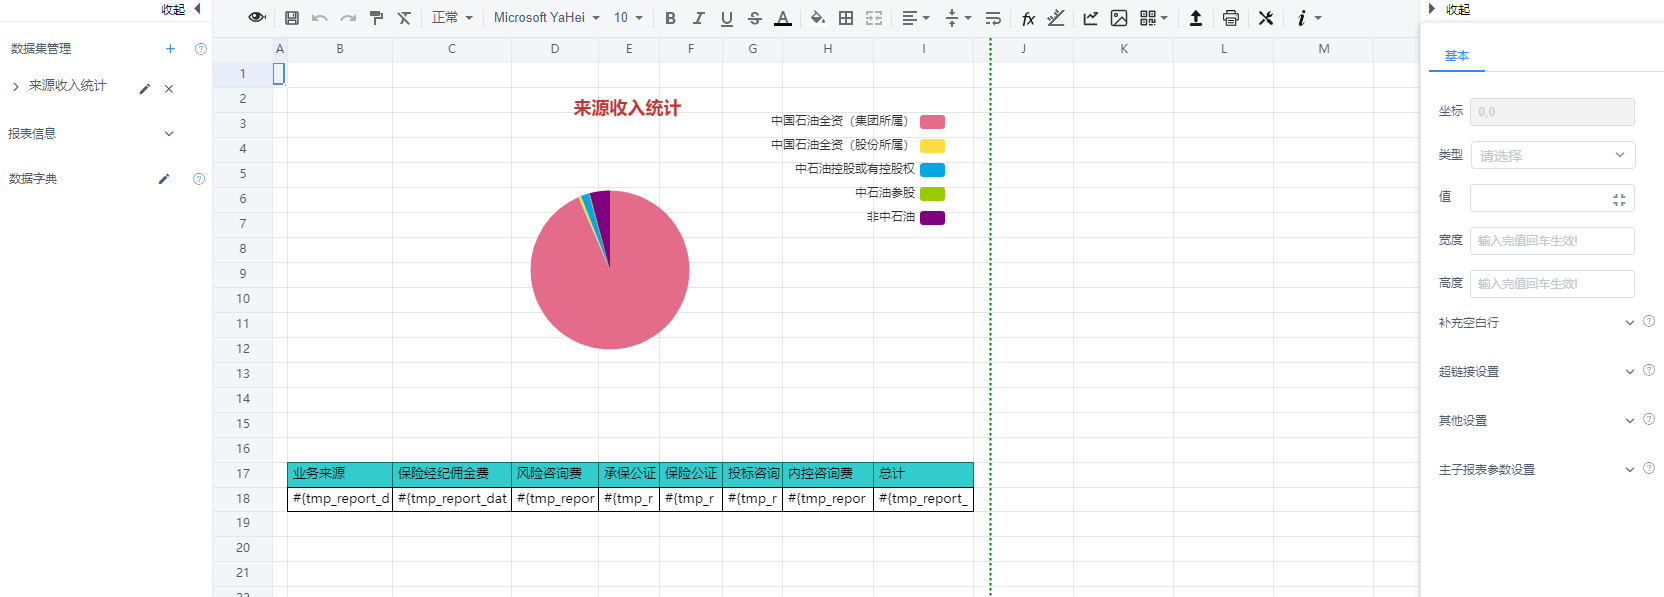
报表的设计页面
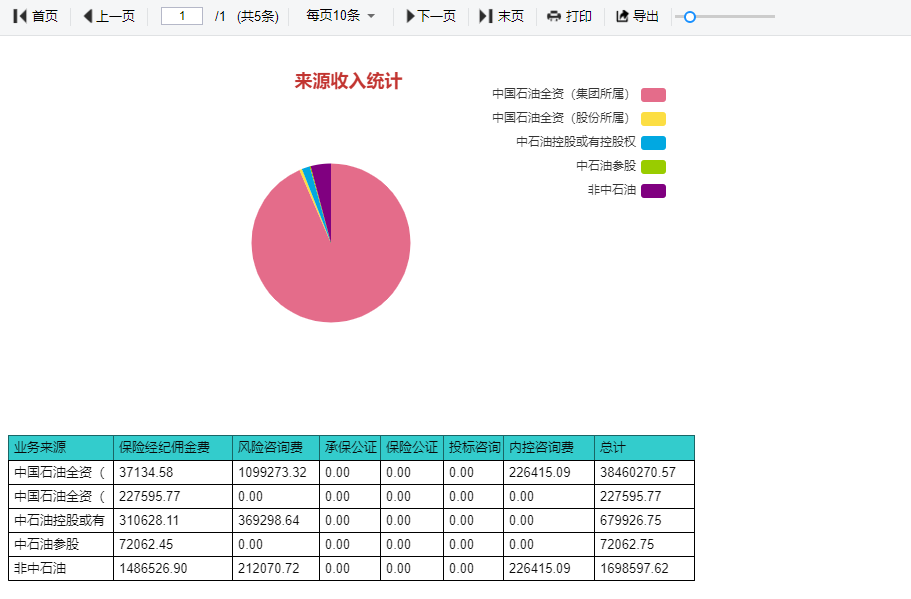
预览页面


 1932
1932


 被折叠的 条评论
为什么被折叠?
被折叠的 条评论
为什么被折叠?
 到【灌水乐园】发言


