


In order to help you learn how to use the optical character recognition(OCR) API, we will be building a simple bill/receipt scanning application. There are a bunch of technologies out there, such as Tesseract and Google Cloud Vision. However, when I was researching on my own, I realized that some OCR tools only support web applications or only React Native without Expo, or the resources are too out-to-dated to refer. Therefore I decided to write this article to guide those in need on how to integrate OCR specifically in the React Native app that builds on Expo.
为了帮助您学习如何使用光学字符识别(OCR)API,我们将构建一个简单的账单/收据扫描应用程序。 有很多技术,例如Tesseract和Google Cloud Vision。 但是,当我自己进行研究时,我意识到某些OCR工具仅支持Web应用程序,或者仅支持React Native而没有Expo,或者资源太过时以致无法参考。 因此,我决定写这篇文章来指导有需要的人如何将OCR特别集成到基于Expo的React Native应用中。
Here are the technologies we will use:
以下是我们将使用的技术:
- Firebase (for photo storage only, you can always have another database for other purposes) Firebase(仅用于照片存储,您始终可以将另一个数据库用于其他目的)
- Google Cloud Vision API (easy to start with that supports both React Native and Expo) Google Cloud Vision API(易于入门,同时支持React Native和Expo)
- Expo 世博会
- React NativeReact本机
We will need 3 steps in this tutorial:
在本教程中,我们将需要3个步骤:
- Set up your Firebase project 设置您的Firebase项目
- Set up your Google Cloud Vision API设置您的Google Cloud Vision API
- Build the app 编译应用
You can find a video demo of the scanner at the end of this article.
您可以在本文末尾找到扫描仪的视频演示。
设置您的Firebase项目: (Set up your Firebase project:)
Go to firebase and sign in with your Google account
转到firebase并使用您的Google帐户登录
- Click “Go to console” at the top right corner:点击右上角的“转到控制台”:
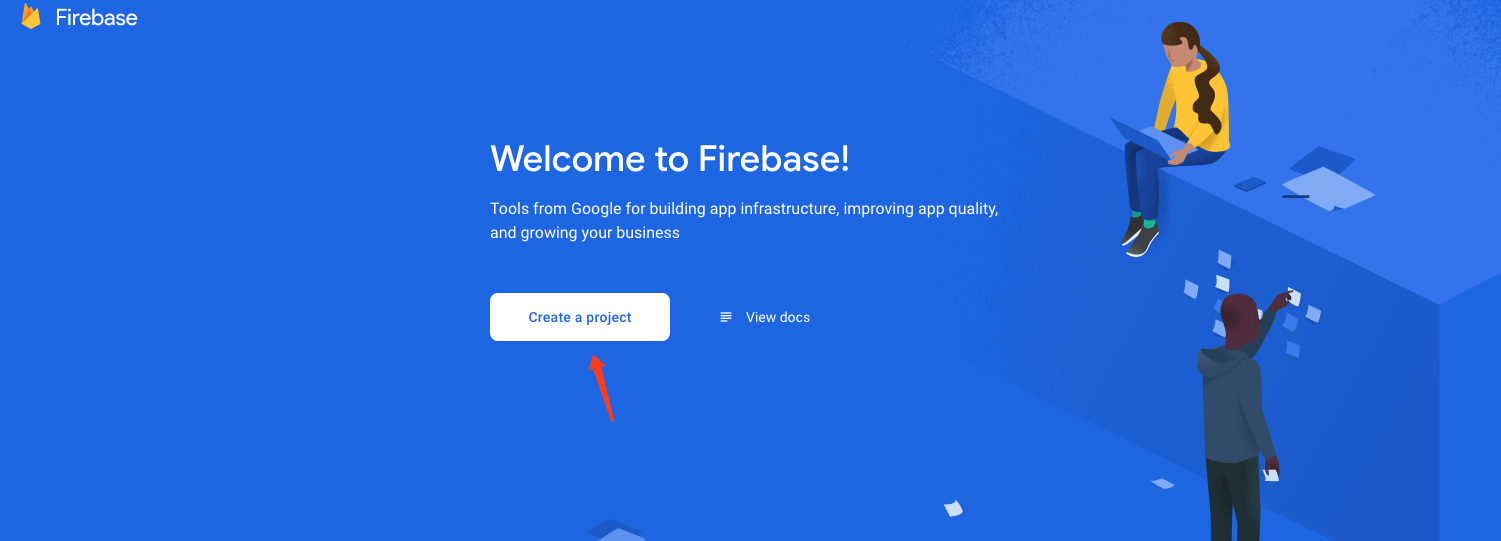
3. Create a project and enter your project info:
3.创建一个项目并输入您的项目信息:
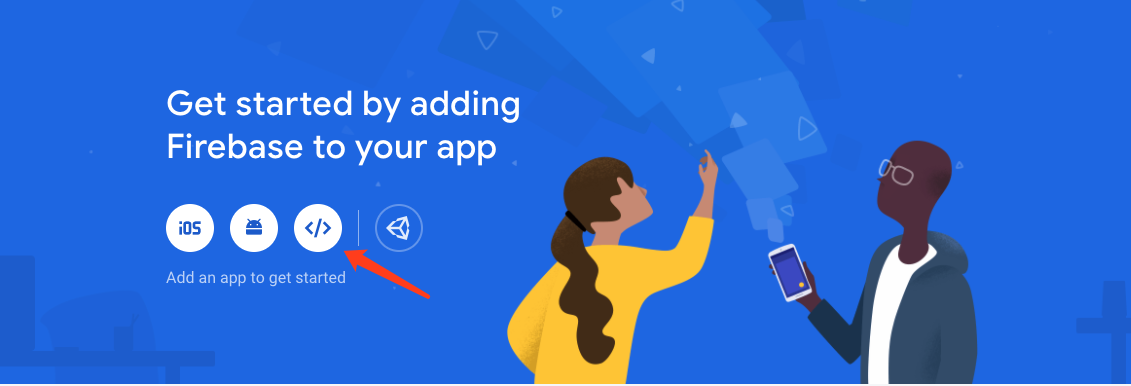
4. After you created the project, you will be redirected to the project dashboard, choose the app you want to create, in our case, “Web”:
4.创建项目后,将重定向到项目仪表板,选择要创建的应用程序,在我们的示例中为“ Web”:
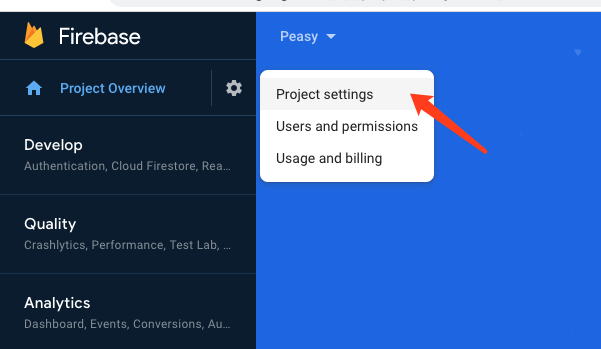
5. Go to your “project settings”:
5.转到“项目设置”:
6. Find the following information in your project settings:
6.在项目设置中找到以下信息:
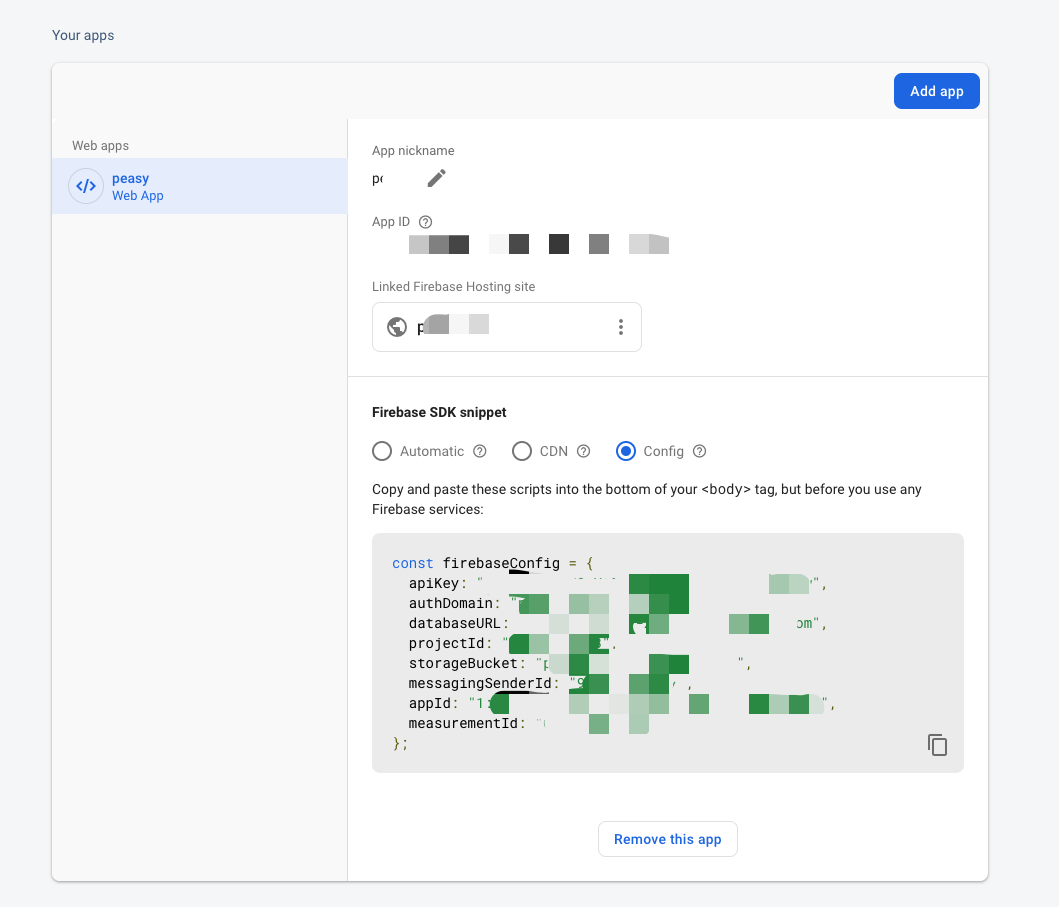
7. Put these keys in a secret.js file, because we don’t want to expose them. And also add secret.js into your .gitignore if you want to put your app on GitHub.
7.将这些密钥放在secret.js文件中,因为我们不想公开它们。 如果要将应用程序放在GitHub上,还可以将secret.js添加到.gitignore中。
export const FIREBASE_API_KEY = ‘XXX’
export const FIREBASE_DATABASE_URL = “XXX”
export const FIREBASE_PROJECT_ID = ‘XXX’
export const FIREBASE_MESSAGING_SENDER_ID = ‘XXX'
export const FIREBASE_AUTH_DOMAIN = ‘XXX’
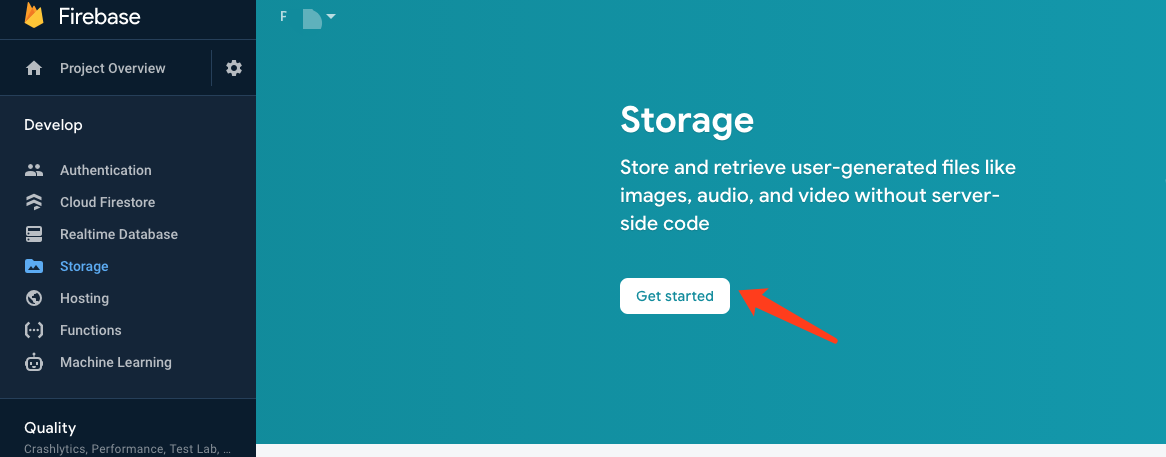
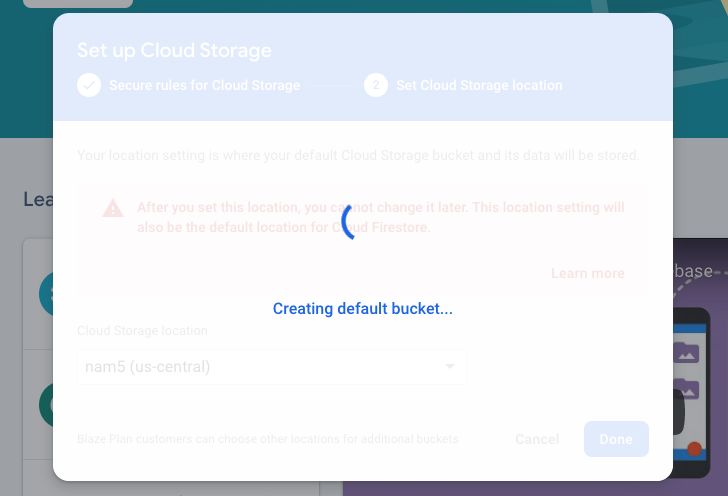
export const FIREBASE_STORAGE_BUCKET = ‘XXX’8. Create your storage database with default rules (we will change it later)
8.使用默认规则创建您的存储数据库(稍后我们将对其进行更改)
9. Go to “rules”, copy and paste the following, then publish. It takes a few minutes for the new rule to propagate, The following rules allow us to upload photos to the Firebase database.
9.转到“规则”,复制并粘贴以下内容,然后发布。 新规则传播需要几分钟,以下规则使我们可以将照片上传到Firebase数据库。
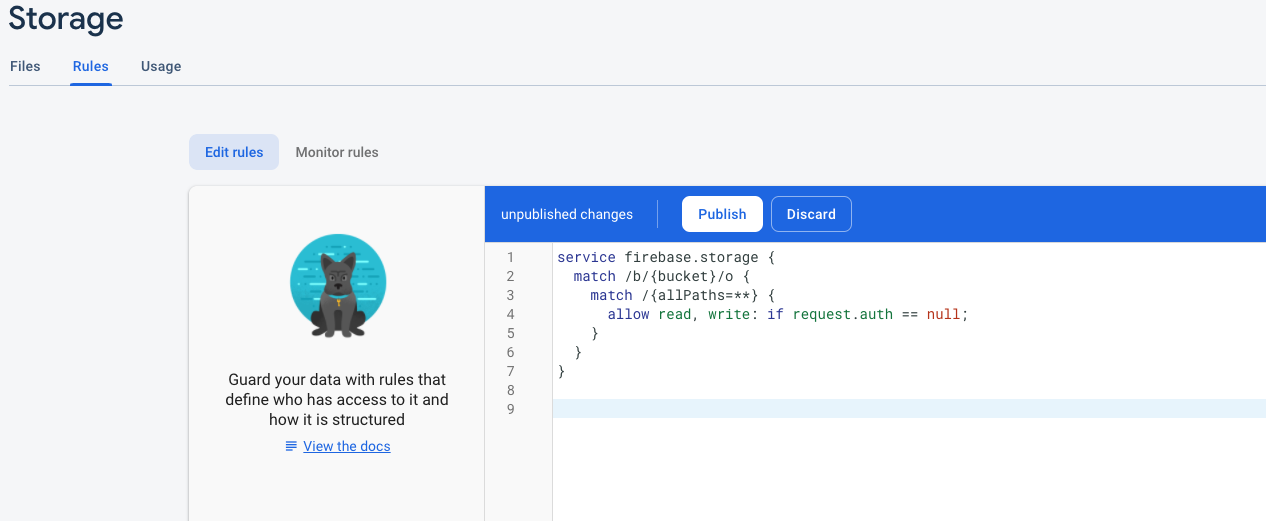
service firebase.storage {
  match /b/{bucket}/o {
    match /{allPaths=**} {
      allow read, write: if request.auth == null;
    }
  }
}
设置您的Google Vision API: (Set up your Google Vision API:)
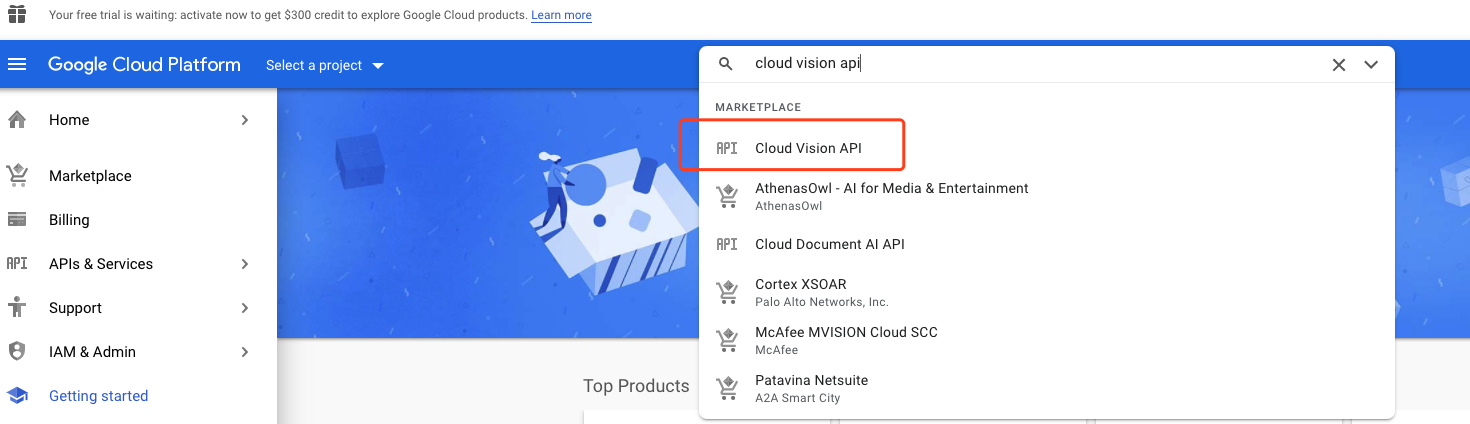
Go to Google Cloud Platform and search cloud vision API:
转到Google Cloud Platform并搜索cloud vision API:
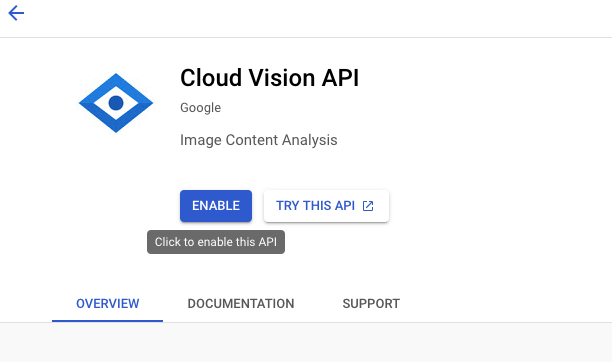
2. Create a project and then enable Cloud Vision api:
2.创建一个项目,然后启用Cloud Vision API:
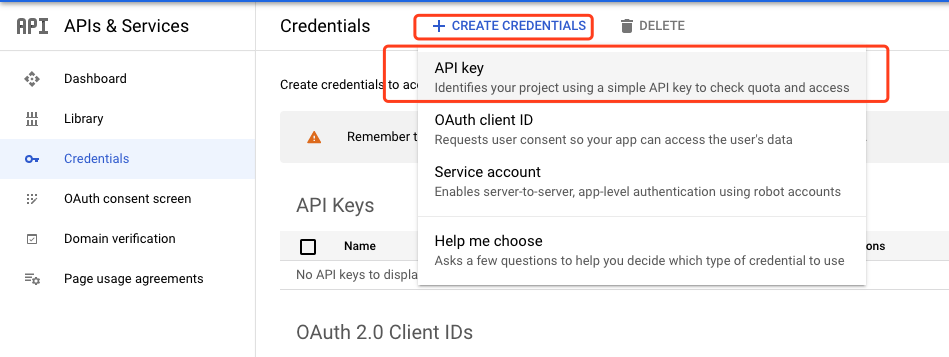
3. Create credentials and get your API key. To complete this process of enabling Vision API services, you are required to add billing information to your Google Cloud Platform account. But as long as you don’t hit the free trial limits, you won’t get charged. You can find the pricing detail in this article later on.
3.创建凭据并获取您的API密钥。 要完成启用Vision API服务的过程,您需要将结算信息添加到您的Google Cloud Platform帐户。 但是,只要您没有达到免费试用的限制,就不会收费。 您可以稍后在本文中找到定价详细信息。

生成应用程序: (Build the app:)
Now you’ve finished setting up and start building the app.
现在,您已经完成设置并开始构建应用程序。
- Install firebase: 安装firebase:
npm install -save firebase2. Create a new folder called config, and under it create a new file environments.js, import the keys from secret.js. If you are interested in a detailed explanation of the following code, you can find it here.
2.创建一个名为config的新文件夹,并在其下创建一个新文件Environments.js,从secret.js导入密钥。 如果您对以下代码的详细说明感兴趣,可以在此处找到。
//environment.jsimport {GOOGLE_CLOUD_VISION_API_KEY, FIREBASE_API_KEY, FIREBASE_AUTH_DOMAIN, FIREBASE_DATABASE_URL, FIREBASE_PROJECT_ID, FIREBASE_STORAGE_BUCKET, FIREBASE_MESSAGING_SENDER_ID} from “../secret.js”var environments = {
  staging: {
    FIREBASE_API_KEY,
    FIREBASE_AUTH_DOMAIN,
    FIREBASE_DATABASE_URL,
    FIREBASE_PROJECT_ID,
    FIREBASE_STORAGE_BUCKET,
    FIREBASE_MESSAGING_SENDER_ID,
    GOOGLE_CLOUD_VISION_API_KEY
  },
  production: {
  // Warning: This file still gets included in your native binary and  is not a secure way to store secrets if you build for the app stores. Details: https://github.com/expo/expo/issues/83
  }};function getReleaseChannel() {
  let releaseChannel = Expo.Constants.manifest.releaseChannel;
  if (releaseChannel === undefined) {
    return ‘staging’;
  } else if (releaseChannel === ‘staging’) {
    return ‘staging’;
  } else {
    return ‘staging’;
  }
}function getEnvironment(env) {
  console.log(‘Release Channel: ‘, getReleaseChannel());
  return environments[env];
}var Environment = getEnvironment(getReleaseChannel());
export default Environment;
3. Create another new file firebase.js under the config folder:
3.在config文件夹下创建另一个新文件firebase.js:
// firebase.jsimport * as firebase from ‘firebase’;
import Environment from “./environment”
firebase.initializeApp({
  apiKey: Environment[‘FIREBASE_API_KEY’],
  authDomain: Environment[‘FIREBASE_AUTH_DOMAIN’],
  databaseURL: Environment[‘FIREBASE_DATABASE_URL’],
  projectId: Environment[‘FIREBASE_PROJECT_ID’],
  storageBucket: Environment[‘FIREBASE_STORAGE_BUCKET’],
  messagingSenderId: Environment[‘FIREBASE_MESSAGING_SENDER_ID’]
});export default firebase;
4. Create a new component Scanner.js and paste the code from here.
4.创建一个新的组件Scanner.js并从此处粘贴代码。
You can find an explanation of the above example here. One thing to notice is that the package uuid used in this example might not be compatible with your Expo SDK. Therefore, I replace the uuid with the package nanoid:
您可以在此处找到上述示例的说明。 需要注意的一件事是,在本示例中使用的软件包uuid可能与您的Expo SDK不兼容。 因此,我用包nanoid替换了uuid :
Line 15:
第15行:
//old
import uuid from ‘uuid’
//new
import { nanoid } from ‘nanoid/non-secure’
Line 275:
第275行:
//old
.child(uuid.v4());
//new
.child(nanoid());
Don’t forget to install the nanoid package:
不要忘记安装nanoid软件包:
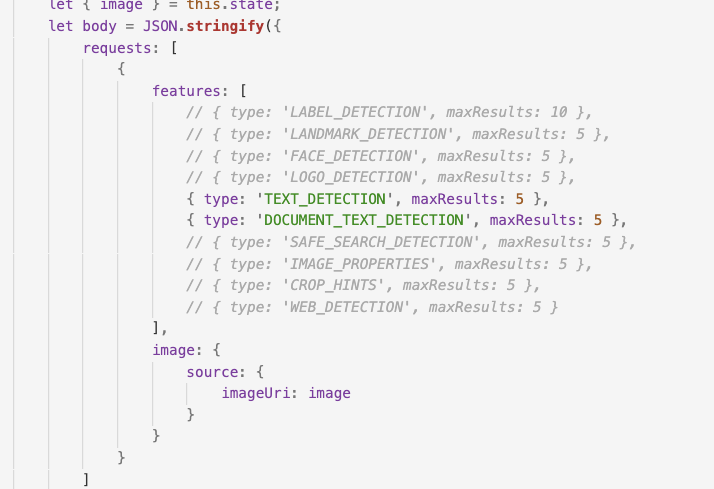
npm install — save nanoid/non-secure5. Each feature applied to an image is a billable unit. For example, if you apply Face Detection and Label Detection to the same image, you are billed for one unit of Label Detection and one unit for Face Detection. The first 1000 units used each month are free (The pricing detail can be found here). If you don’t want to make extra calls on features you don’t need, you can choose features you and comment out/ delete the rest from line 214 to line 223 in the above example App.js.
5.应用于图像的每个功能都是一个计费单位。 例如,如果将“人脸检测”和“标签检测”应用于同一张图像,则需要为“标签检测”和“人脸检测”分别支付一单位和一单位的费用。 每月使用的前1000个单位是免费的(价格详细信息可以在这里找到)。 如果您不想对不需要的功能进行额外的调用,可以选择您要使用的功能,然后在上面的示例App.js中注释掉/删除其余内容(从214行到223行) 。
You can find a video demo of the scanner below, the component is slightly edited.
您可以在下面找到扫描仪的视频演示,对该组件进行了稍微的编辑。
学分/资源(Credits/ Resources)
Here are some additional resources that you may find helpful in your journey connecting these technologies.
以下是一些其他资源,它们在连接这些技术的过程中可能会有所帮助。
Create a React Native Image Recognition App with Google Vision API: https://blog.jscrambler.com/create-a-react-native-image-recognition-app-with-google-vision-api/
使用Google Vision API创建React Native图像识别应用程序: https : //blog.jscrambler.com/create-a-react-native-image-recognition-app-with-google-vision-api/
Using Google Cloud Vision With Expo and React Native: https://medium.com/@mlapeter/using-google-cloud-vision-with-expo-and-react-native-7d18991da1dd
将Google Cloud Vision与Expo和React Native一起使用: https : //medium.com/@mlapeter/using-google-cloud-vision-with-expo-and-react-native-7d18991da1dd
Demo: https://github.com/JscramblerBlog/google-vision-rn-demo
演示: https : //github.com/JscramblerBlog/google-vision-rn-demo


 258
258

 被折叠的 条评论
为什么被折叠?
被折叠的 条评论
为什么被折叠?
 到【灌水乐园】发言


