构建python应用
Python is one of the most popular programming languages in the world since it offers different uses, easy syntax and a low learning curve compared with the other programming languages.
Python是世界上最流行的编程语言之一,因为与其他编程语言相比,它提供了不同的用法,简单的语法和较低的学习曲线。
In this post, we’ll see how to do a simple Application with Python using the Django Framework.
在这篇文章中,我们将看到如何使用Django框架使用Python做一个简单的应用程序。
When you start in the world of python, a frequent question asked is: What are the proper applications of this programming language? I can tell you that it has many scenarios, but the most popular are:
当您开始使用python时,经常会问到: 这种编程语言的正确应用是什么 ? 我可以告诉您,它有很多方案,但是最受欢迎的是:
Machine Learning and Artificial Intelligence with libraries like Pandas, Scikit-Learn, and NumPy.
使用Pandas,Scikit-Learn和NumPy之类的库进行机器学习和人工智能 。
Data Science and Data Visualization(Pandas, NumPy), Also Matplotlib and Seaborn for visualization.
数据科学和数据可视化 (Pandas,NumPy),还有Matplotlib和Seaborn进行可视化。
Desktop GUI with the Tkinter library.
带有Tkinter库的桌面GUI 。
Web Scraping Applications with Selenium or BeautifulSoup.
使用Selenium或BeautifulSoup的Web爬网应用程序 。
Web Development
Web开发
For Web Development, the most well-known frameworks are Django and Flask. These frameworks provide developers with several tools that reduce development time and complexity, starting from an easy ORM to more difficult tools as Auth.
对于Web开发,最著名的框架是Django和Flask 。 这些框架为开发人员提供了多种减少开发时间和复杂性的工具,从简单的ORM到更困难的工具Auth 。
Prerequisites
先决条件
let’s install Django and create our project:
让我们安装Django并创建我们的项目:
mkdir django-project
cd django-project
pip install Django
After installing Django, we’ll proceed to create the App.
安装Django之后,我们将继续创建App。
django-admin startproject course_crud
Finally, we can start our app within our project running the next command in the course_crud folder:
最后,我们可以在我们的项目中运行Course_crud文件夹中的下一个命令来启动我们的应用程序:
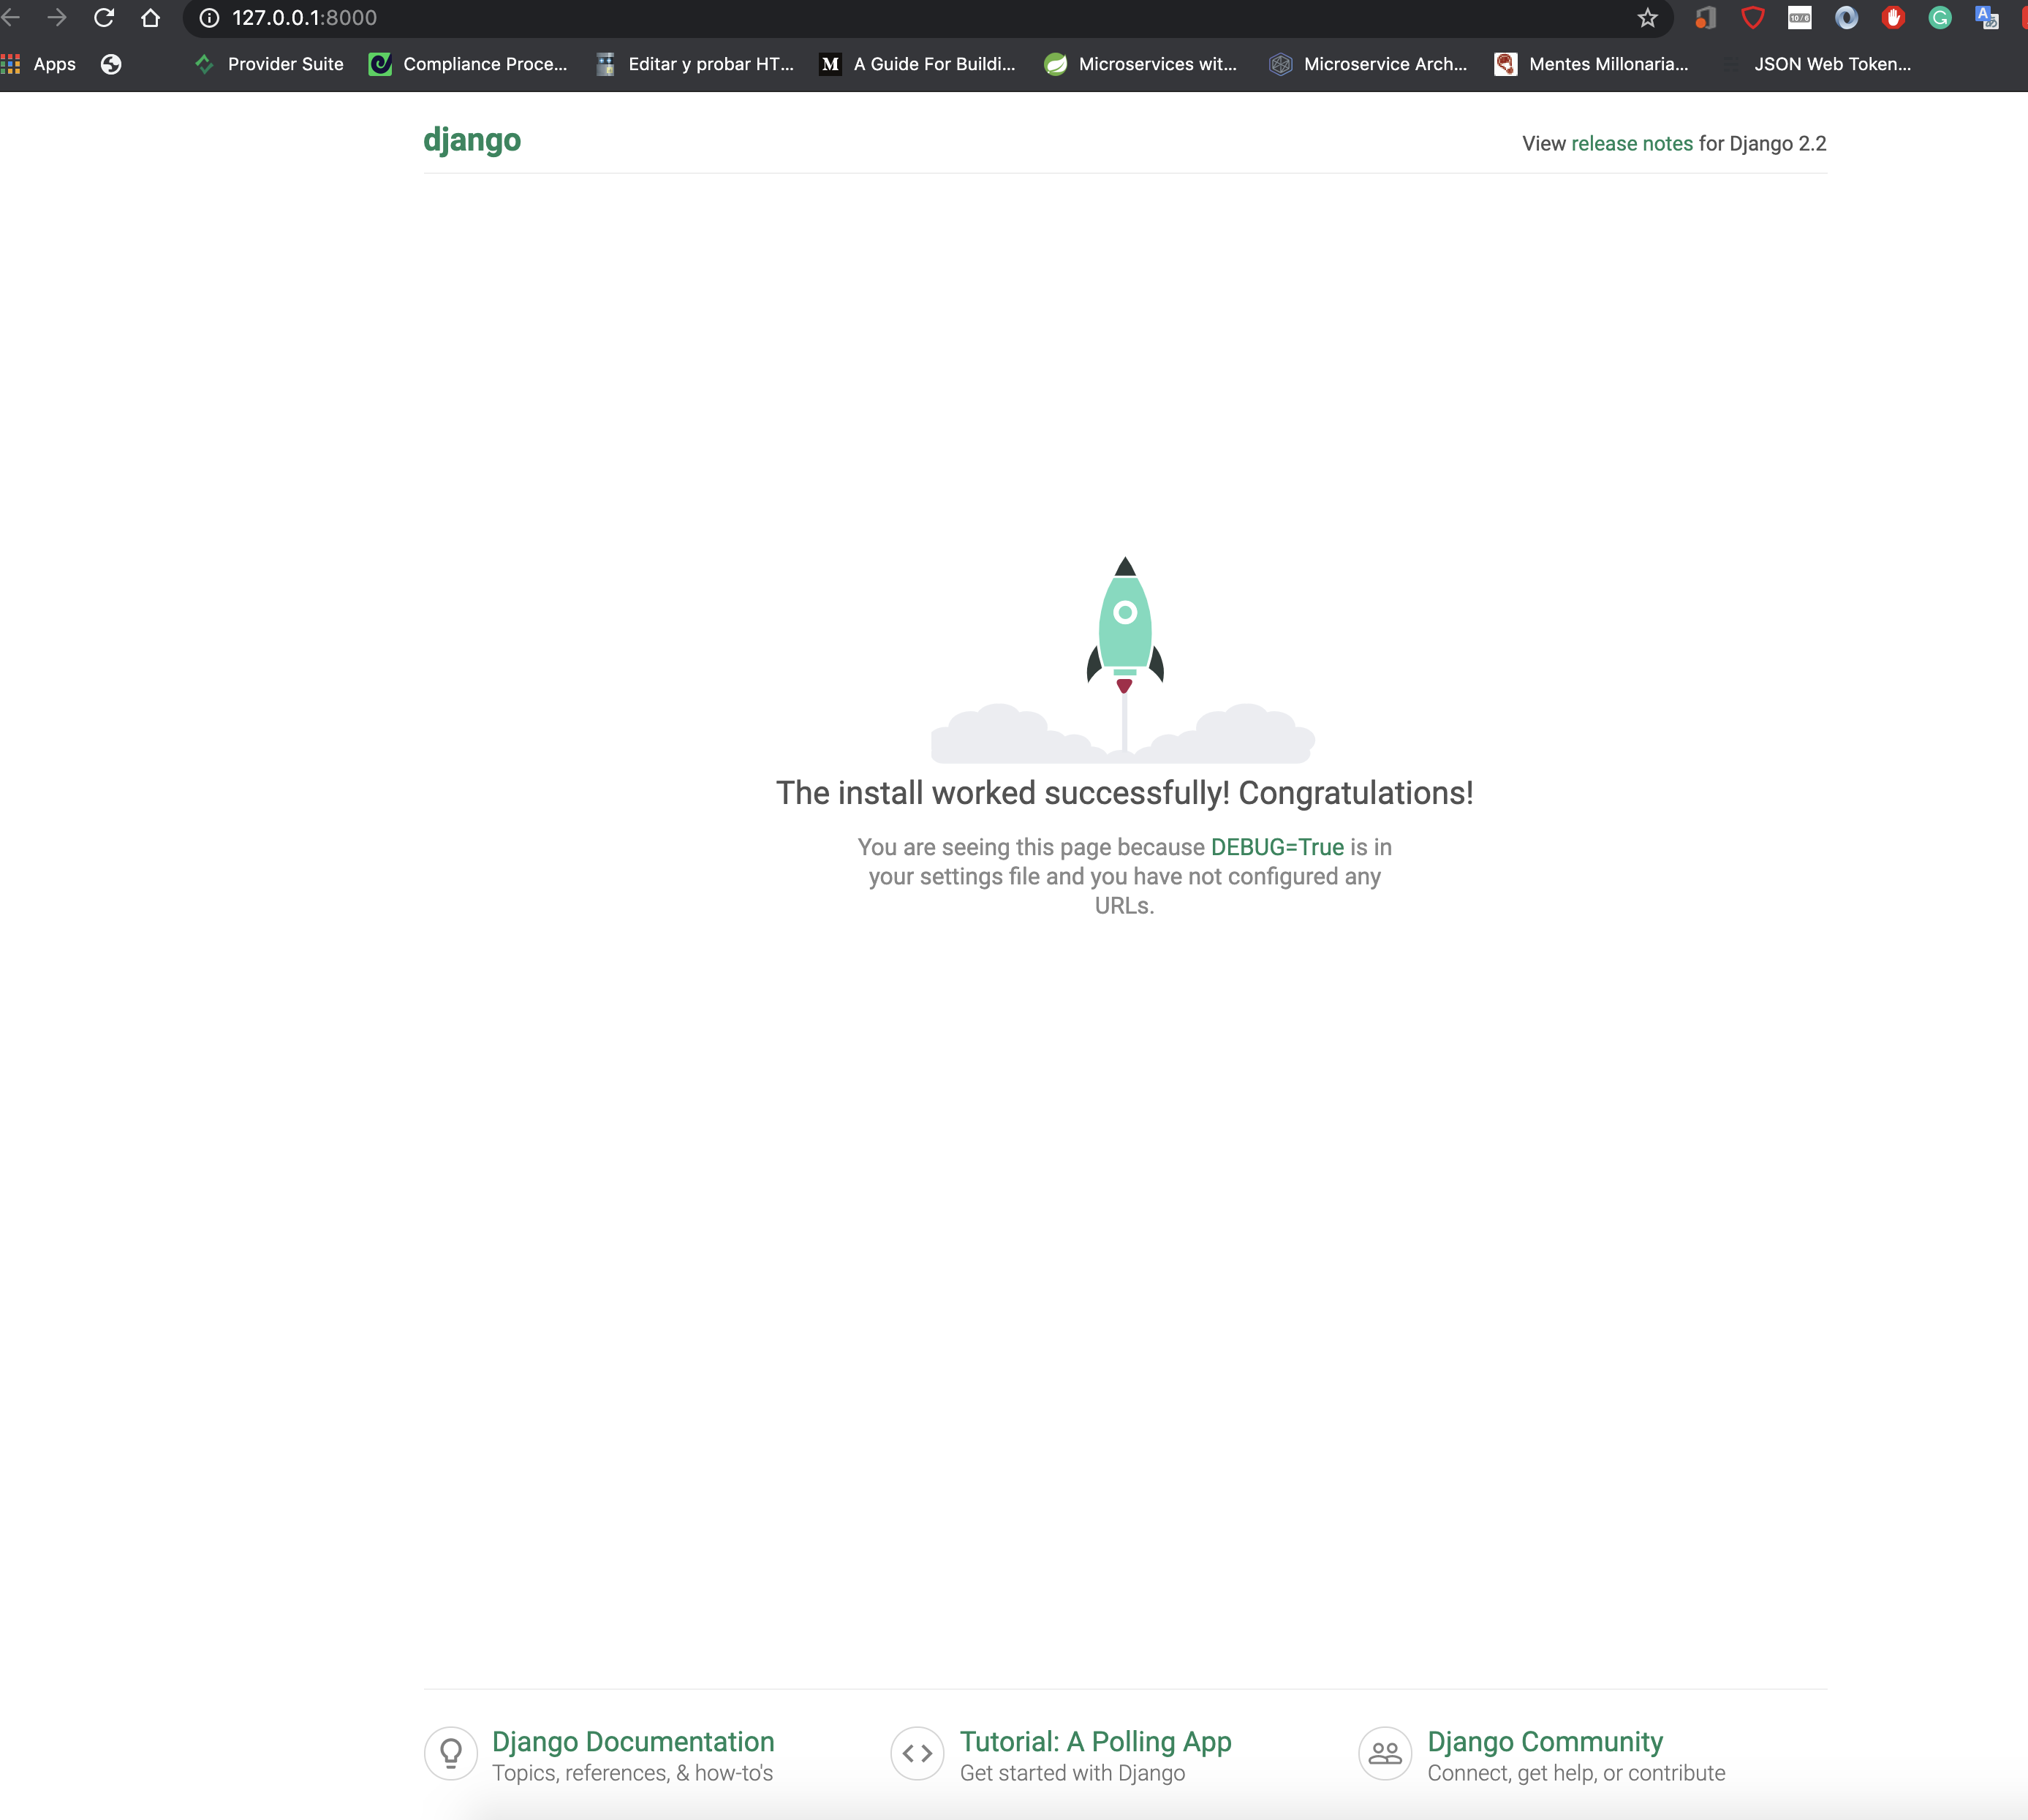
python manage.py runserverLike a result we get this:
结果如下:

This is the scaffolding of our project. Now we’ll create the course application.
这是我们项目的脚手架。 现在,我们将创建课程应用程序。
python manage.py startapp courses_appThis command creates a new folder called course_app with the necessary files.
此命令将创建一个包含必要文件的名为Course_app的新文件夹。

Django provides an ORM and a SQLite Database. We can check the database config in the file course_crud/settings.py.
Django提供了一个ORM和一个SQLite数据库。 我们可以在文件course_crud / settings.py中检查数据库配置。
# https://docs.djangoproject.com/en/2.2/ref/settings/#databases
DATABASES = {
  'default': {
    'ENGINE': 'django.db.backends.sqlite3',
    'NAME': os.path.join(BASE_DIR, 'db.sqlite3'),
  }
}
It’s very important to add each application in the course_crud/settings.py file for the proper operation.
为正确操作,将每个应用程序添加到course_crud / settings.py文件中非常重要。
In the INSTALLED_APPS we can add the same name that is in the course_crud/courses_app/apps.py.
在INSTALLED_APPS中,我们可以添加与course_crud / courses_app / apps.py中相同的名称。
# Application definition
INSTALLED_APPS = [
  'django.contrib.admin',
  'django.contrib.auth',
  'django.contrib.contenttypes',
  'django.contrib.sessions',
  'django.contrib.messages',
  'django.contrib.staticfiles',
  'courses_app'
]
Now, we’re ready to start building.
现在,我们准备开始构建。
First, let’s create our model in course_crud/courses_app/models.py.
首先,让我们在course_crud / courses_app / models.py中创建模型。
from django.db import models
# Create your models here.
class Course(models.Model):
    title = models.CharField(max_length=200)
    description = models.TextField()
    created_at = models.DateTimeField(auto_now_add=True)

    def __str__(self):
        return self.title
In the course_crud/courses_app/urls.py file include the following code (if the file does not exist, please create it) :
在course_crud / courses_app / urls.py文件中,包含以下代码(如果该文件不存在,请创建它):
from django.urls import path
from . import views
urlpatterns = [
    path('', views.list, name='list')
]
To able be to make requests to courses_app URLs, we need to add the courses_app path in the course_crud/urls.py as follows.
为了能够向courses_app URL发出请求,我们需要按如下所示在course_crud / urls.py中添加courses_app路径。
from django.contrib import admin
from django.urls import include, path
urlpatterns = [
    path('admin/', admin.site.urls),
    path('course/', include('courses_app.urls')),
]
In the course_crud/courses_app/views.py file will be the logic to connect to the database models, do operations, and return an HTTP response.
在course_crud / courses_app / views.py文件中,将使用逻辑连接数据库模型,执行操作并返回HTTP响应。
We’ll create the course list view.
我们将创建课程列表视图。
# Create your views here.
from django.http import JsonResponse
from .models import Course
def get_courses(request):
    courses = list(Course.objects.values())
    return JsonResponse(courses, safe=False)
We need to update the code in course_crud/courses_app/urls.py file to call the correct view.
我们需要更新course_crud / courses_app / urls.py文件中的代码以调用正确的视图。
from django.urls import path
from . import views
urlpatterns = [
    path('', views.get_courses, name='list')
]
run the server again with the command:
使用以下命令再次运行服务器:
python manage.py runserverAnd get the next output:
并获得下一个输出:

Our server is running but we have to perform the migrations. Migrations refer to changes in the models that have not yet been applied to the database. If we remember, we added the Course Model and we should apply it in the database.
我们的服务器正在运行,但是我们必须执行迁移。 迁移是指模型中尚未应用到数据库的更改。 如果我们还记得的话,我们添加了课程模型,我们应该将其应用到数据库中。
To solve this, we run the following commands:
为了解决这个问题,我们运行以下命令:
python manage.py makemigrations
python manage.py migrate
Then we run the server again.
然后,我们再次运行服务器。
python manage.py runserver
We no longer get the error message related to migrations.
我们不再收到与迁移相关的错误消息。
We open the Postman App and we make the request http://127.0.0.1:8000/course/.
我们打开Postman App,然后发出请求http://127.0.0.1:8000/course/ 。

The response is a Status code 200, but without data. For this, we’ll add the Course Model to the Admin interface that provides a visual interface to do the Crud Actions.
响应是状态码200 ,但没有数据。 为此,我们将课程模型添加到Admin界面,该界面提供了执行Crud Actions的可视界面。
First, we add this line in course_crud/courses_app/admin.py.
首先,我们在course_crud / courses_app / admin.py中添加此行。
from django.contrib import admin
# Register your models here.
from .models import Course
admin.site.register(Course)
After that, we’ll create a superuser to login to the Admin interface running the next command.
在那之后,我们将创建一个超级用户来登录运行下一个命令的管理界面。
python manage.py createsuperuser
When the superuser is created we enter the link http://127.0.0.1:8000/admin/login/?next=/admin/
创建超级用户后,我们输入链接http://127.0.0.1:8000/admin/login/?next=/admin/

We log in with our credentials and we have access to all applications and models.
我们使用我们的凭据登录,并且可以访问所有应用程序和模型。

Let’s proceed to create one or more courses.
让我们继续创建一门或多门课程。


Now execute the endpoint http://127.0.0.1:8000/course/ again and we get the course list.
现在再次执行端点http://127.0.0.1:8000/course/ ,我们将获得课程列表。

翻译自: https://medium.com/condorlabs-engineering/building-a-simple-application-with-python-e358bfae9900
构建python应用


 6025
6025

 被折叠的 条评论
为什么被折叠?


