


背景:
紧跟 gitlab 15.8 on rocky 8,准备将gitlab与ldap打通,后续jenkins也是。方便用户的统一管理,现在的用户管理都是单独的,用户的离职和管理很是麻烦,正好借这次条例流程尝试全部打通,统一管理一下!关于ldap的搭建可以参考: Kuberneters 搭建openLDAP
gitlab ldap集成
gitlab开启并配置ldap
编辑gitlab.rb配置文件
打开编辑gitlab.rb配置文件:
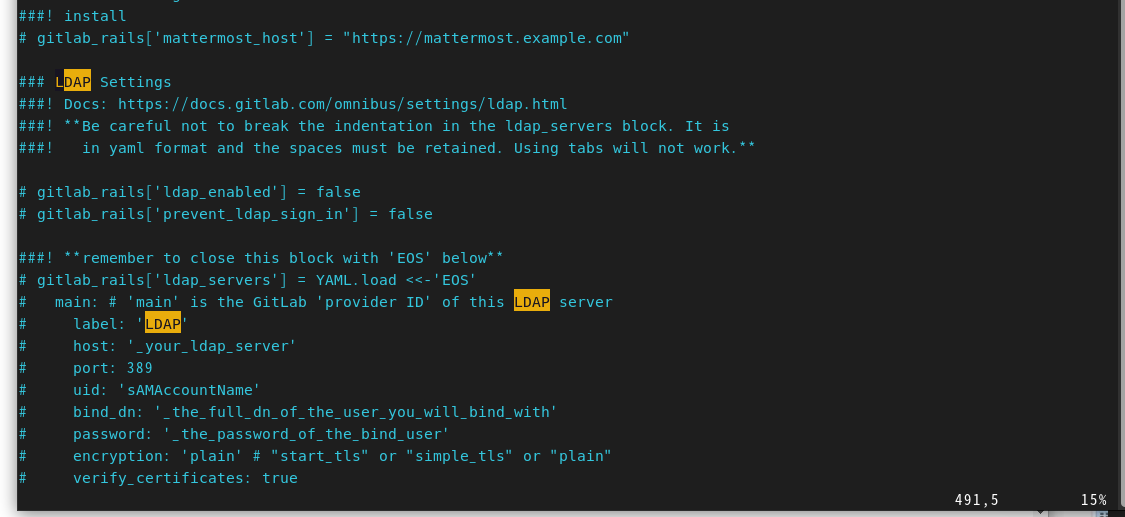
按住ctrl+v进入VISUAL BLOCK模式 选中要注释的行的# ,按d键删除注释符(secondaryx相关的其实不需要去掉…具体参照下面代码块配置!)

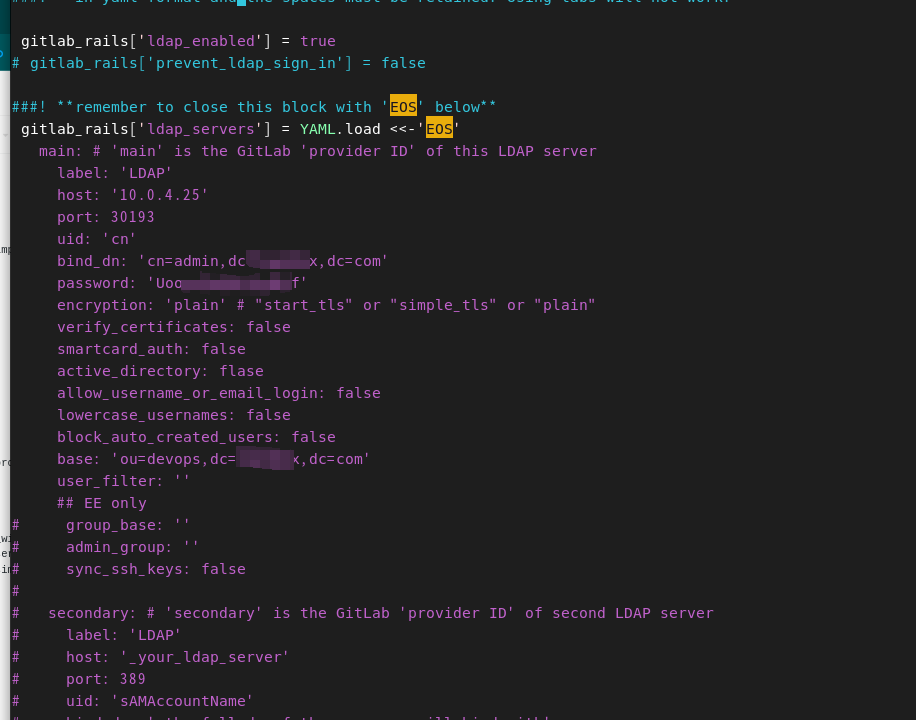
**gitlab_rails[‘ldap_enabled’] = true **开启ldap
gitlab_rails[‘ldap_servers’] = YAML.load <<-‘EOS’
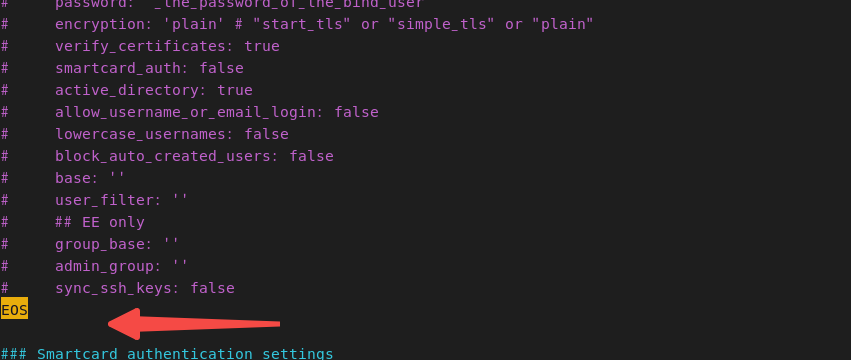
**EOS **为ldap相关配置,请参照个人ldap服务器进行相关配置。具体参数可以参照官方文档 https://docs.gitlab.com/ee/administration/auth/ldap/
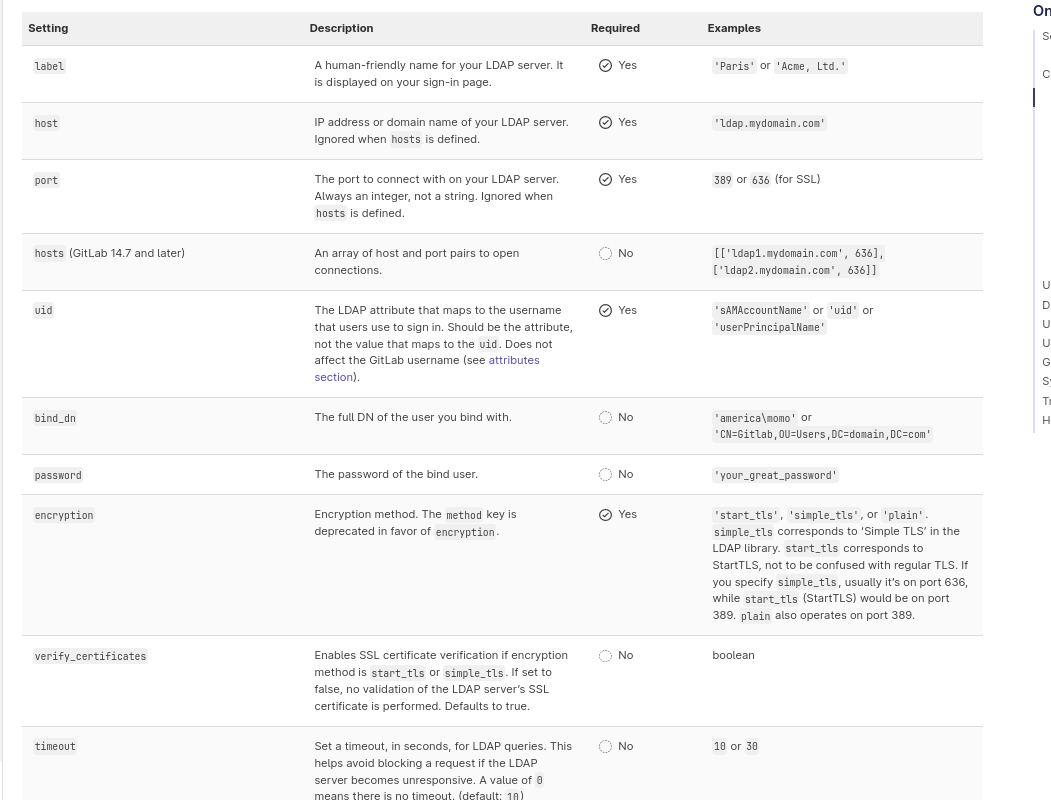
注:图只截取了一部分,详细的去看文档!
特别强调EOF要去掉注释
加载配置文件
重置加载配置:
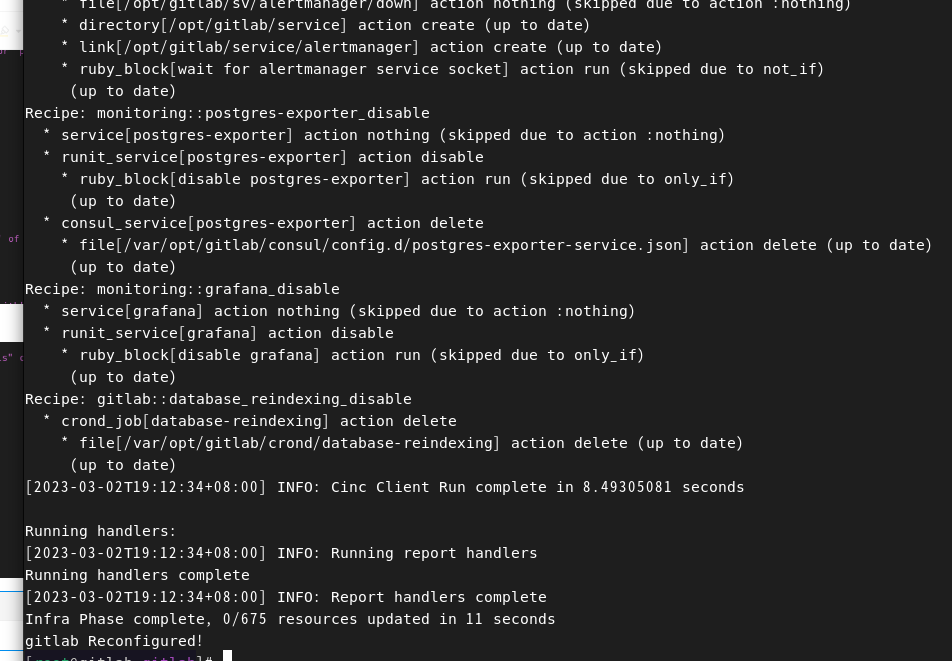
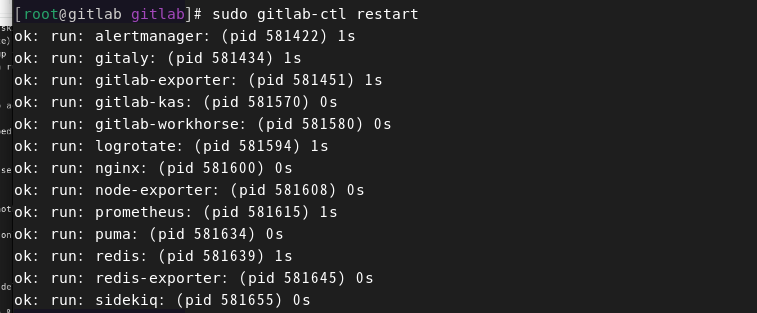
重启gitlb服务:
恩小彩蛋命令百度来的:
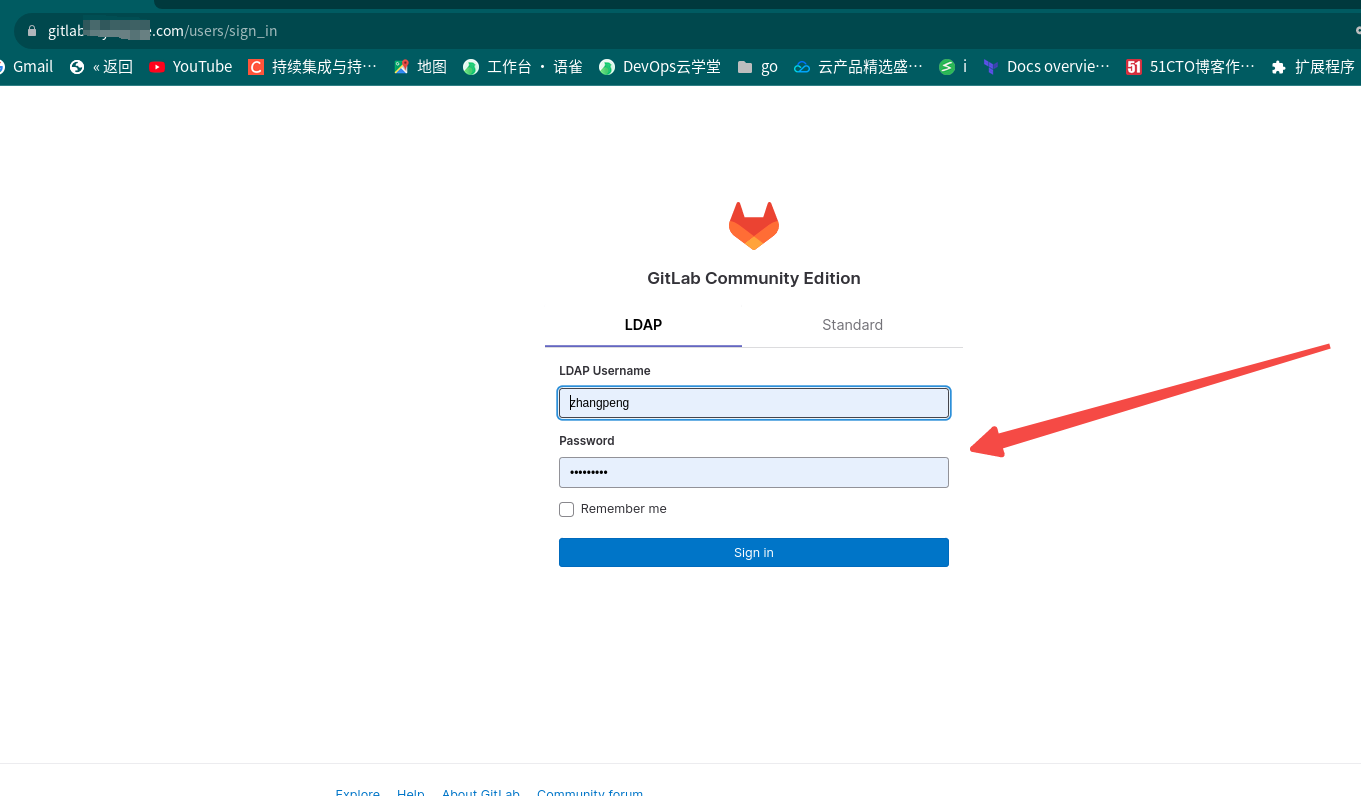
ldap用户登陆gitlab
浏览器登陆gitlab地址,出现如下ldap登陆框并登陆用户
登陆进入用户配置页面:

貌似强制要求输入邮箱…
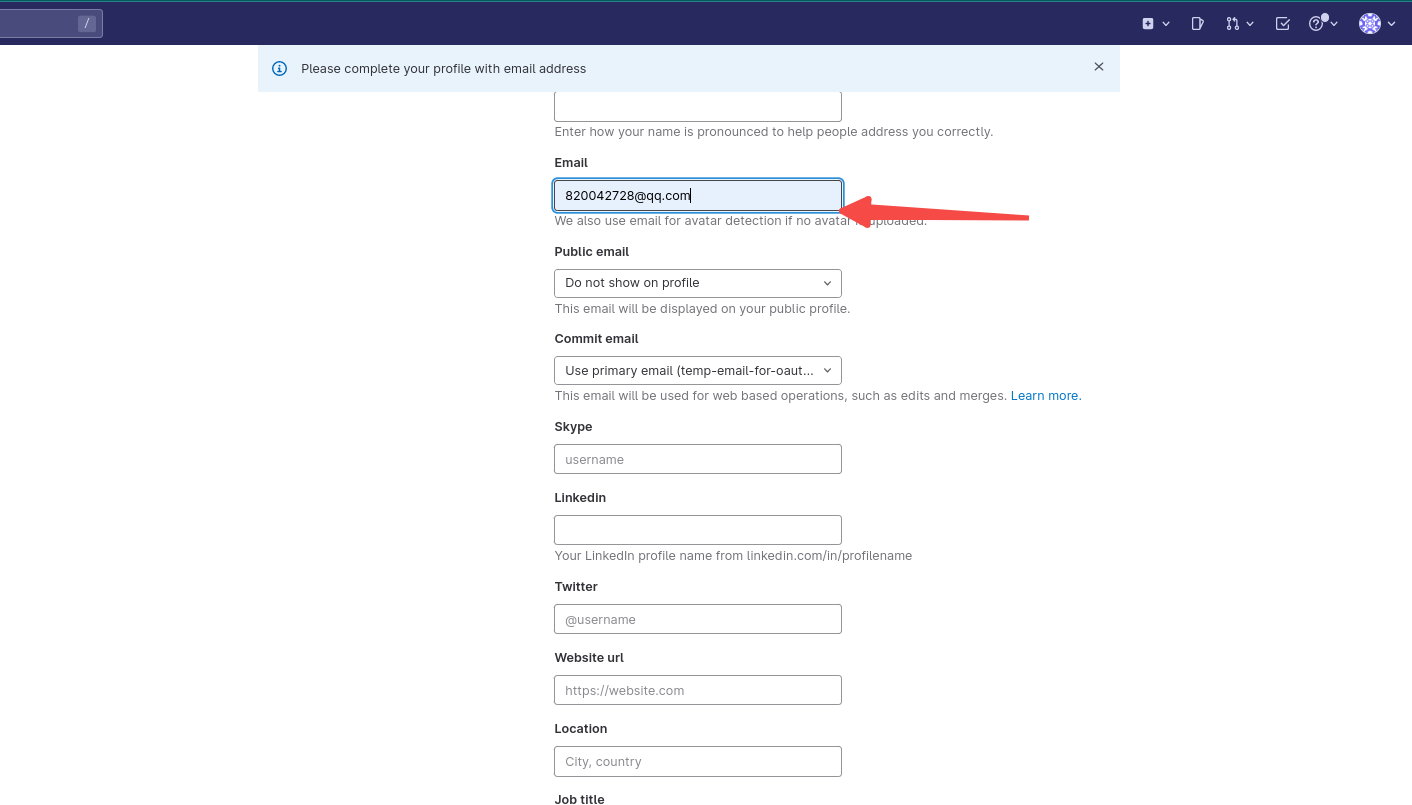
傻傻的我以为登陆管理员root可以关闭邮件通知就可以?结果发现不是这样的…
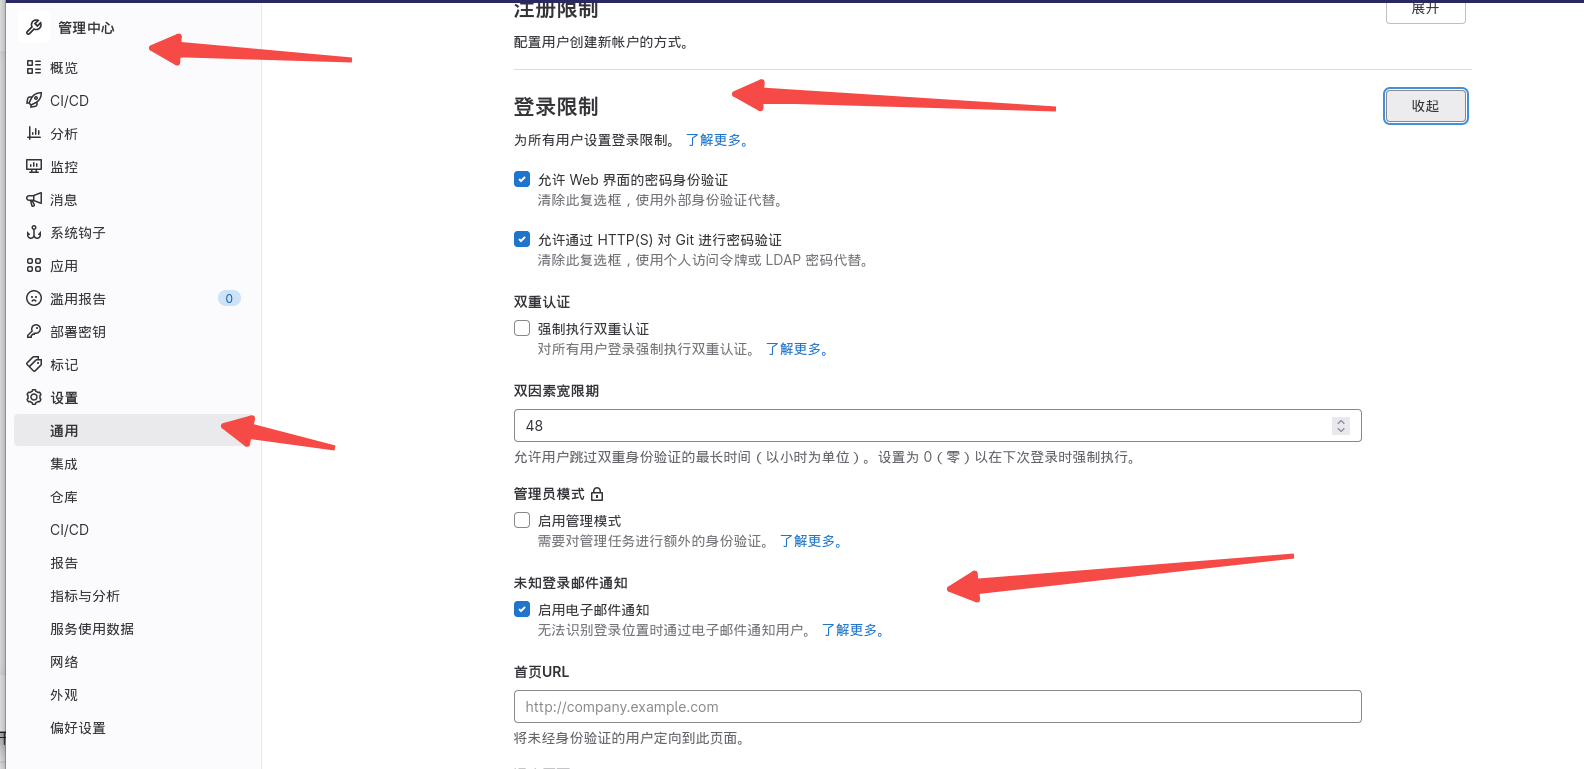
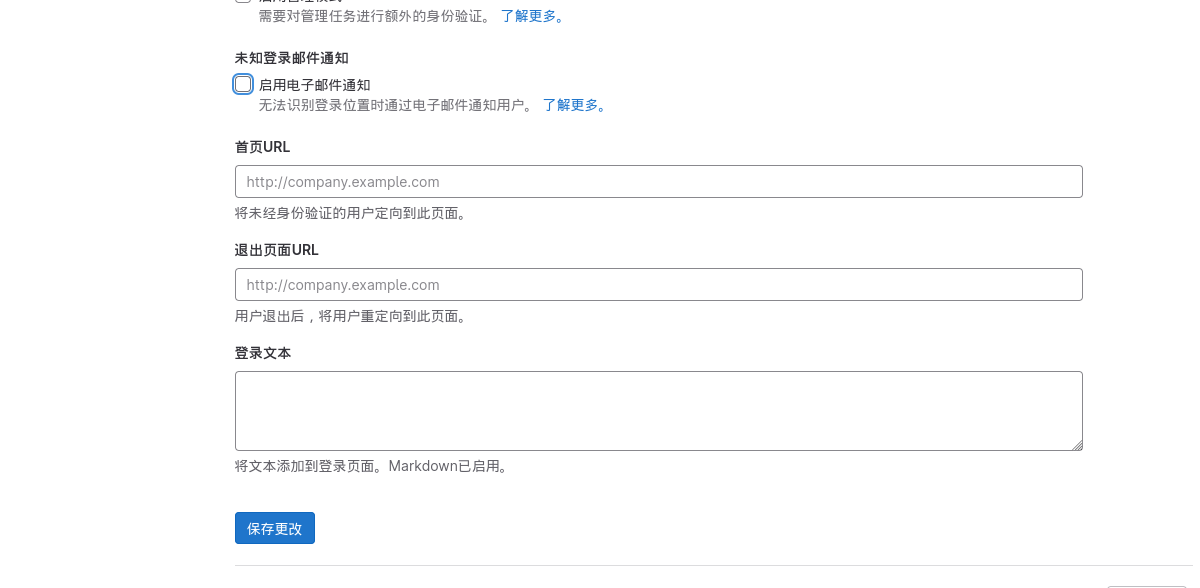
老老实实配置smtp吧…
gitlab 集成mail配置
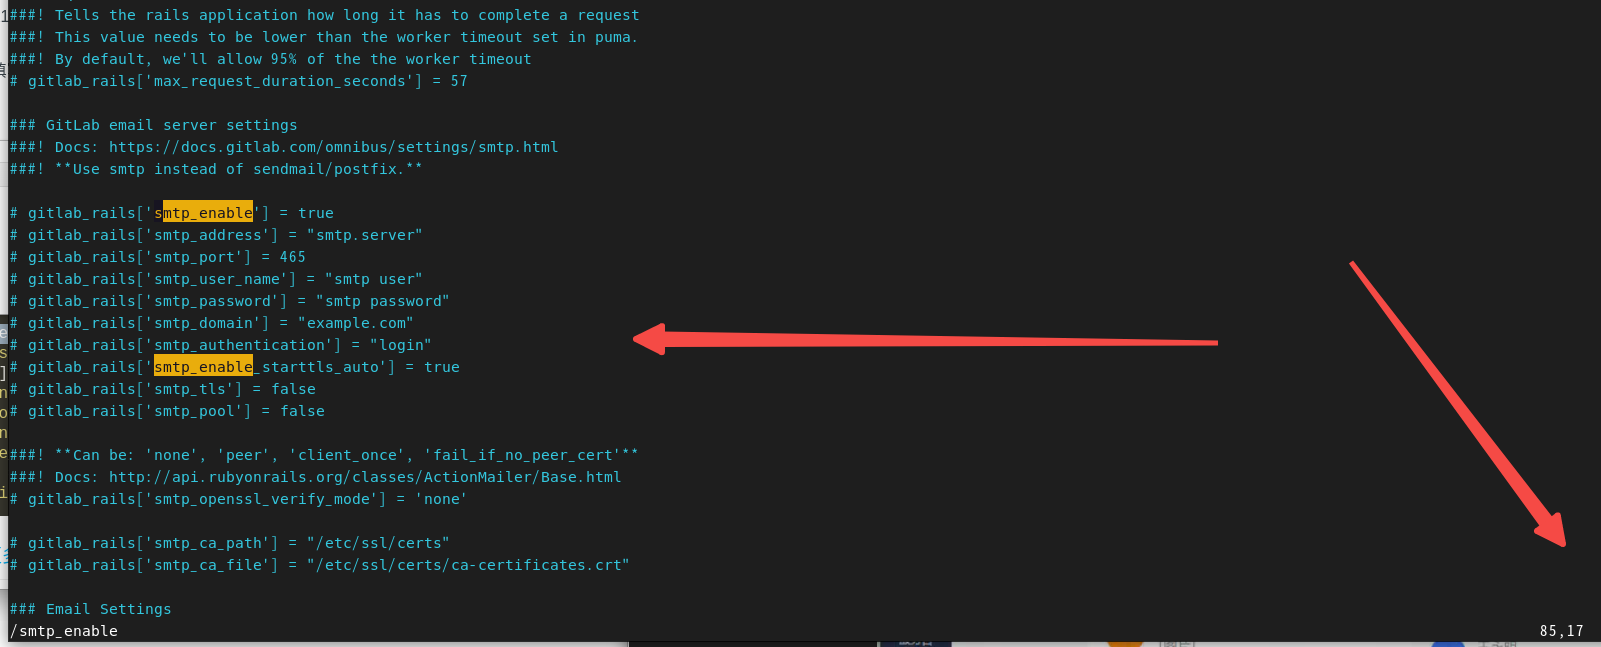
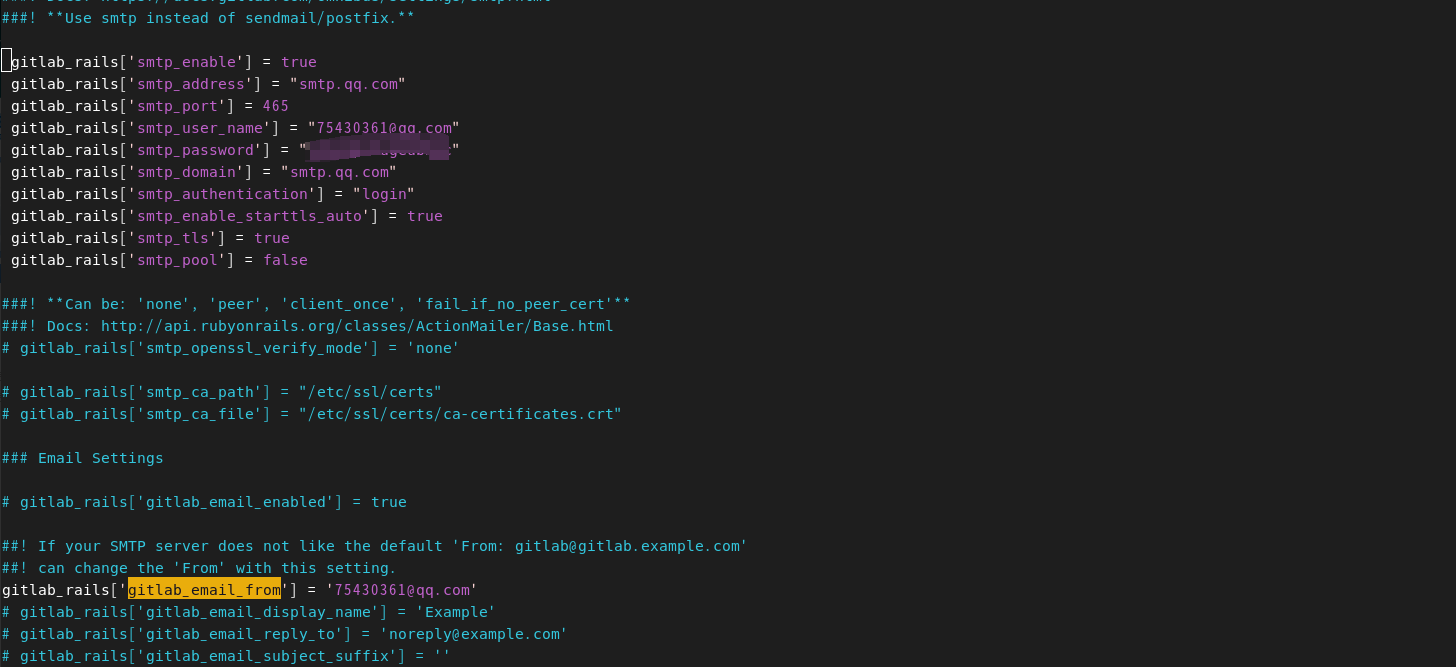
编辑gitlab.rb 开启smtp配置
编辑/etc/gitlab/gitlab.rb文件
当然了由于使用qq邮箱先登陆邮箱 设置-账户这里
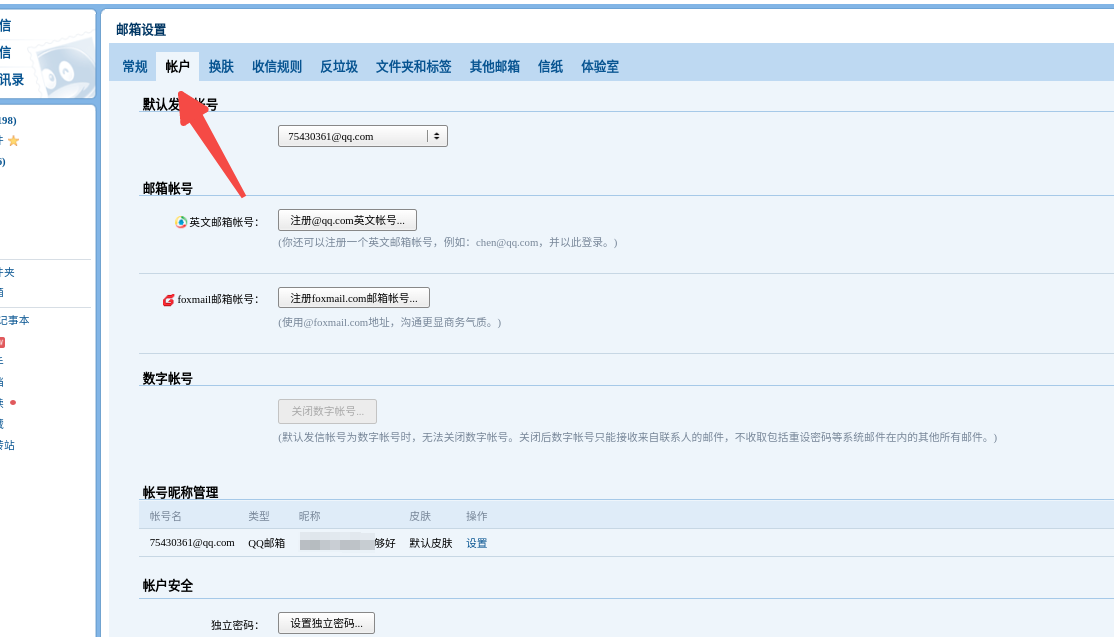
**POP3/IMAP/SMTP/Exchange/CardDAV/CalDAV服务 **生成授权码
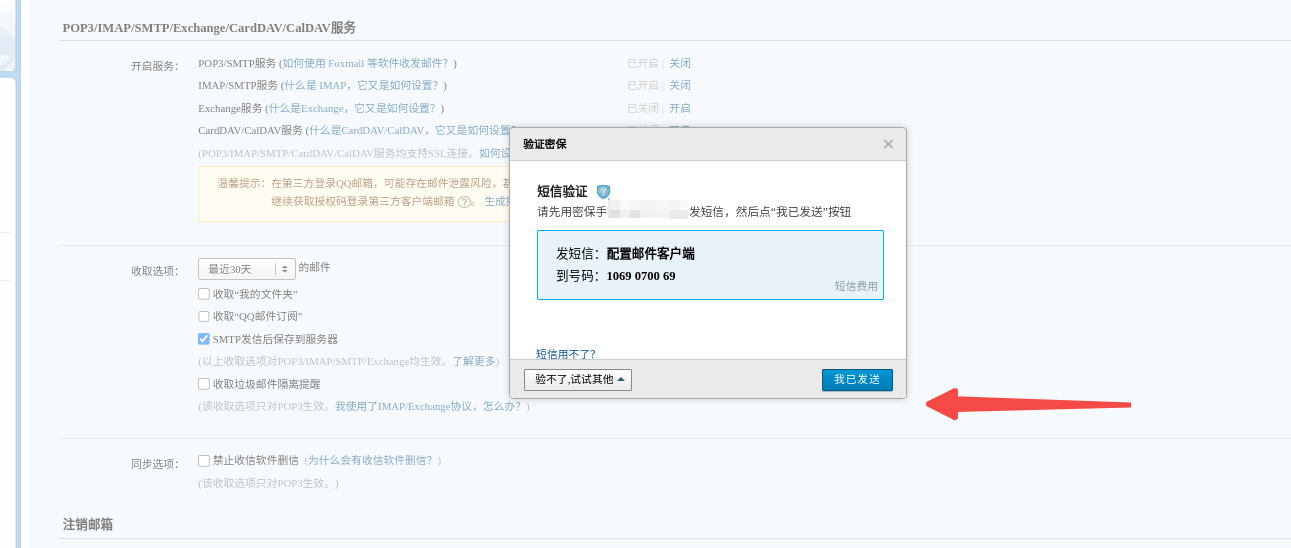
将密码 参数替换到配置文件,如下:
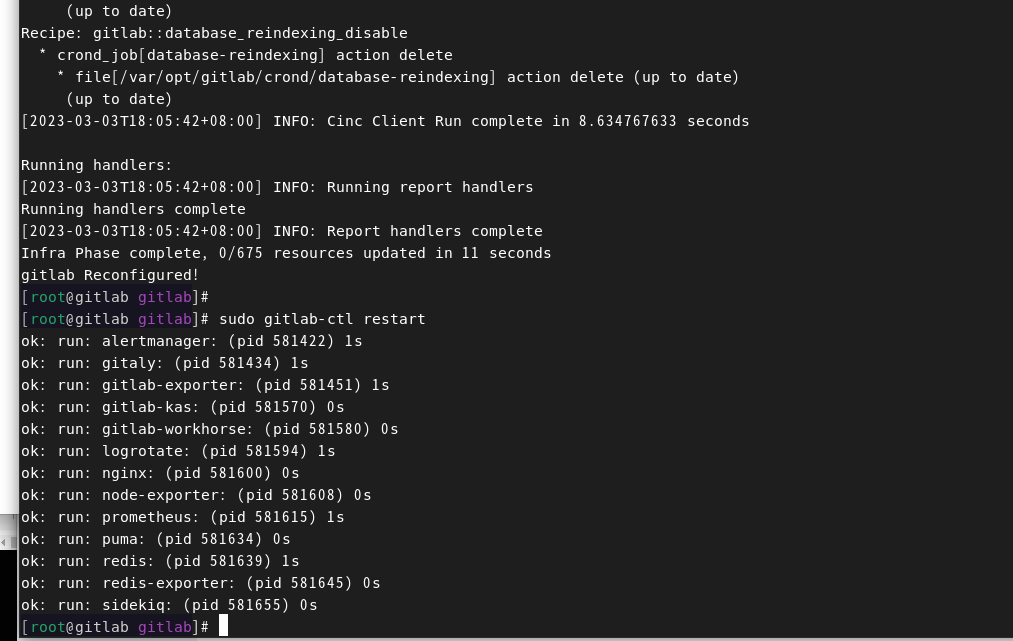
加载配置并重启服务

测试邮件发送功能
进入console控制台
发送测试邮件:

邮箱接收到测试邮件,测试通过!
恩成功了继续尝试一下用户的登陆
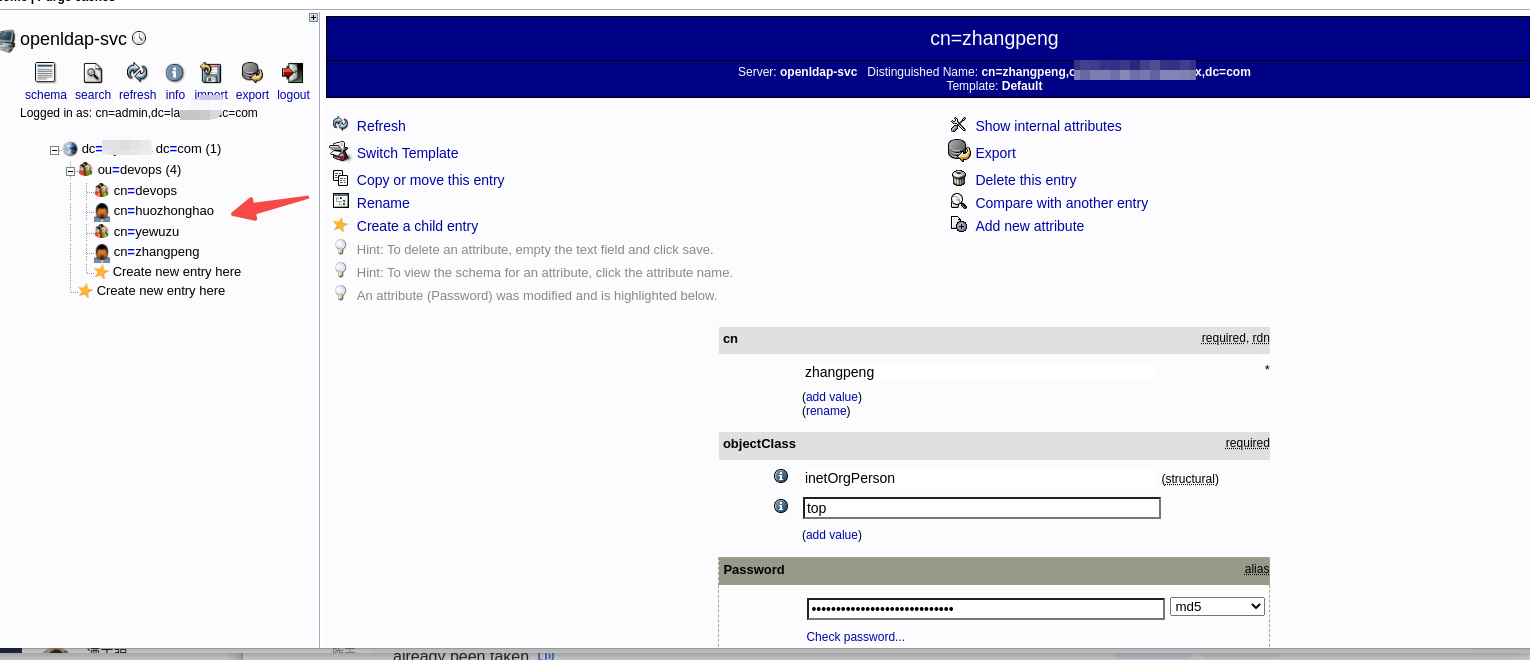
ldap用户登陆绑定邮箱
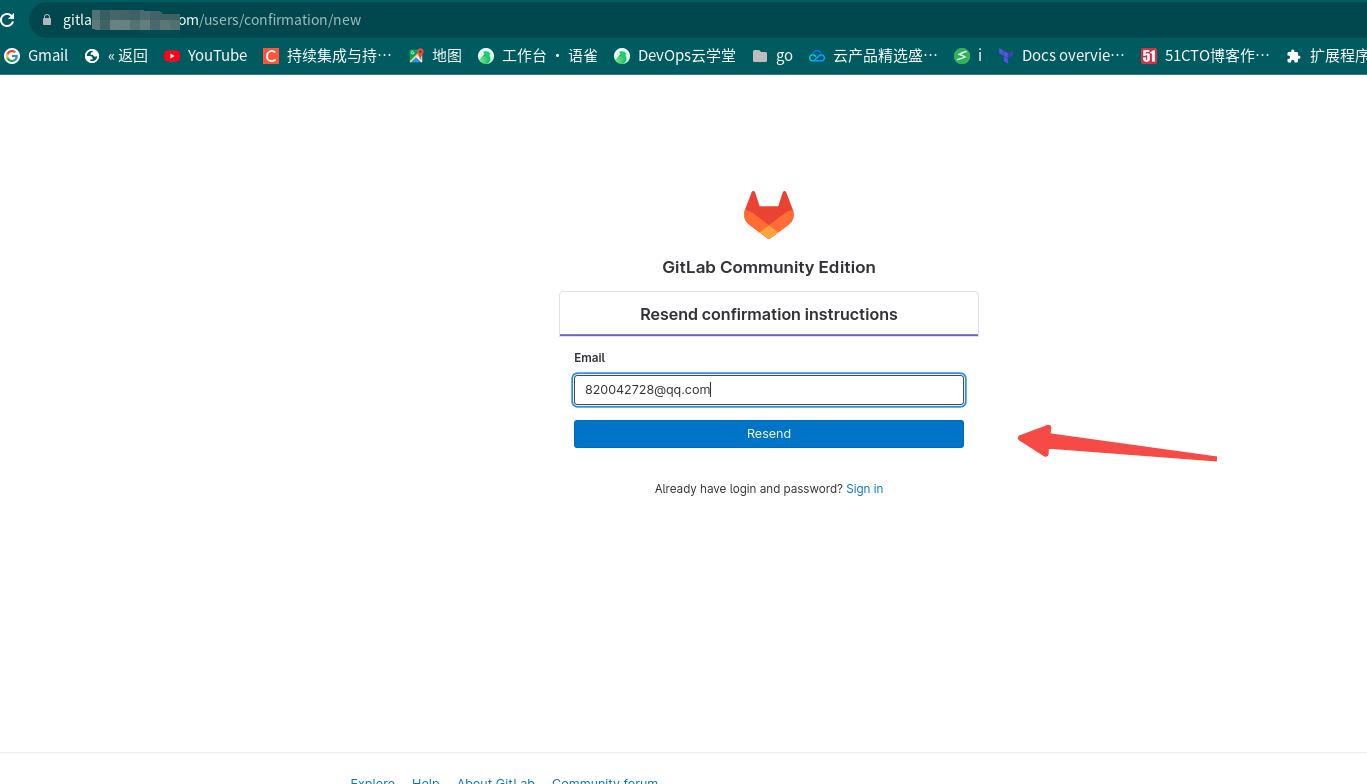
由于zhangpeng用户之前输入了820042728@qq.com邮箱了,这里只能刷新一下 点击mail下面的重新发送了!弹出如下界面,重新发送激活邮件
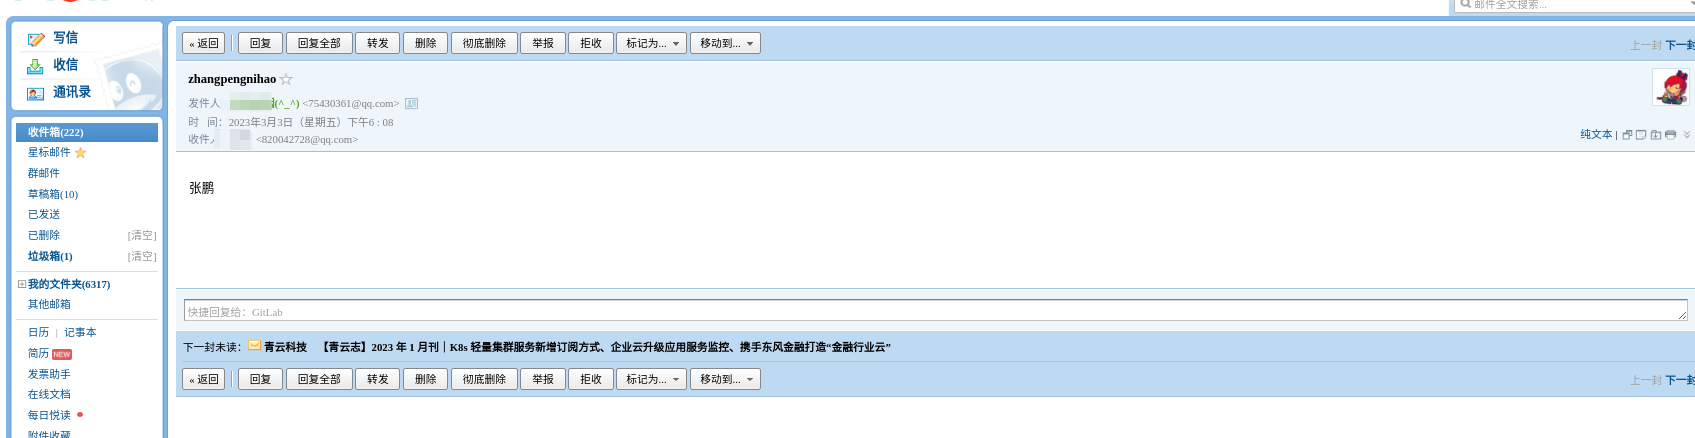
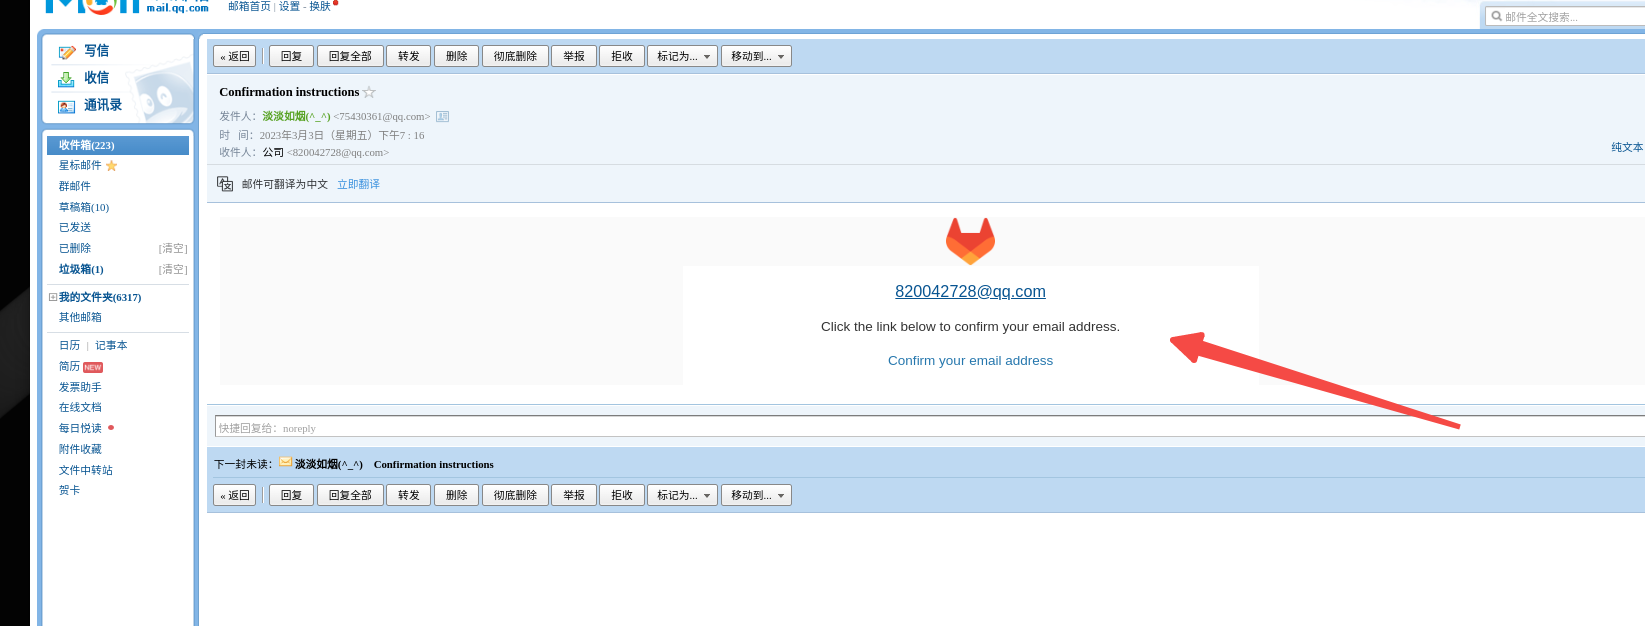
邮箱受到激活邮件点击激活:
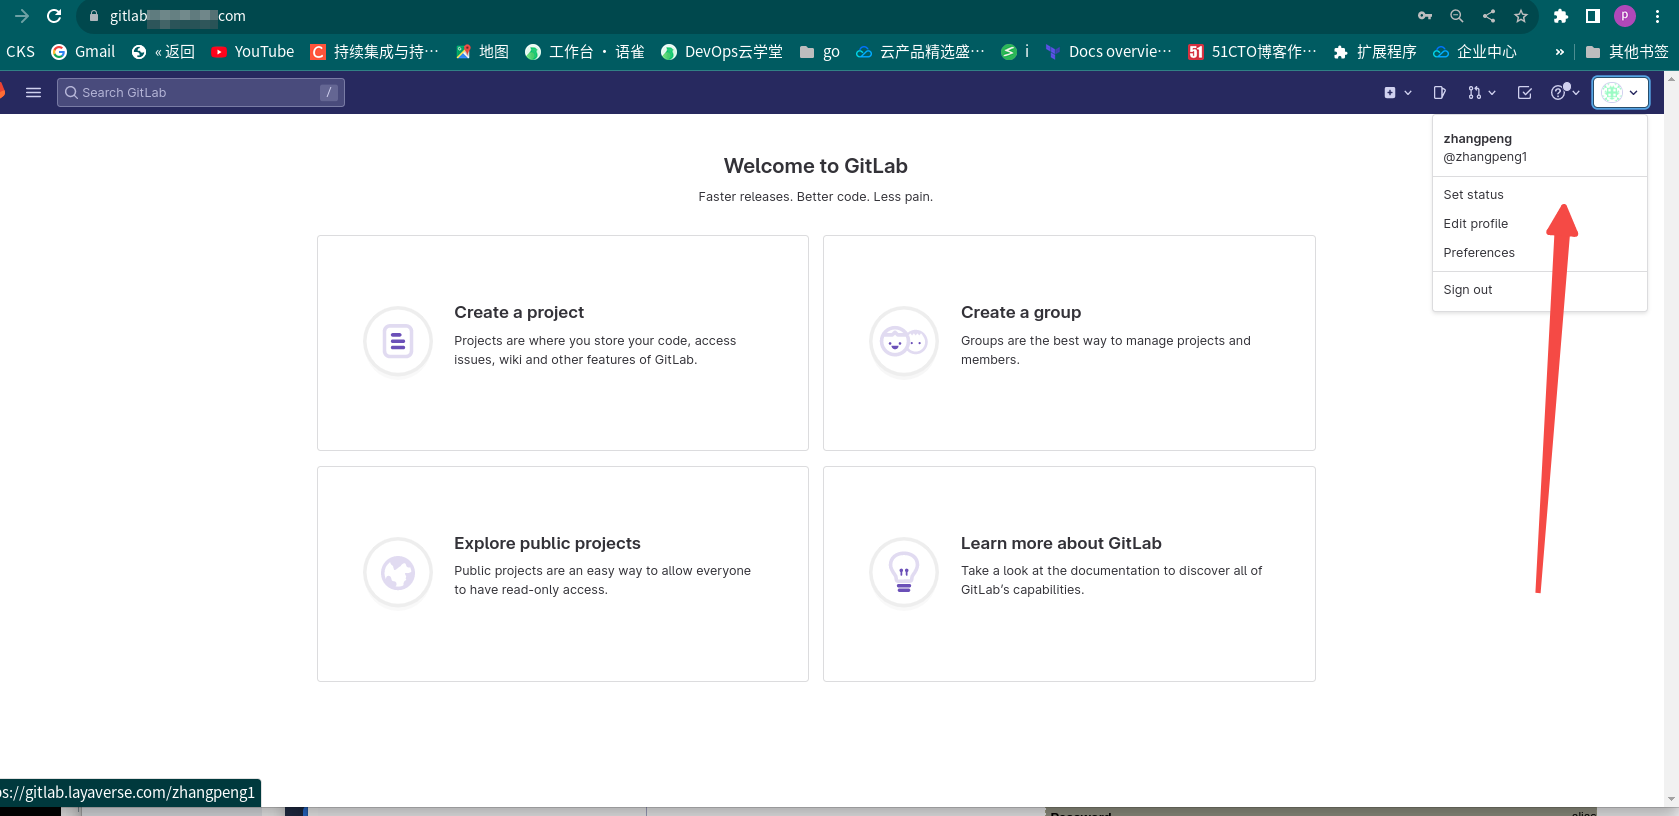
重新登陆zhangpeng用户 or 刷新setting配置页面的continue就进入了gitlab控制台:
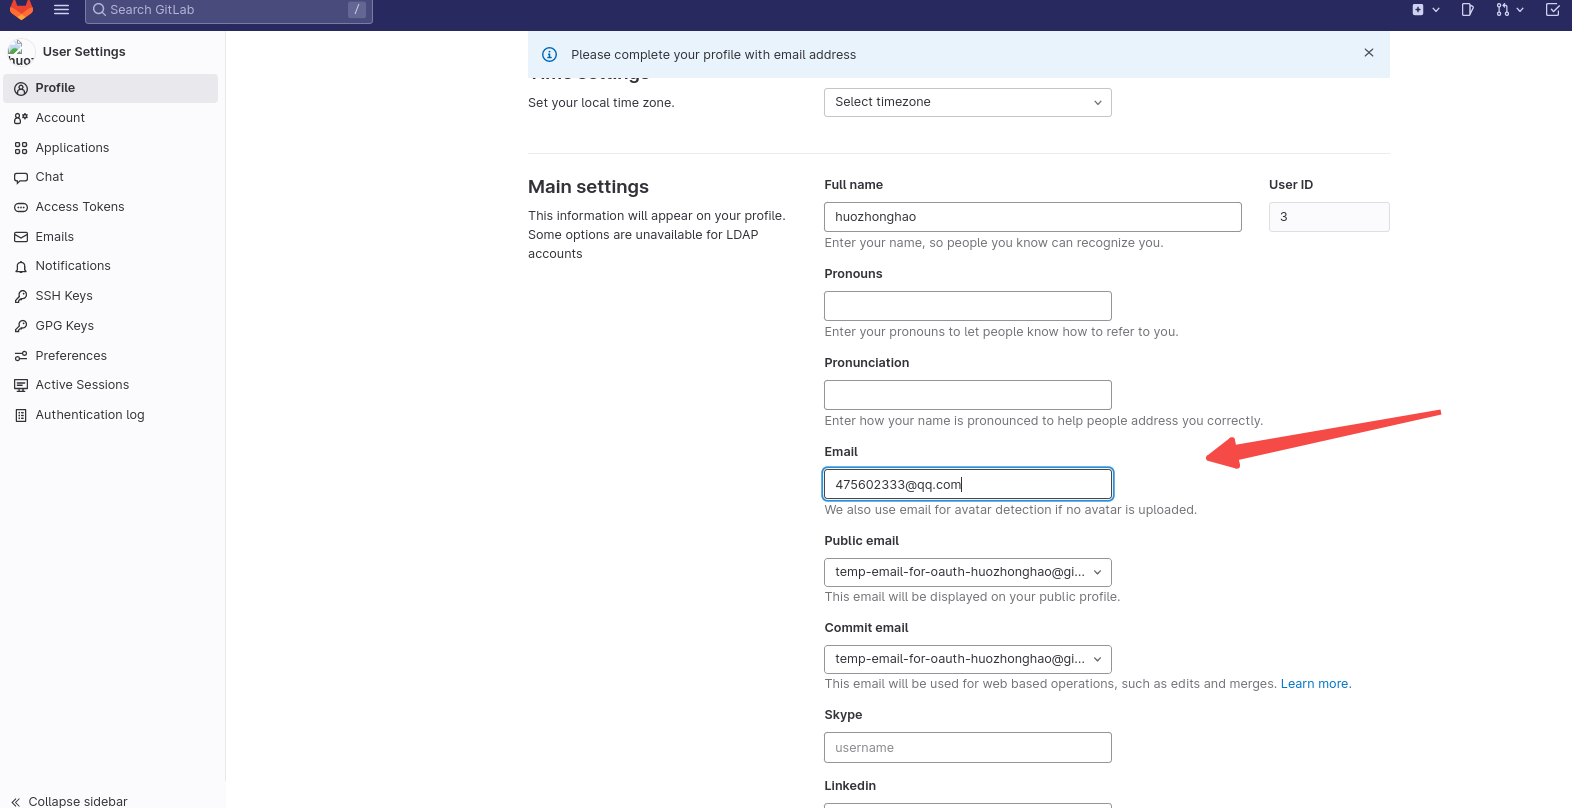
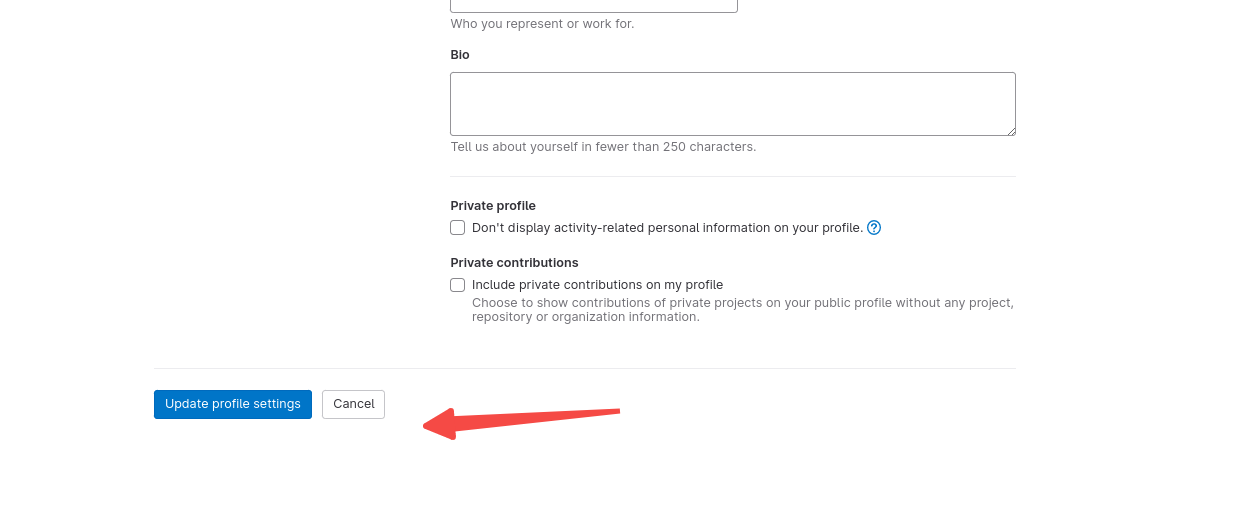
尝试一下huozhonghao用户:
gitlab登陆

输入mail邮箱475602333@qq.com(邮箱不能与之前用户的重复,貌似一个邮箱只能绑定一个用户)
登陆邮箱激活用户:
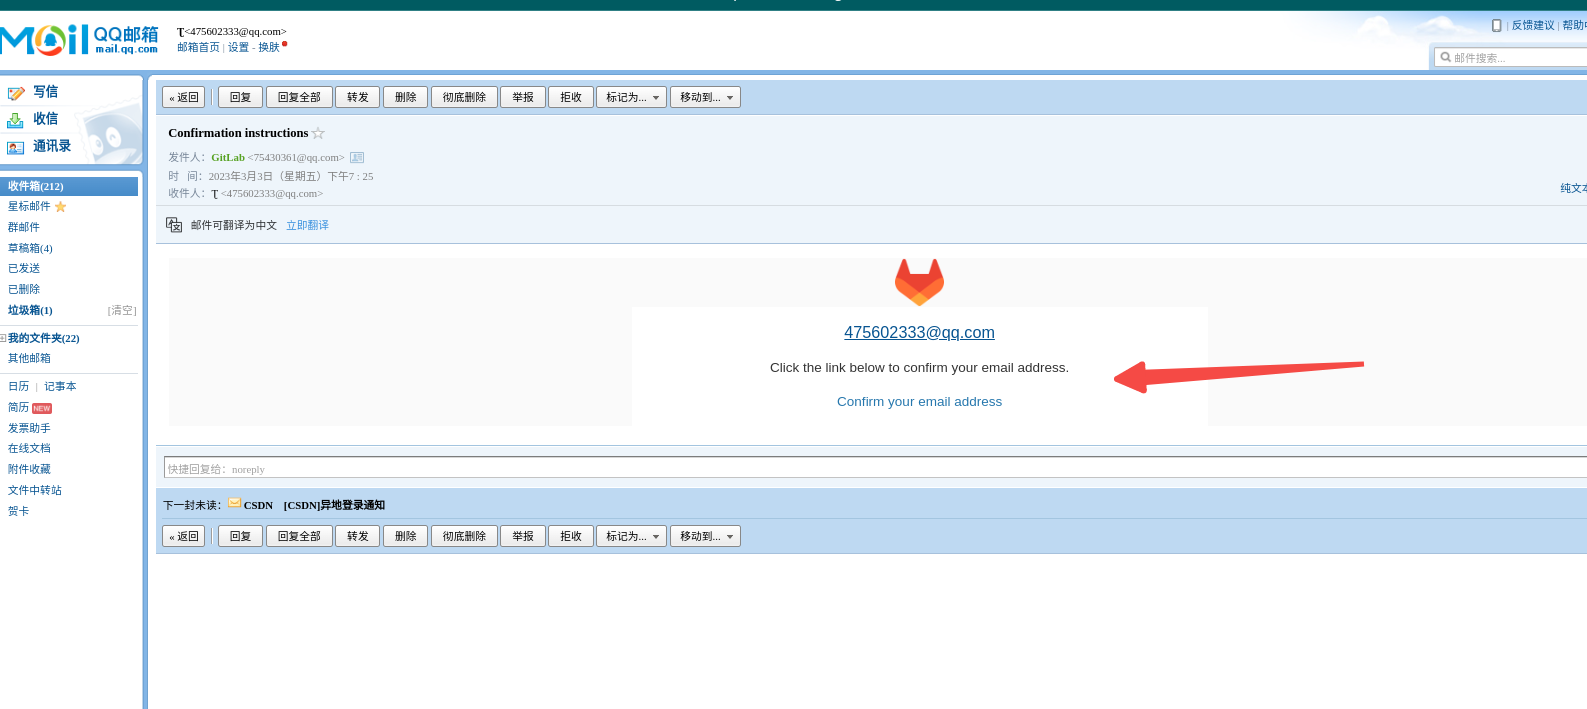
登陆huozhonghao用户如下:
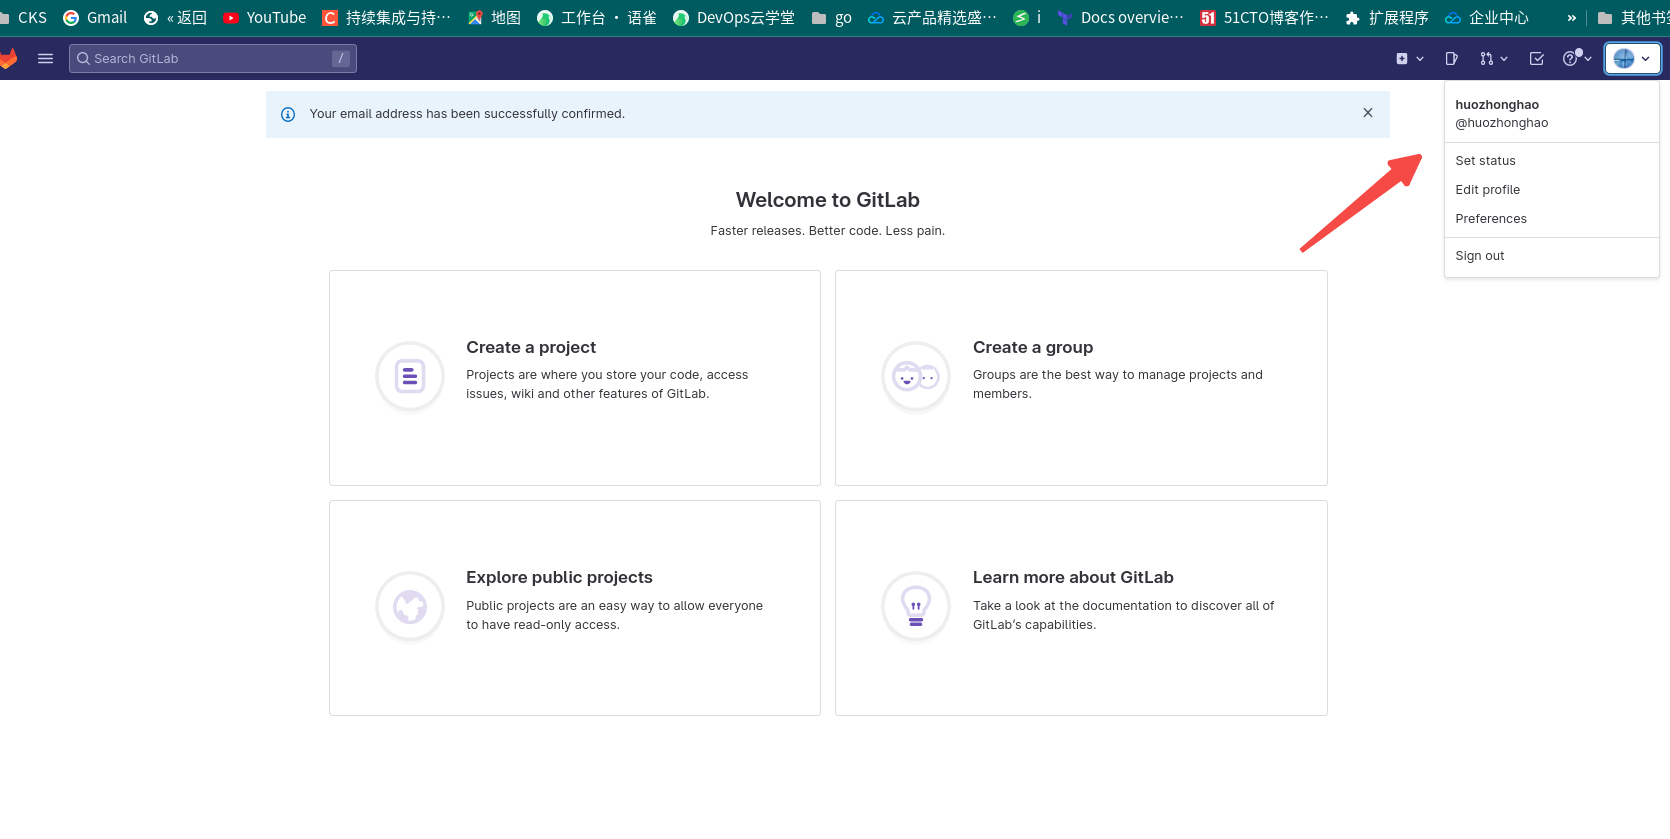
恩 我还修改了此用户的个人头像!
总结
- 这里完成了 gitlab 与ldap mail的整合,ldap并没有进行更严格的匹配方式,mail也没有自定义配置
- 接下来要考虑gitlab项目组权限?各种配置
- 还有怎么能导入其他gitlab的仓库?
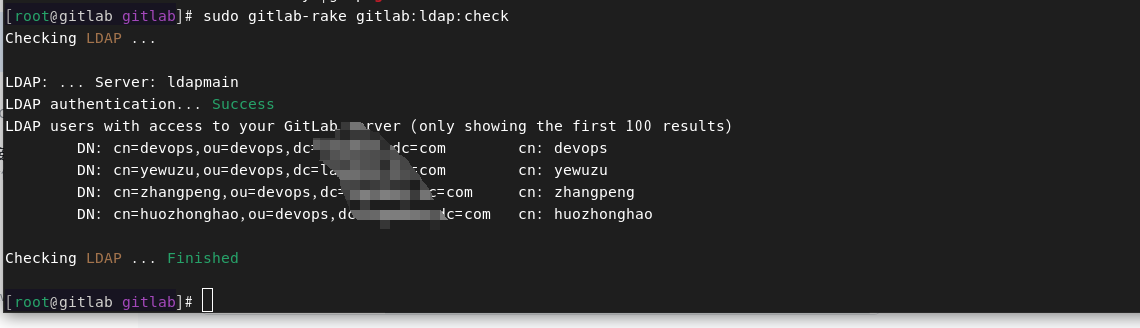
- 常用的命令**: sudo gitlab-ctl reconfigure sudo gitlab-ctl restart gitlab-rails console sudo gitlab-rake gitlab:ldap:check 等等**


 758
758

 被折叠的 条评论
为什么被折叠?
被折叠的 条评论
为什么被折叠?
 到【灌水乐园】发言


