


苹果在2014年推出的HomeKit智能家居平台的确给人眼前一亮的感觉。随着时间的推移,国外的黑客对HomeKit该逆向的逆向,结果也都汇总到了git。本着折腾到死的极客心态,从网上淘了一块树莓派进行测试。
0×01 基本工具
硬件在某宝上都有卖的,加起来不到300块
| 硬件: |
|---|
| 32G SD卡 |
| 2.5V电源线 |
| Raspberry pi3 |
| 两根杜邦线 |
| LED灯 |
| 保护壳 |
联动HomeKit的工程在git上找到两个,都是基于nodejs的,这边先测试的是HAP-NodeJS
| 软件 |
|---|
| raspbian |
| https://github.com/nfarina/homebridge |
| https://github.com/KhaosT/HAP-NodeJS |
0×02 安装
先解决依赖
# apt-get install avahi-daemon avahi-discover libnss-mdns libavahi-compat-libdnssd-dev  build-essential -y
# service avahi-daemon start
增加nodejs源
curl -sL https://deb.nodesource.com/setup_6.x | sudo -E bash -
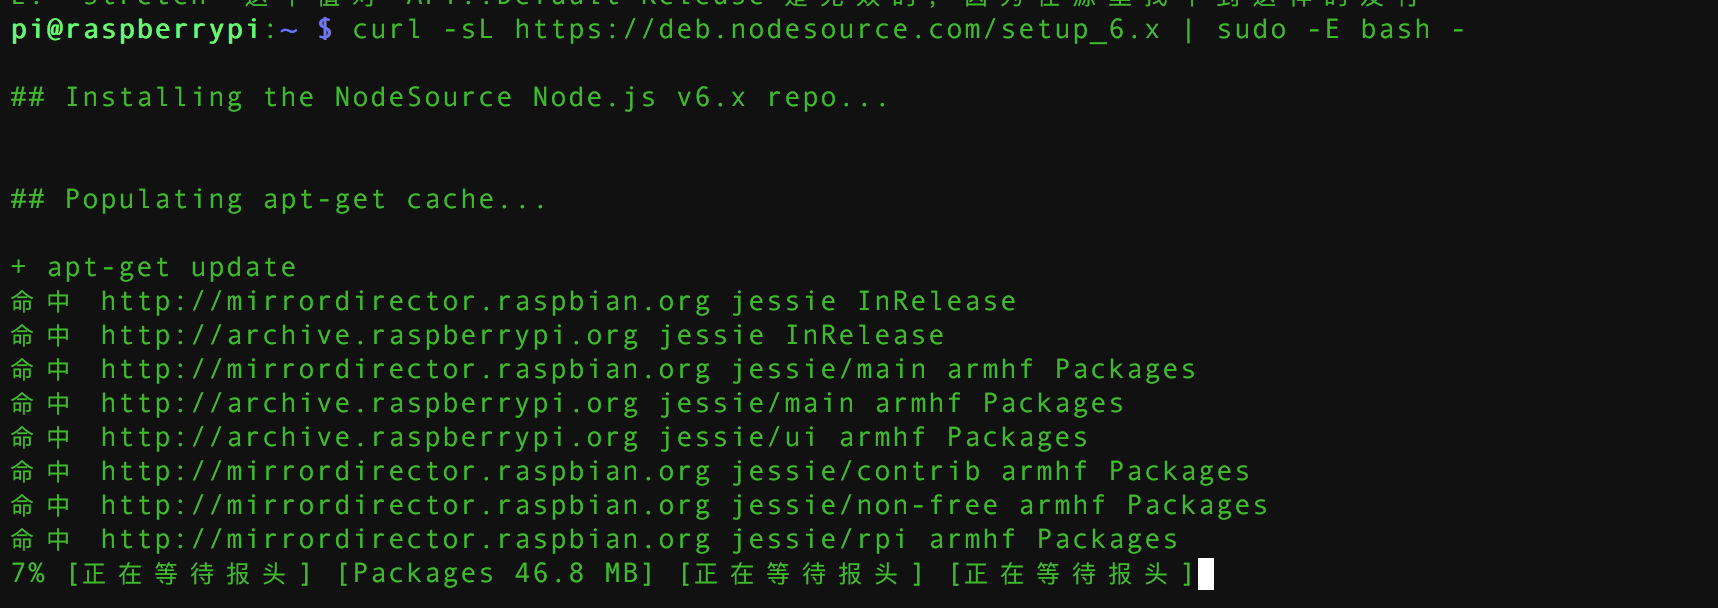
# apt-get install nodejs
克隆源代码
git clone https://github.com/KhaosT/HAP-NodeJS.git
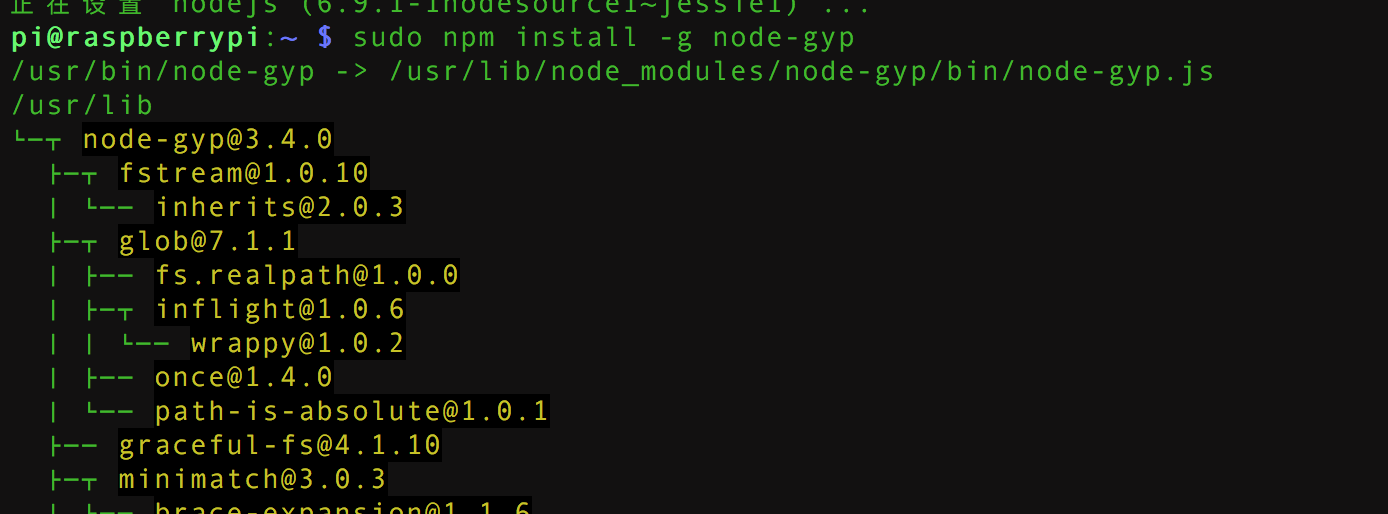
安装node-gyp
$ sudo npm install -g node-gyp
然后切换到HAP-NodeJS文件夹下,运行
node Core,js缺哪个库安装哪个库
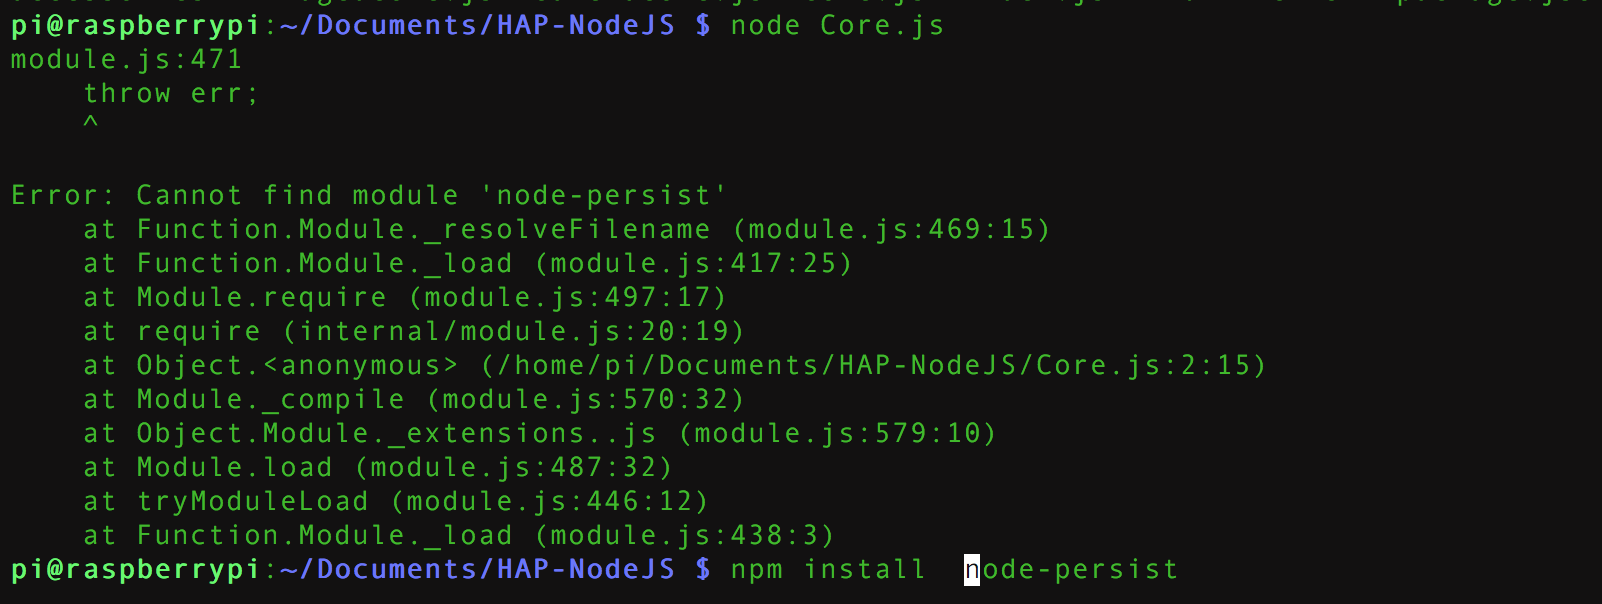
最后安装
npm install python-shell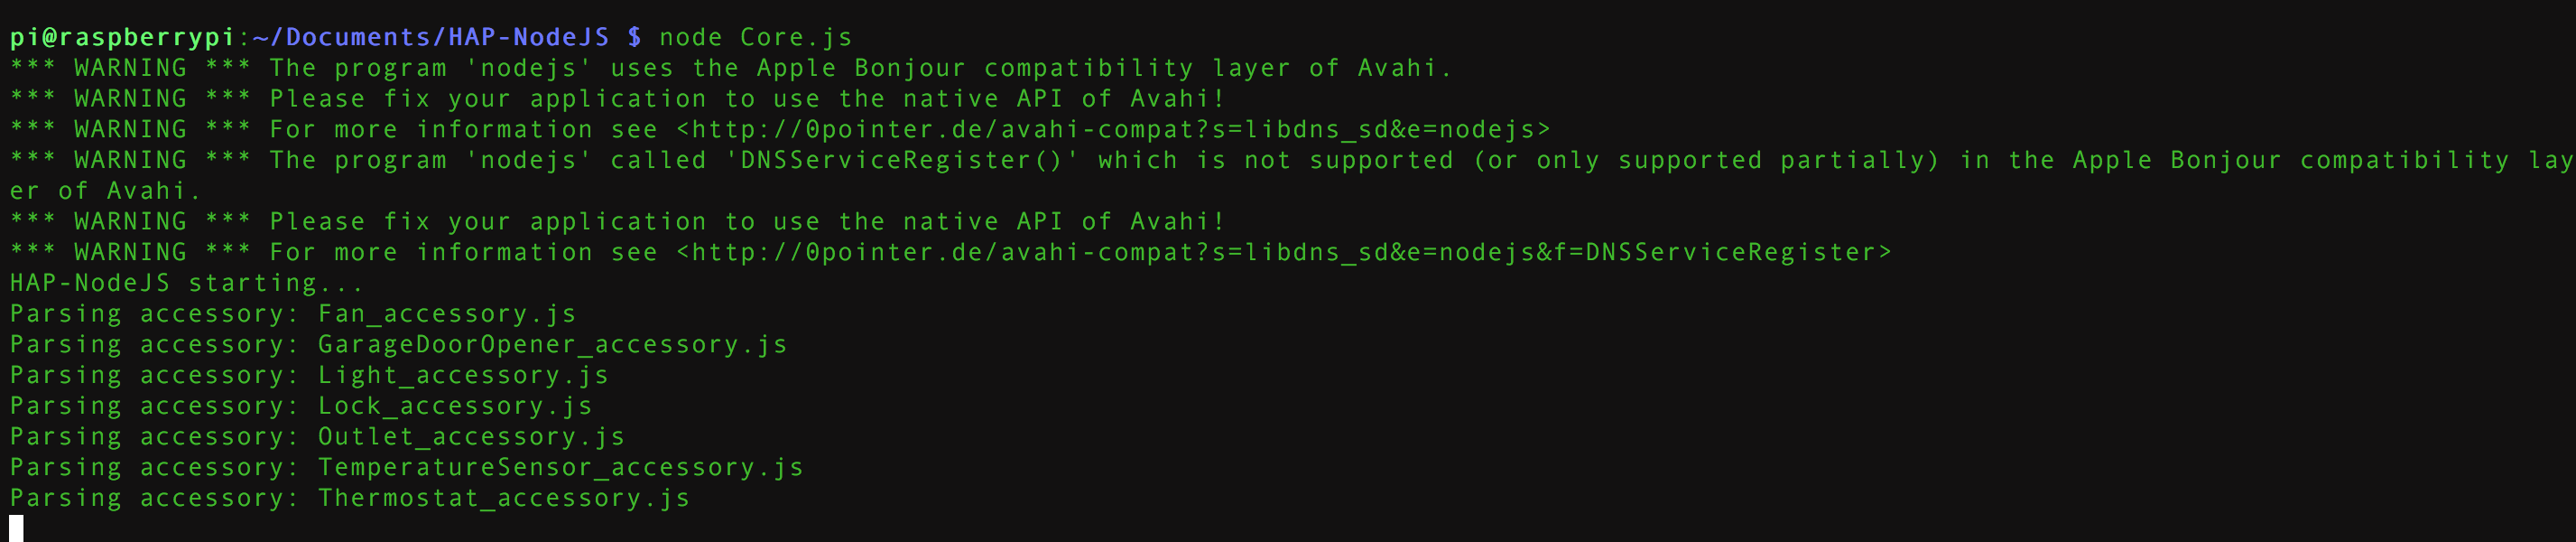
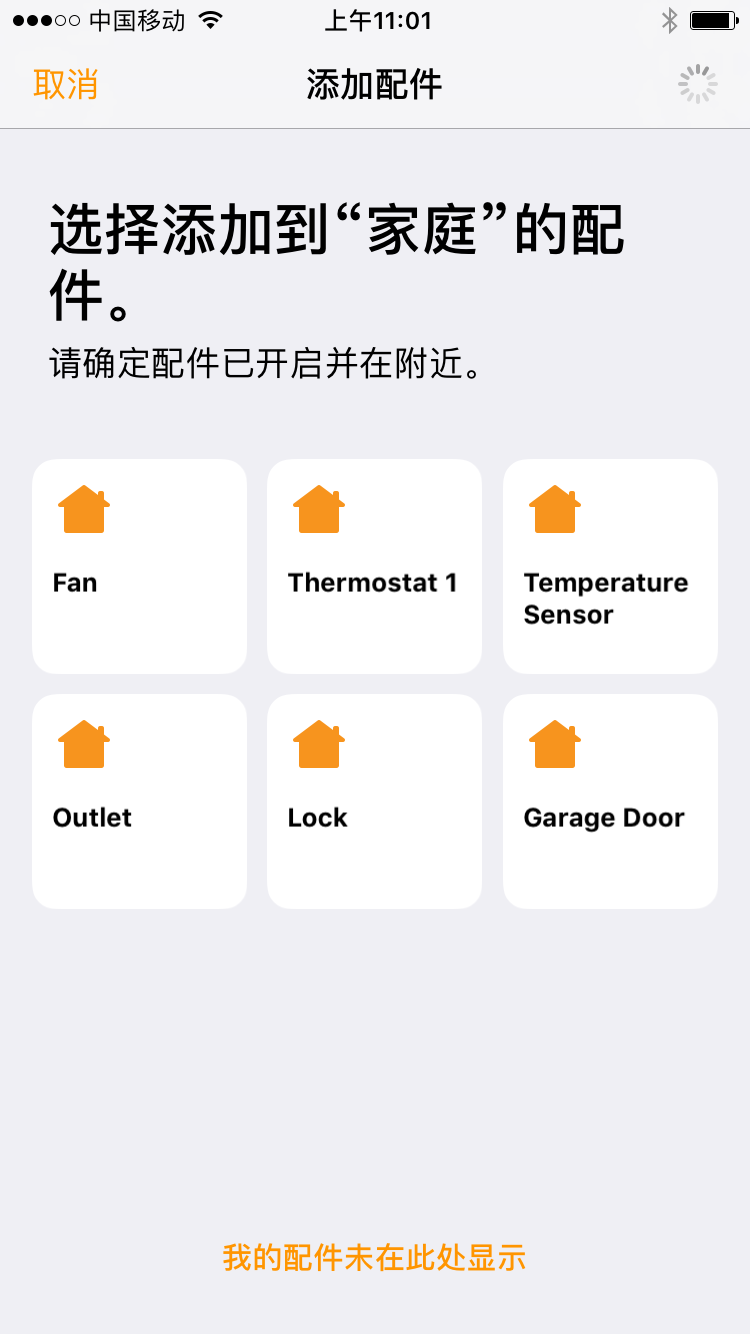
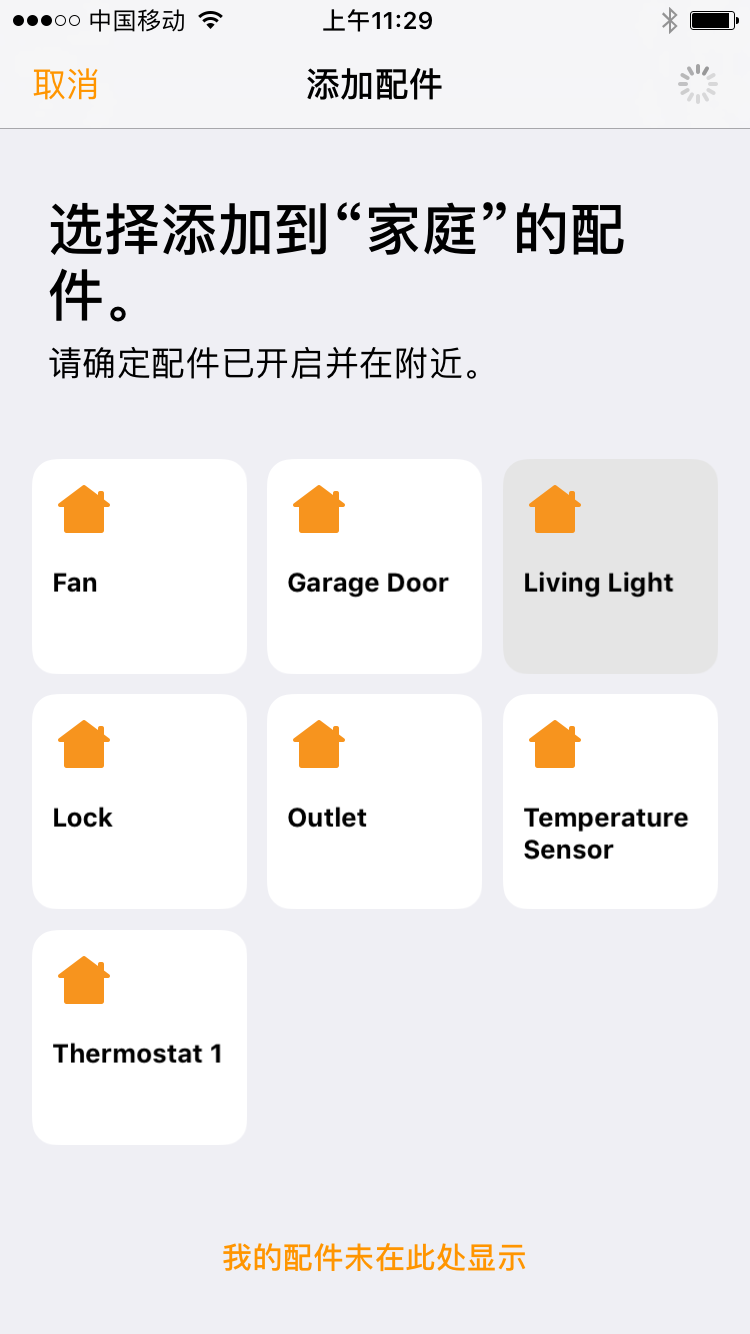
打开iPhone手机的HomeKit就能看到伪造的智能设备了
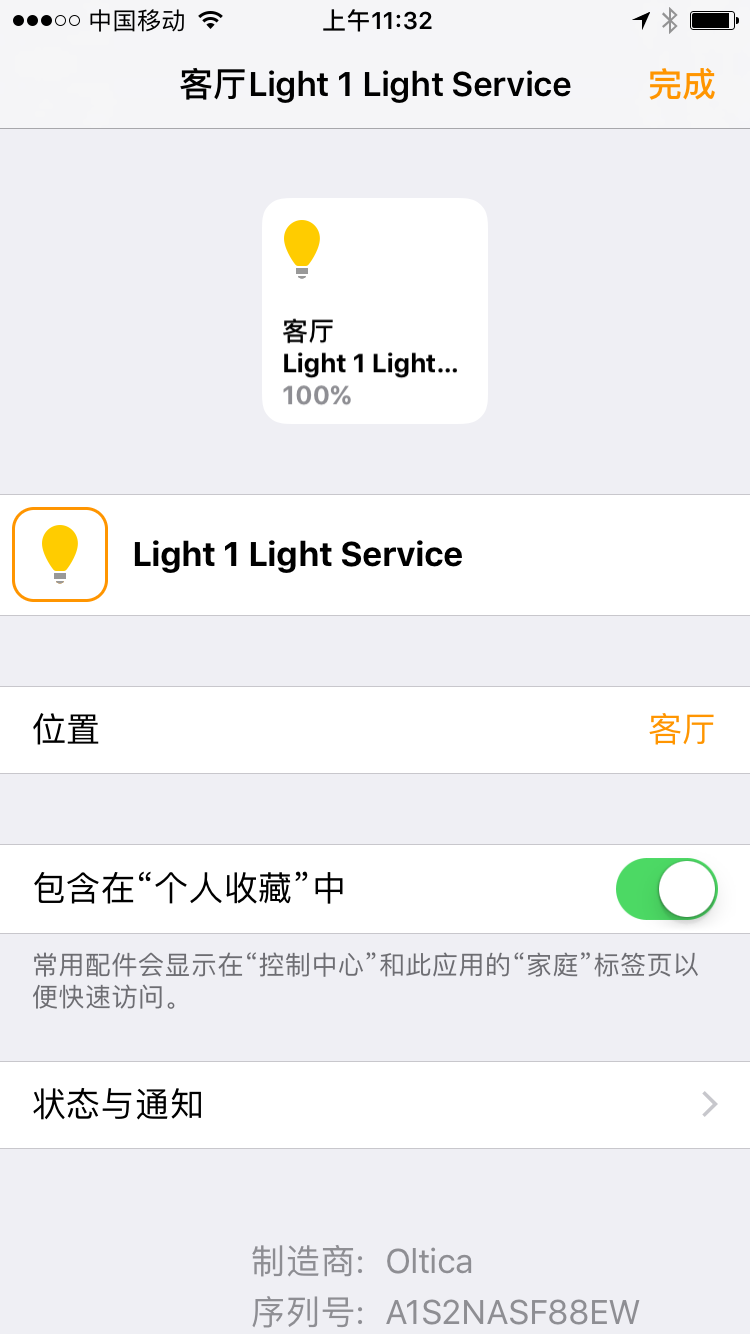
在accessories的目录下新建一个LivingLight_accessory.js,代码如下
//Light_accessory.js

var PythonShell = require('python-shell');
// HomeKit types required var types = require("./types.js") var exports = module.exports = {}; var execute = function(accessory,characteristic,value){ console.log("executed accessory: " + accessory + ", and characteristic: " + characteristic + ", with value: " +  value + "."); } exports.accessory = {   displayName: "Living Light",   username: "1A:5B:3C:4A:5E:FF",   pincode: "031-45-154",   services: [{     sType: types.ACCESSORY_INFORMATION_STYPE,     characteristics: [{         cType: types.NAME_CTYPE,         onUpdate: null,         perms: ["pr"],         format: "string",         initialValue: "Living Light",         supportEvents: false,         supportBonjour: false,         manfDescription: "Bla",         designedMaxLength: 255     },{         cType: types.MANUFACTURER_CTYPE,         onUpdate: null,         perms: ["pr"],         format: "string",         initialValue: "Oltica",         supportEvents: false,         supportBonjour: false,         manfDescription: "Bla",         designedMaxLength: 255     },{         cType: types.MODEL_CTYPE,         onUpdate: null,         perms: ["pr"],         format: "string",         initialValue: "Rev-1",         supportEvents: false,         supportBonjour: false,         manfDescription: "Bla",         designedMaxLength: 255     },{         cType: types.SERIAL_NUMBER_CTYPE,         onUpdate: null,         perms: ["pr"],         format: "string",         initialValue: "A1S2NASF88EW",         supportEvents: false,         supportBonjour: false,         manfDescription: "Bla",         designedMaxLength: 255     },{         cType: types.IDENTIFY_CTYPE,         onUpdate: null,         perms: ["pw"],         format: "bool",         initialValue: false,         supportEvents: false,         supportBonjour: false,         manfDescription: "Identify Accessory",         designedMaxLength: 1     }]   },{     sType: types.LIGHTBULB_STYPE,     characteristics: [{         cType: types.NAME_CTYPE,         onUpdate: null,         perms: ["pr"],         format: "string",         initialValue: "Light 1 Light Service",         supportEvents: false,         supportBonjour: false,         manfDescription: "Bla",         designedMaxLength: 255     },{         cType: types.POWER_STATE_CTYPE,         onUpdate: function(value)     {             console.log("Change:",value);             if (value) {             PythonShell.run('/python/light1.py', function (err) {                    console.log('Light1 On Success');             });             } else {                 PythonShell.run('/python/light0.py', function (err) {                     console.log("Off Success");                 });             }         },         perms: ["pw","pr","ev"],         format: "bool",         initialValue: false,         supportEvents: false,         supportBonjour: false,         manfDescription: "Turn On the Light",         designedMaxLength: 1     },{         cType: types.HUE_CTYPE,         onUpdate: function(value) { console.log("Change:",value); execute("Test Accessory 1", "Light - Hue", value); },         perms: ["pw","pr","ev"],         format: "int",         initialValue: 0,         supportEvents: false,         supportBonjour: false,         manfDescription: "Doesn’t actually adjust Hue of Light",         designedMinValue: 0,         designedMaxValue: 360,         designedMinStep: 1,         unit: "arcdegrees"     },{         cType: types.BRIGHTNESS_CTYPE,         onUpdate: function(value) { console.log("Change:",value); execute("Test Accessory 1", "Light - Brightness", value); },         perms: ["pw","pr","ev"],         format: "int",         initialValue: 0,         supportEvents: false,         supportBonjour: false,         manfDescription: "Doesn’t actually adjust Brightness of Light",         designedMinValue: 0,         designedMaxValue: 100,         designedMinStep: 1,         unit: "%"     },{         cType: types.SATURATION_CTYPE,         onUpdate: function(value) { console.log("Change:",value); execute("Test Accessory 1", "Light - Saturation", value); },         perms: ["pw","pr","ev"],         format: "int",         initialValue: 0,         supportEvents: false,         supportBonjour: false,         manfDescription: "Doesn’t actually adjust Saturation of Light",         designedMinValue: 0,         designedMaxValue: 100,         designedMinStep: 1,         unit: "%"     }]   }] }
然后在HAP-NodeJS下新建python文件夹,新建light1.py,用来开启灯
import RPi.GPIO as GPIO GPIO.setwarnings(False) GPIO.setmode(GPIO.BOARD) GPIO.setup(16, GPIO.OUT) GPIO.output(16, 1) #GPIO.cleanup()
light0.py用来关闭灯
import RPi.GPIO as GPIO GPIO.setwarnings(False) GPIO.setmode(GPIO.BOARD) GPIO.setup(16, GPIO.OUT) GPIO.output(16, 0) #GPIO.cleanup()
重新运行node Core.js即可在HomeKit看到新建的Living Light
把这个添加,pincode就是031-45-154
硬件连接

我这边用的是物理接口的16口和34口

0×03 测试
后记
这里有个前提条件是树莓派和iPhone在同一个子网上,如果想从外网控制就得需要映射公网WEB服务器或者是第三方物联网WEB的形式。而如果想将树莓派作为智能家庭网络的中心,后期还有很多工作要做,比如服务开机启动,连接继电器,线路改造,车库门,温度感应器,电视,摄像头等,有机会再继续聊吧
Reference:
http://www.instructables.com/id/Raspberry-Pi-2-Homekit-from-zero-to-Hey-Siri/?ALLSTEPS


 被折叠的 条评论
为什么被折叠?
被折叠的 条评论
为什么被折叠?
 到【灌水乐园】发言


