


工作中,有几个地方用到了指令,需要在指令中触发父组件的controller中的方法。
1、比如在二次诊断页面中,有一个选择图片并上传的功能:
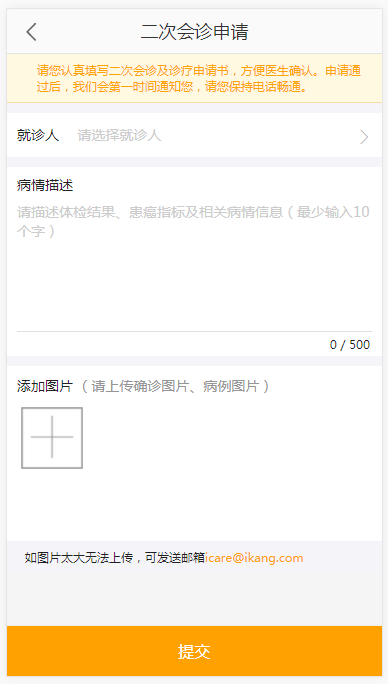
<md-input-container class="md-block applicant-pics">
      <h5>添加图片</h5>
      <span>(请上传确诊图片、病例图片)</span>
      <ul id="imgList">
        <li ng-repeat="imgUrl in rediagnosisApply.imgsURL"
            ng-click="rediagnosisApply.goToShowBigImage($index)">
          <img ng-src="{{imgUrl}}"/>
        </li>
        <li class="addPicsBtn" ng-hide="rediagnosisApply.imgsURL.length>=9">
          <img src="//static-app.health.ikang.com/cdn/assets/images/rediagnosis/plus.png"
               alt=""
               ng-click="rediagnosisApply.goToAddPics()">
        </li>
      </ul>
      <input type="file"
             name="file"
             id="uploadFile"
             accept="image/*;capture=camera"
             multiple="multiple"
             input-on-change
             style="visibility: hidden;">

</md-input-container>
goToAddPics() {
    angular.element('#uploadFile').trigger('click');
}
页面中的选择图片的“+”号是一张图片,点击它触发隐藏起来的<input type="file">元素发生一个click事件,于是会弹出选择照片的窗口。在这里,我给这个<input type="file">元素添加了一个属性指令 input-on-change。这个指令是这么写的:
export function InputOnChangeDirective() {
  'ngInject';
  let directive = {
    restrict: 'A',
    controllerAs: 'inputOnChange',
    link: function (scope, element) {
      element.bind('change', function () {
        // scope.rediagnosisApply.handleImages();
        scope.$emit('change');
      });
    }
  };
  return directive;
}
给这个<input type="file">元素绑定一个change事件,当选择图片完毕后,就会触发这个change事件,这里我需要在触发change事件后,调用申请页面rediagnosisApply的 handleImages方法。最开始,我用的是
scope.rediagnosisApply.handleImages();
这个方法。但是这个方法是不好的。因为指令就是要能复用。如果这样写,就不能复用了,因为指定了触发具体的controller(这里是rediagnosisApply)里面的方法。后来发现了$emit方法。用scope.$emit可以触发一个指定名称的事件,而在父组件中,也就是在调用这个指令的controller中,能监听这个事件。比如这里我在rediagnosisApply的controller中是这样写的:
export class RediagnosisApplyController {
  constructor($scope) {
    'ngInject';
    this.$scope = $scope;
    this.init();
    var self = this;
    this.$scope.$on('change', function () {
      self.handleImages();
    });
  }

  init(){
  // todo
  }

  handleImages(){
 // todo
  }
}
如上所示,可以在$scope上监听一个'change'事件,当事件触发时,再调用自己的方法handleImages()。这样就让指令inputOnChange可以实现复用了。
2、再比如在分院列表页面,有一个从右边弹出的筛选弹出层,我把它做成了一个指令rightSideNav。
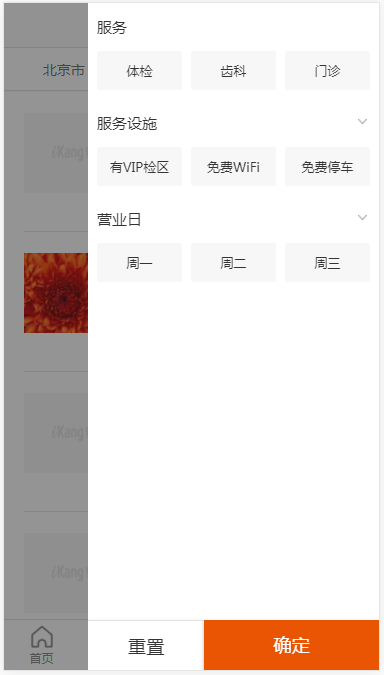
在这个指令中,点确定后,需要调用父组件,也就是分院列表controller中的一个方法initTagList()。
一开始,我也是在指令中直接调用了父组件controller中的initTagList()。
export function RightSideNavDirective() {
  'ngInject';

  let directive = {
    restrict: 'E',
    replace: true,
    templateUrl: 'app/directive/rightSideNav/rightSideNav.html',
    scope: {
      ikdServeTagList: '='
    },
    controller: RightSideNavController,
    controllerAs: 'vm',
    bindToController: true
  };

  return directive;
}

class RightSideNavController {
  constructor($mdSidenav, $scope) {
    'ngInject';
    this.$mdSidenav = $mdSidenav;
    this.$scope = $scope;
  }

  goConfirm() {
    // 预选的(preSelected为true)的,全部确定为已选择(selected为true)
    for (let i = 0; i < this.ikdServeTagList.length; i++) {
      for (let j = 0; j < this.ikdServeTagList[i].tagList.length; j++) {
        if (this.ikdServeTagList[i].tagList[j].preSelected) {
          this.ikdServeTagList[i].tagList[j].selected = true;
        } else {
          this.ikdServeTagList[i].tagList[j].selected = false;
        }
      }
    }

    this.$mdSidenav('right').close();
    // this.$scope.$parent.organizationIndex.initTagList();
    this.$scope.$emit('goConfirm');
  }
}
如果是用 this.$scope.$parent.organizationIndex.initTagList(); 这个方法,同样的,虽然这个页面能实现预期的效果,但是这个指令是不能复用的。所以,后来改为 this.$scope.$emit('goConfirm'); 这个方法。它能向父组件触发一个 goConfirm 事件,在父组件的controller中,可以监听这个事件,如下:
export class OrganizationIndexController {
  constructor( $scope) {
    'ngInject';
    this.$scope = $scope;

    this.init();
    var self = this;
    this.$scope.$on('goConfirm', function () {
      self.initTagList();
    });
  }

  initTagList(){
  // todo
  }
}
这样就让指令能够实现复用了。


 7885
7885


 被折叠的 条评论
为什么被折叠?
被折叠的 条评论
为什么被折叠?
 到【灌水乐园】发言


