


所需软件列表:
1.eclipse luna 64bit, 保证其中已经自带了Maven,否则需要通过eclipse的install new software 去安装一下
2.jdk 1.7 64bit
下面开始第一个demo
1.首先手动创建以下目录及文件
目录:WorkSpace->myFirstProject->src->main->java->com->example->myFirstProject
文件:WorkSpace\myFirstProject\pom.xml 文件内容如下:


 1 <?xml version="1.0" encoding="UTF-8"?>
 2 <project xmlns="http://maven.apache.org/POM/4.0.0" xmlns:xsi="http://www.w3.org/2001/XMLSchema-instance"
 3     xsi:schemaLocation="http://maven.apache.org/POM/4.0.0 http://maven.apache.org/xsd/maven-4.0.0.xsd">
 4     <modelVersion>4.0.0</modelVersion>
 5
 6     <groupId>com.example</groupId>
 7     <artifactId>myFirstproject</artifactId>
 8     <version>0.0.1-SNAPSHOT</version>
 9
10     <!-- Inherit defaults from Spring Boot -->
11     <parent>
12         <groupId>org.springframework.boot</groupId>
13         <artifactId>spring-boot-starter-parent</artifactId>
14         <version>1.4.0.BUILD-SNAPSHOT</version>
15     </parent>
16
17     <!-- Add typical dependencies for a web application -->
18     <dependencies>
19         <dependency>
20             <groupId>org.springframework.boot</groupId>
21             <artifactId>spring-boot-starter-web</artifactId>
22         </dependency>
23     </dependencies>
24
25     <!-- Package as an executable jar -->
26     <build>
27         <plugins>
28             <plugin>
29                 <groupId>org.springframework.boot</groupId>
30                 <artifactId>spring-boot-maven-plugin</artifactId>
31             </plugin>
32         </plugins>
33     </build>
34
35     <!-- Add Spring repositories -->
36     <!-- (you don't need this if you are using a .RELEASE version) -->
37     <repositories>
38         <repository>
39             <id>spring-snapshots</id>
40             <url>http://repo.spring.io/snapshot</url>
41             <snapshots><enabled>true</enabled></snapshots>
42         </repository>
43         <repository>
44             <id>spring-milestones</id>
45             <url>http://repo.spring.io/milestone</url>
46         </repository>
47     </repositories>
48     <pluginRepositories>
49         <pluginRepository>
50             <id>spring-snapshots</id>
51             <url>http://repo.spring.io/snapshot</url>
52         </pluginRepository>
53         <pluginRepository>
54             <id>spring-milestones</id>
55             <url>http://repo.spring.io/milestone</url>
56         </pluginRepository>
57     </pluginRepositories>
58 </project>
另外新建两个java文件,
WorkSpace\myFirstProject\src\main\java\com\example\myFirstProject\Application.java , 代码如下,
 1 package main.java.com.example.myFirstProject;
 2
 3 import org.springframework.boot.SpringApplication;
 4 import org.springframework.boot.autoconfigure.SpringBootApplication;
 5
 6 @SpringBootApplication
 7 public class Application {
 8
 9     public static void main(String[] args) {
10         SpringApplication.run(Application.class,args);
11     }
12
13 }
WorkSpace\myFirstProject\src\main\java\com\example\myFirstProject\Example.java, 代码如下,
 1 package main.java.com.example.myFirstProject;
 2
 3
 4 import org.springframework.boot.autoconfigure.EnableAutoConfiguration;
 5 import org.springframework.web.bind.annotation.PathVariable;
 6 import org.springframework.web.bind.annotation.RequestMapping;
 7 import org.springframework.web.bind.annotation.RestController;
 8
 9 @RestController
10 @EnableAutoConfiguration
11 public class Example {
12
13     @RequestMapping("/")
14     String home() {
15         return "Hello World!";
16     }
17
18     @RequestMapping("/hello/{myName}")
19     String index(@PathVariable String myName) {
20         return "Hello "+myName+"!!!";
21     }
22 }
2.Eclipse配置
File->import->Existing Maven Projects, 定位到WorkSpace\myFirstProject\,能自动读取pom.xml文件为Maven项目文件,
导入工程后需要配置build path
2.1 在build path的libraries中,Add library->JRE System Library->WorkSpace default JRE(1.7), 确保将JDK1.7导入工程
2.2 Add library->Maven Managed Dependencies, 之后配置“ Maven Project settings" 输入Managed Dependencies 即可
最终配置结果如下,

3.执行Application.java,运行结果如下,

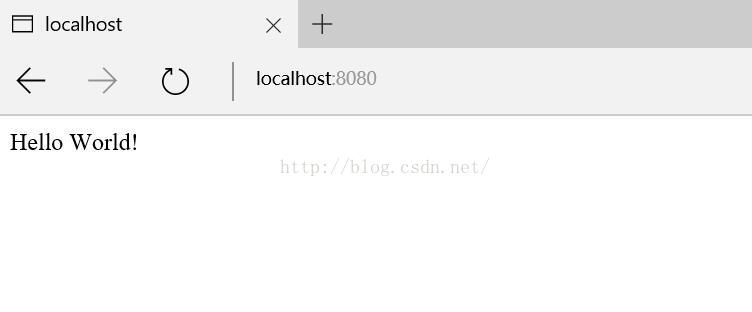
4.在浏览器中输入 http://localhost:8080, 结果如下,
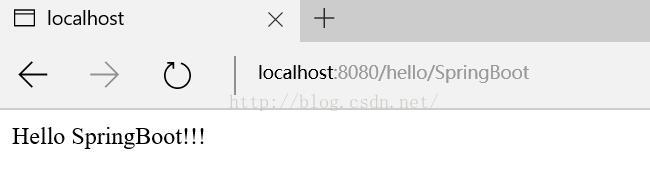
5.在浏览器中输入 http://localhost:8080/hello/world ,结果如下,


 202
202


 被折叠的 条评论
为什么被折叠?
被折叠的 条评论
为什么被折叠?
 到【灌水乐园】发言


