


---恢复内容开始---
1.什么是solr:
Solr 是Apache下的一个顶级开源项目,采用Java开发,它是基于Lucene的全文搜索服务器。Solr提供了比Lucene更为丰富的查询语言,同时实现了可配置、可扩展,并对索引、搜索性能进行了优化。Solr可以独立运行,运行在Jetty、Tomcat等这些Servlet容器中,Solr 索引的实现方法很简单,用 POST 方法向 Solr 服务器发送一个描述 Field 及其内容的 XML 文档,Solr根据xml文档添加、删除、更新索引 。Solr 搜索只需要发送 HTTP GET 请求,然后对 Solr 返回Xml、json等格式的查询结果进行解析,组织页面布局。Solr不提供构建UI的功能,Solr提供了一个管理界面,通过管理界面可以查询Solr的配置和运行情况。
2.solr可以用在哪儿:
全文检索,网站检索功能 内部查询算法原理:http://www.importnew.com/12707.html
3. 运行环境
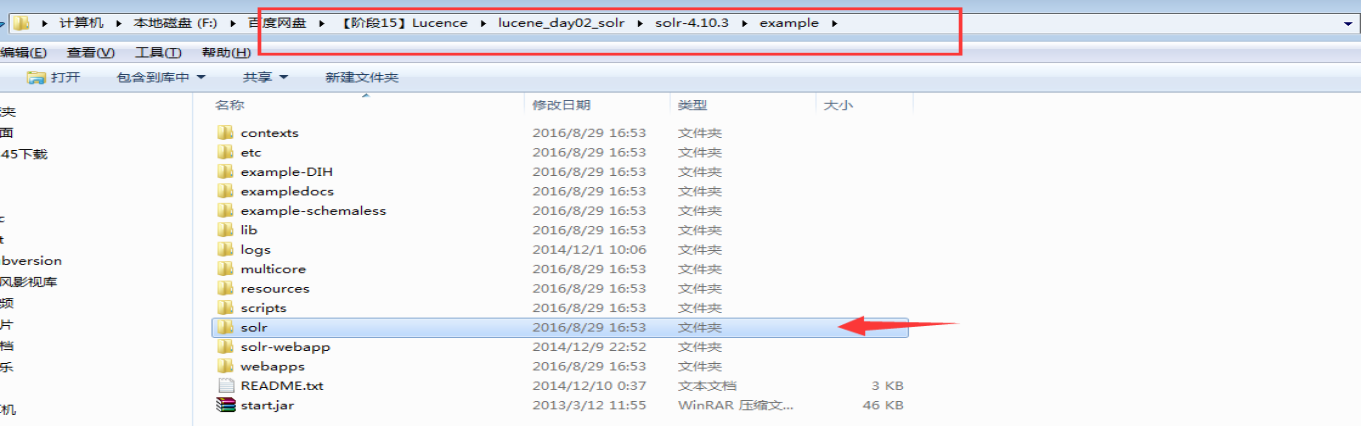
从Solr官方网站(http://lucene.apache.org/solr/ ) 本次为 windows下 需要下载lucene-4.10.3.zip。 相对linux 需要下载lucene-4.10.3.tgz
文档连接:https://wiki.apache.org/solr/FrontPage
Solr4.10.3要求jdk使用1.7以上,环境如下:
Solr:Solr4.10.3
Jdk:jdk1.7.0_72
Tomcat:apache-tomcat-7.0.53
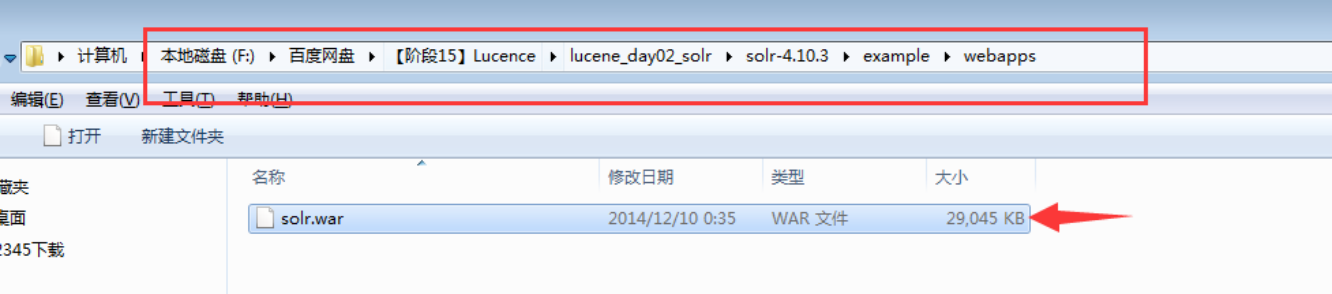
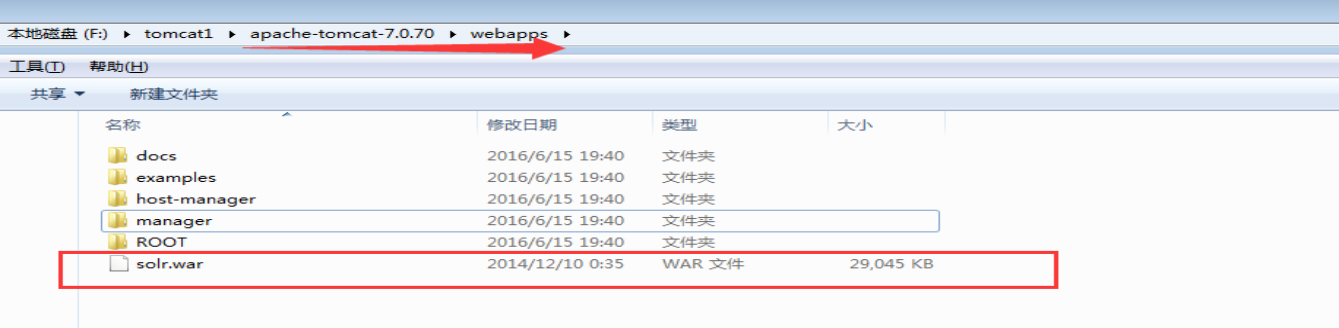
1) 将解压后的Solr4.10.3下的solr.war复制到tomcat下webapps下
2) 启动tomcat,将会自动解压solr.war,启动时报错不必理会,目的是解压。
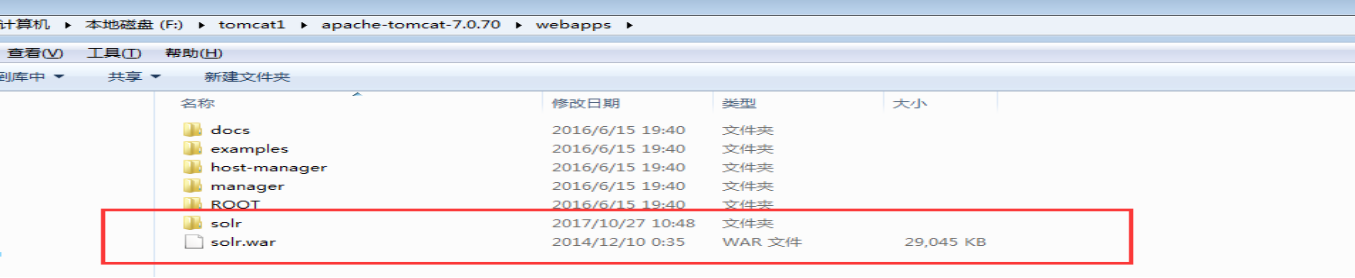
3) 解压成功后,关闭tomcat,将solr.war删除。打开solr/lib导入依赖jar包

4) 打开solr/web-info/web.xml,放开注释,此环境为配置solrhome的路径
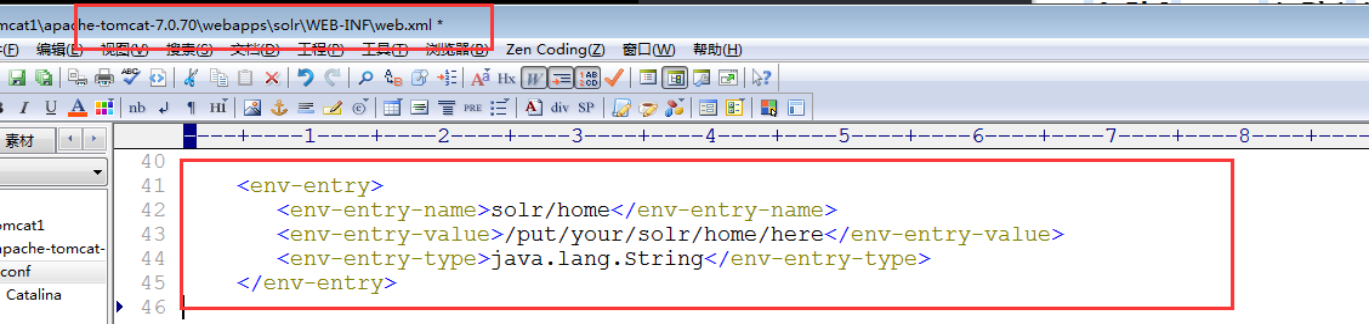
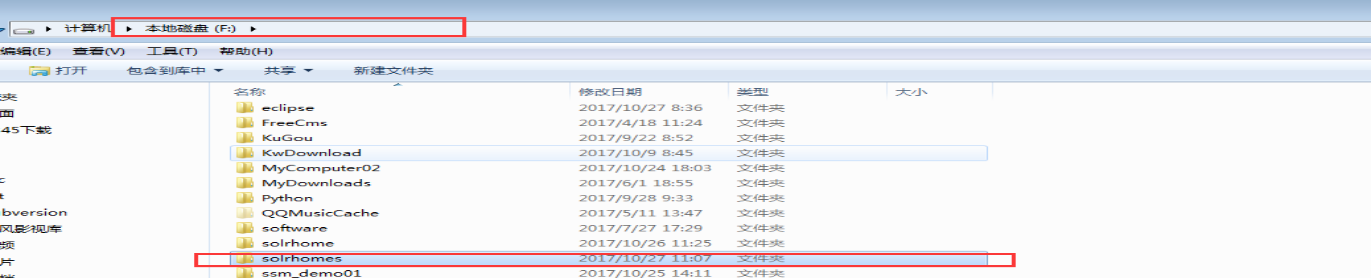
5) 配置solrhome。将Solr4.10.3下的solr文件复制到F:根目录下建议改名为solrhome
6) 复制其路径到solr/web-info/web.xml

7) 启动tomcat访问http://localhost:8080/solr/,出现此界面则部署启动成功

页面介绍:(不必太理会,这段copy的。。。)
Dashboard
仪表盘,显示了该Solr实例开始启动运行的时间、版本、系统资源、jvm等信息。
Logging
Solr运行日志信息
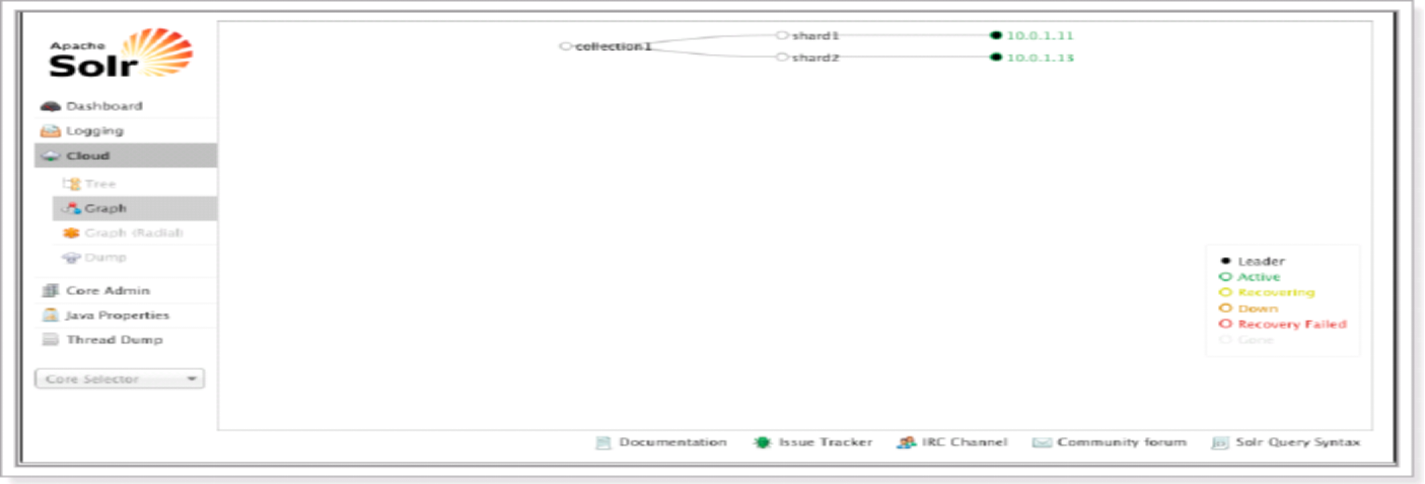
Cloud
Cloud即SolrCloud,即Solr云(集群),当使用Solr Cloud模式运行时会显示此菜单,如下图是Solr Cloud的管理界面:
Core Admin
Solr Core的管理界面。Solr Core 是Solr的一个独立运行实例单位,它可以对外提供索引和搜索服务,一个Solr工程可以运行多个SolrCore(Solr实例),一个Core对应一个索引目录。
添加solrcore:
第一步:复制collection1改名为collection2
第二步:修改core.properties。name=collection2
第三步:重启tomcat
java properties
Solr在JVM 运行环境中的属性信息,包括类路径、文件编码、jvm内存设置等信息。
Tread Dump
显示Solr Server中当前活跃线程信息,同时也可以跟踪线程运行栈信息。
Core selector
选择一个SolrCore进行详细操作,如下:

Analysis:

通过此界面可以测试索引分析器和搜索分析器的执行情况。
这些索引都在F:\solrhomes\collection1\conf\ schema.xml进行了配置

Dataimport
可以定义数据导入处理器,从关系数据库将数据导入 到Solr索引库中。
Document
通过此菜单可以创建索引、更新索引、删除索引等操作,界面如下:

curd操作
/update表示更新索引,solr默认根据id(唯一约束)域来更新Document的内容。
如果id存在则执行修改操作,若不存在则执行增加操作。/delete 选择xml方式 通过标签id进行删除 删除所有 将id标签换为<query>*:*</query>

Query

通过/select执行搜索索引,必须指定“q”查询条件方可搜索。
这些增删改查都在F:\solrhomes\collection1\conf\ solrconfig.xml进行了配置。

说道这儿 意思是了解下solr的页面功能,及他实现的原理 他能做到的我们也能做到
7.配置中文分词器(识别中文词组,自动分词,)
7.1引入分词器jar到solr工程中:

7.2复制IKAnalyzer的配置文件和自定义词典和停用词词典到solr的classpath下。
也就是: 新建文件夹为classes用于存放中文分词器的配置文件

7.3在solrhomes/collection1/conf/schema.xml中添加一个自定义的fieldType,使用中文分析器。
1 <!-- IKAnalyzer-->
2 <fieldType name="text_ik" class="solr.TextField">
3 <analyzer class="org.wltea.analyzer.lucene.IKAnalyzer"/>
4 </fieldType> 5 <!--IKAnalyzer Field--> 6 <field name="title_ik" type="text_ik" indexed="true" stored="true" /> 7 <field name="content_ik" type="text_ik" indexed="true" stored="false" multiValued="true"/>

定义前:为分词:

引入分词后:
启动tomcat,查看自定义的中文分词器是否在fieldType中有。有搜索中文如下则配置成功。

7.6将数据库数据导入到solr服务器中
7.6.1.在F:\solrhomes\collection1\conf\schema.xml设置自己 的field:如下(将mysql数据库中字段与solr中字段匹配)
1 !--product-->
2 <field name="product_name" type="text_ik" indexed="true" stored="true"/>
3 <field name="product_price"  type="float" indexed="true" stored="true"/>
4 <field name="product_description" type="text_ik" indexed="true" stored="false" />
5 <field name="product_picture" type="string" indexed="false" stored="true" />
6 <field name="product_catalog_name" type="string" indexed="true" stored="true" /> 7 <field name="product_keywords" type="text_ik" indexed="true" stored="false" multiValued="true"/> 8 <copyField source="product_name" dest="product_keywords"/> 9 <copyField source="product_description" dest="product_keywords"/>
7.6.2:导入数据:在实例中创建lib文件夹,存放相关jar,同时存放mysqljar
solr-dataimporthandler-4.10.3.jar
solr-dataimporthandler-extras-4.10.3.jar
mysql-connector-java-5.1.7-bin.jar

7.6.3配置solrconfig.mxl文件,添加一个requestHandler。(用于存放连接mysql配置文件的路径)

1 <requestHandler name="/dataimport"
2 class="org.apache.solr.handler.dataimport.DataImportHandler">
3 <lst name="defaults">
4 <str name="config">data-config.xml</str>
5 </lst> 6 </requestHandler>
7.6.4.创建 data-cofig.xml,用于solr与mysql数据库连接


 1 <?xml version="1.0" encoding="UTF-8" ?>
 2 <dataConfig>
 3 <dataSource type="JdbcDataSource"
 4 driver="com.mysql.jdbc.Driver"
 5 url="jdbc:mysql://localhost:3306/solr"
 6 user="root"  7 password="root"/>  8 <document>  9 <entity name="product" query="SELECT pid,name,catalog_name,price,description,picture FROM products "> 10 <field column="pid" name="id"/> 11 <field column="name" name="product_name"/> 12 <field column="catalog_name" name="product_catalog_name"/> 13 <field column="price" name="product_price"/> 14 <field column="description" name="product_description"/> 15 <field column="picture" name="product_picture"/> 16 </entity> 17 </document> 18 </dataConfig>
启动服务

代码增删改查(java对接)
第一步:创建一个java工程
第二步:导入jar包。包括solrJ的jar包。还需要
第三步:和Solr服务器建立连接。HttpSolrServer对象建立连接。
第四步:创建一个SolrInputDocument对象,然后添加域。
第五步:将SolrInputDocument添加到索引库。
第六步:提交。
添加代码:
 1 //向索引库中添加索引
 2 @Test
 3 public void addDocument() throws Exception {  4 //和solr服务器创建连接  5 //参数:solr服务器的地址  6 SolrServer solrServer = new HttpSolrServer("http://localhost:8080/solr");  7 //创建一个文档对象  8 SolrInputDocument document = new SolrInputDocument();  9 //向文档中添加域 10 //第一个参数:域的名称,域的名称必须是在schema.xml中定义的 11 //第二个参数:域的值 12 document.addField("id", "c0001"); 13 document.addField("title_ik", "使用solrJ添加的文档"); 14 document.addField("content_ik", "文档的内容"); 15 document.addField("product_name", "商品名称"); 16 //把document对象添加到索引库中 17 solrServer.add(document); 18 //提交修改 19 solrServer.commit(); 20 }
删除代码:
 1 //删除文档,根据id删除
 2 @Test
 3 public void deleteDocumentByid() throws Exception {  4 //创建连接  5 SolrServer solrServer = new HttpSolrServer("http://localhost:8080/solr");  6 //根据id删除文档  7 solrServer.deleteById("c0001");  8 //提交修改  9 solrServer.commit(); 10 }
根据查询删除
 1 //根据查询条件删除文档
 2 @Test
 3 public void deleteDocumentByQuery() throws Exception {  4 //创建连接  5 SolrServer solrServer = new HttpSolrServer("http://localhost:8080/solr");  6 //根据查询条件删除文档  7 solrServer.deleteByQuery("*:*");  8 //提交修改  9 solrServer.commit(); 10 }
简单查询
 1 //查询索引
 2 @Test
 3 public void queryIndex() throws Exception {  4 //创建连接  5 SolrServer solrServer = new HttpSolrServer("http://localhost:8080/solr");  6 //创建一个query对象  7 SolrQuery query = new SolrQuery();  8 //设置查询条件  9 query.setQuery("*:*"); 10 //执行查询 11 QueryResponse queryResponse = solrServer.query(query); 12 //取查询结果 13 SolrDocumentList solrDocumentList = queryResponse.getResults(); 14 //共查询到商品数量 15 System.out.println("共查询到商品数量:" + solrDocumentList.getNumFound()); 16 //遍历查询的结果 17 for (SolrDocument solrDocument : solrDocumentList) { 18 System.out.println(solrDocument.get("id")); 19 System.out.println(solrDocument.get("product_name")); 20 System.out.println(solrDocument.get("product_price")); 21 System.out.println(solrDocument.get("product_catalog_name")); 22 System.out.println(solrDocument.get("product_picture")); 23 } 24 }
复杂查询
其中包含查询、过滤、分页、排序、高亮显示等处理。
 1 //复杂查询索引
 2 @Test
 3 public void queryIndex2() throws Exception {  4 //创建连接  5 SolrServer solrServer = new HttpSolrServer("http://localhost:8080/solr");  6 //创建一个query对象  7 SolrQuery query = new SolrQuery();  8 //设置查询条件  9 query.setQuery("钻石"); 10 //过滤条件 11 query.setFilterQueries("product_catalog_name:幽默杂货"); 12 //排序条件 13 query.setSort("product_price", ORDER.asc); 14 //分页处理 15 query.setStart(0); 16 query.setRows(10); 17 //结果中域的列表 18 query.setFields("id","product_name","product_price","product_catalog_name","product_picture"); 19 //设置默认搜索域 20 query.set("df", "product_keywords"); 21 //高亮显示 22 query.setHighlight(true); 23 //高亮显示的域 24 query.addHighlightField("product_name"); 25 //高亮显示的前缀 26 query.setHighlightSimplePre("<em>"); 27 //高亮显示的后缀 28 query.setHighlightSimplePost("</em>"); 29 //执行查询 30 QueryResponse queryResponse = solrServer.query(query); 31 //取查询结果 32 SolrDocumentList solrDocumentList = queryResponse.getResults(); 33 //共查询到商品数量 34 System.out.println("共查询到商品数量:" + solrDocumentList.getNumFound()); 35 //遍历查询的结果 36 for (SolrDocument solrDocument : solrDocumentList) { 37 System.out.println(solrDocument.get("id")); 38 //取高亮显示 39 String productName = ""; 40 Map<String, Map<String, List<String>>> highlighting = queryResponse.getHighlighting(); 41 List<String> list = highlighting.get(solrDocument.get("id")).get("product_name"); 42 //判断是否有高亮内容 43 if (null != list) { 44 productName = list.get(0); 45 } else { 46 productName = (String) solrDocument.get("product_name"); 47 } 48 System.out.println(productName); 49 System.out.println(solrDocument.get("product_price")); 50 System.out.println(solrDocument.get("product_catalog_name")); 51 System.out.println(solrDocument.get("product_picture")); 52 } 53 }
Spring管理solr


自己总结的一些知识点,不喜勿喷,学无止境。
相关资料链接:https://pan.baidu.com/s/1kVmY4v1 密码:ovfd
向需要更多免费学习资料尽在技术交流Q群:289683917 备注来意


 4952
4952

 被折叠的 条评论
为什么被折叠?
被折叠的 条评论
为什么被折叠?
 到【灌水乐园】发言


