


富文本框KindEditor的使用
第一步:我们需要到官网上引用相关的资源包,点击进入官网下载资源包,将整个资源包放在服务器上
第二步:引用资源文件
<!-- 导入css,使用默认样式 -->
<link rel="stylesheet"
href="${pageContext.request.contextPath}/kindeditor/themes/default/default.css" />
<!-- 导入kindeditor的核心js包 -->
<script charset="utf-8"
src="${pageContext.request.contextPath}/kindeditor/kindeditor-all-min.js"></script>
<!-- 导入kindeditor的语言包-->
<script charset="utf-8"
src="${pageContext.request.contextPath}/kindeditor/lang/zh_CN.js"></script>
如图所示第一个default.css主要是为了修改我们KE的样式,第二个kindeditor-all-min.js是KE核心功能脚本库,第三个zh_CN.js是语言汉化的脚本。
第三步:编写对应html代码,只需要引入如下代码即可:
<form id="itemAddForm" class="itemForm" method="post" action="${pageContext.request.contextPath}/add">
<textarea cols="0" rows="5" name="introduction" class="form-control"
id="demo"
style="margin: 0px -0.5px 0px 0px; height: 250px; width: 1200px;">
</textarea>
<input type="submit" value="提交表单">
</form>
//这和我们使用的TextArea没有任何区别,不用写上非常复杂的html代码。是不是很简洁?
第四步:我们需要在JS中初始化控件属性,以上面的为例。我们需要写出如下代码:
<script type="text/javascript">
initkindEditor();
//初始化富文本
function initkindEditor() {
KindEditor.ready(function (K) {
var editor = K.create('#demo', {
themeType: "default",//使用默认主题
filePostName : 'imageFile',//文件上传时的name,<input type="file" name="就这个值">
uploadJson: '${pageContext.request.contextPath}/hello',//后台处理上传的地址
resizeType: 1,
pasteType: 2,
syncType: "",
urlType:"domain", //解决上传本地单个图片时form表单传给后台的内容图片地址不带域名和端口号的问题
filterMode: true,
allowPreviewEmoticons: false,
afterCreate: function () {
this.sync();
},
//同步数值至文本框 (为解决js利用submit方法提交表单时无法获取到内容)
afterBlur: function () {
this.sync();
},
afterChange: function () {
//富文本输入区域的改变事件,一般用来编写统计字数等判断,选中的是class的名称
//K('.word_count1').html("最多20000个字符,已输入" + this.count() + "个字符");
},
afterUpload:function(url){ //注意:kindetor的多图片上传是一个一个图片依次上传,没上传一个图片发送一次请求,即本质是依次上传单个图片
//上传图片后的代码 //注意:如果是返回上传失败的json该回调函数不会执行
//alert(url); //注意:上传成功后这里返回的是图片的路径(单图片上传和批量上传稍有不同)
},
注意:这两个标红的可以不要
allowFileManager: false,
allowFlashUpload: false,
allowMediaUpload: false,
allowFileUpload: false
});
});
}
</script>
第五步:上传的后台代码(struts2)
注意:这里实质不需要使用List<File>,因为kindEditor的多图片上传是一个图片一个图片的上传,每要上传一个发送一个请求
@Namespace("/")
@ParentPackage("json-default")
public class HelloAction extends ActionSupport {
private String introduction;
private List<File> imageFile;// 注意这里的名字要和<input type="file" name="file" />控件的name名称一致
// 文件类型集合
private List<String> imageFileContentType;// 控件的name名+ContentType
// 文件名集合
private List<String> imageFileFileName;// 控件的name名+FileName
@Action(value = "hello", results = { @Result(name = "success", type = "json") })
public String test() throws Exception {
HashMap<String, Object> result = new HashMap<>();
try {
System.out.println(imageFile);
System.out.println(imageFileContentType);
System.out.println(imageFileFileName);// 如:SecureCRT.rar
// 参数:web资源路径 返回值 项目发布到服务器后的真实磁盘路径
String filesRealPath = ServletActionContext.getServletContext().getRealPath("/files");
for (int i = 0; i < imageFile.size(); i++) {
// 参数一:文件夹路径,参数二:文件名,返回file对象
File destFile = new File(filesRealPath, imageFileFileName.get(0));
FileUtils.copyFile(imageFile.get(i), destFile);
// 参数一:原文件对象,参数二:目标文件对象
// 作用,将原文件对象的内容copy到目标文件对象<br>
//注意:这段代码有些bug,如果服务器的files文件夹下已经有了同名同类型的文件,则上传会替换之前的内容,所以这里要给上传的文件设置一个新的名字,推荐uuid
}
} catch (Exception e) {
result.put("error",1);
result.put("message", "上传失败");
ActionContext.getContext().getValueStack().push(result);
return SUCCESS;
}
result.put("error", 0);
String name = imageFileFileName.get(0);
result.put("url", "http://localhost:8080/strutsKin/files/"+name);
ActionContext.getContext().getValueStack().push(result);
return SUCCESS;
}
@Action(value = "add", results = { @Result(name = "success", location="/success.jsp") })
public String add() throws Exception {
System.out.println(introduction);
return SUCCESS;
}
public List<File> getImageFile() {
return imageFile;
}
public void setImageFile(List<File> imageFile) {
this.imageFile = imageFile;
}
public List<String> getImageFileContentType() {
return imageFileContentType;
}
public void setImageFileContentType(List<String> imageFileContentType) {
this.imageFileContentType = imageFileContentType;
}
public List<String> getImageFileFileName() {
return imageFileFileName;
}
public void setImageFileFileName(List<String> imageFileFileName) {
this.imageFileFileName = imageFileFileName;
}
public String getIntroduction() {
return introduction;
}
public void setIntroduction(String introduction) {
this.introduction = introduction;
}
}
备注:

1,采用items属性定制工具栏按钮显示

{
items : ['source', '|', 'undo', 'redo', '|', 'preview', 'print', 'template', 'code', 'cut', 'copy', 'paste','plainpaste', 'wordpaste', '|', 'justifyleft', 'justifycenter', 'justifyright','justifyfull', 'insertorderedlist', 'insertunorderedlist', 'indent', 'outdent', 'subscript','superscript', 'clearhtml', 'quickformat', 'selectall', '|', 'fullscreen', '/','formatblock', 'fontname', 'fontsize', '|', 'forecolor', 'hilitecolor', 'bold', 'italic', 'underline', 'strikethrough', 'lineheight', 'removeformat', '|', 'image', 'multiimage','flash', 'media', 'insertfile', 'table', 'hr', 'emoticons', 'baidumap', 'pagebreak','anchor', 'link', 'unlink', '|', 'about']
}

2,上传之后的返回给页面的响应
官网地址:
http://kindeditor.net/docs/upload.html

返回格式(JSON)
//成功时
{
        "error" : 0,
        "url" : "http://www.example.com/path/to/file.ext"
}
//失败时
{
        "error" : 1,
        "message" : "错误信息"
}
备注:
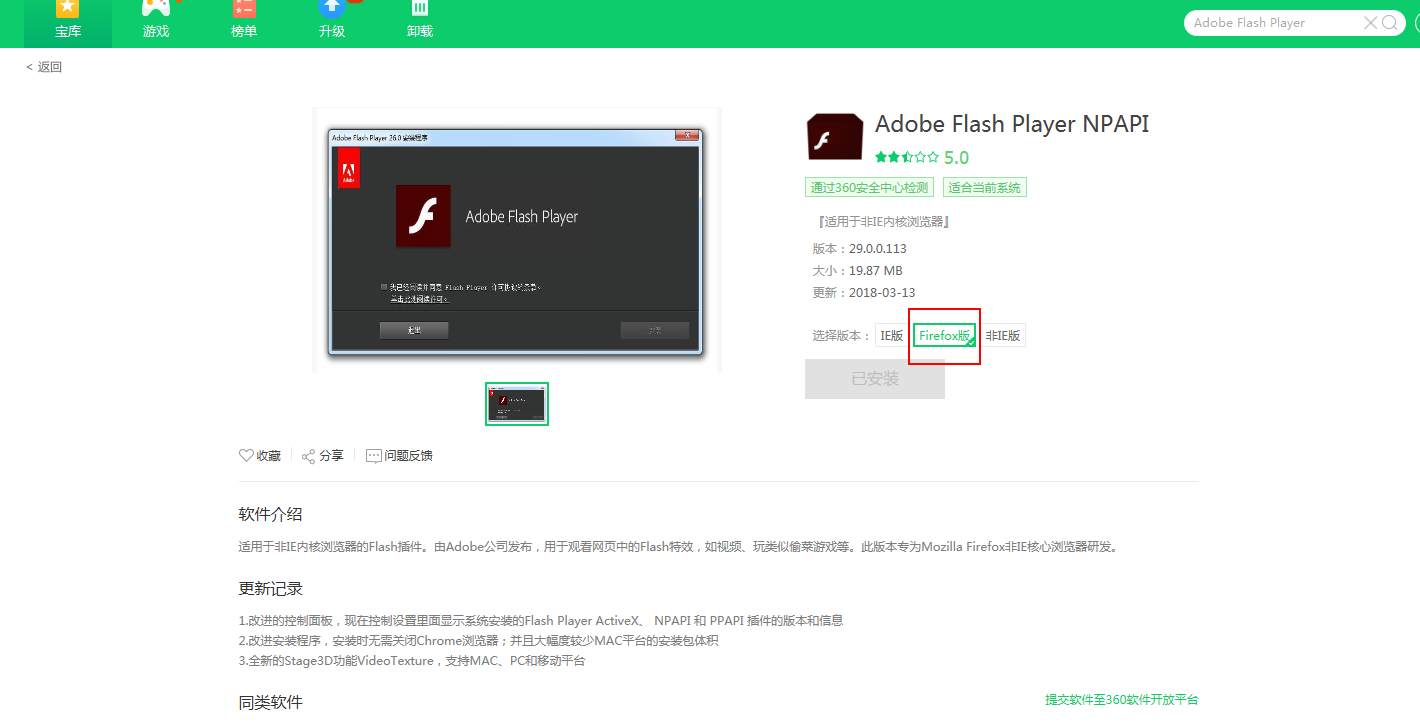
kindeditor火狐不显示上传图片按钮
安装下面这个插件即可以正常显示


 2167
2167


 被折叠的 条评论
为什么被折叠?
被折叠的 条评论
为什么被折叠?
 到【灌水乐园】发言


