


最近在使用element-ui搭建项目时发现若只纯用webpack来运行element-ui,要配置各种文件,对于新手来说实在太不友好了,
就想到用vue-cli来搭建整个vue项目
1.安装node.js
2.安装webpack
全局安装 webpack命令
npm install webpack -g
3.安装淘宝镜像【网速快的童鞋可以省略此步】
1 npm install -g cnpm --registry=https://registry.npm.taobao.org
4.vue脚手架全局安装 -- 用于生成vue模板
npm install -g vue-cli
把它理解成让你不需要为编译或其他琐碎的事情而浪费时间,帮助你快速开始一个vue项目,其实其本质就是给你一套文件结构,包含基础的依赖库
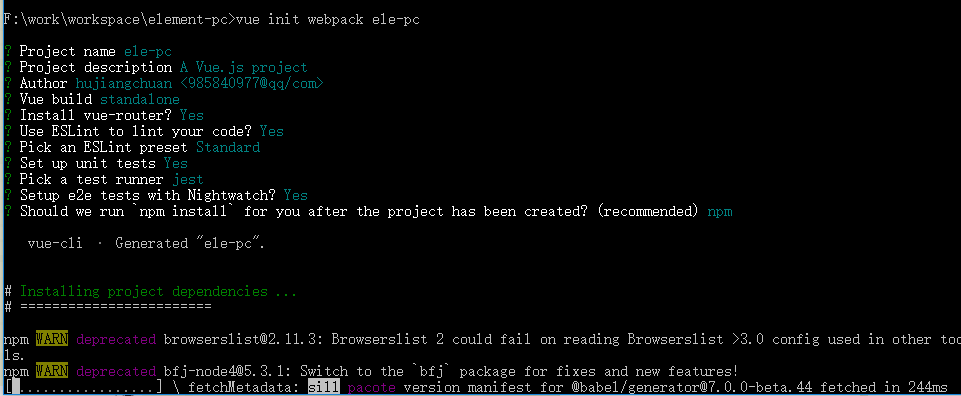
5.使用脚手架构建vue项目 -- 一路回车就行了
vue init webpack
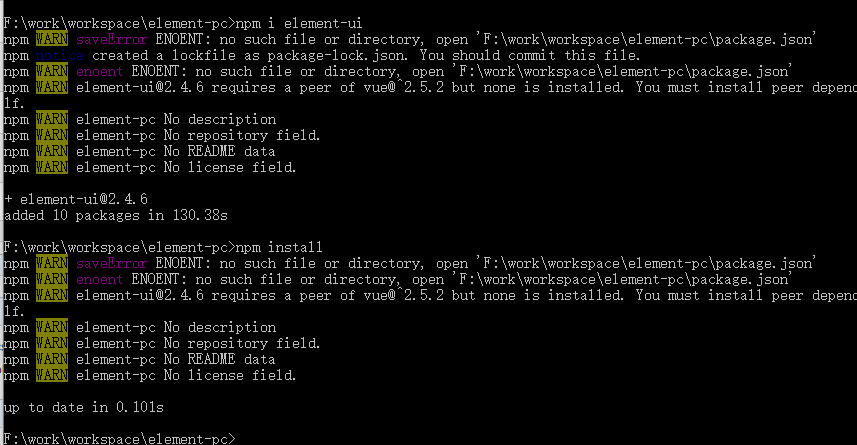
6.element-ui安装
npm i element-ui
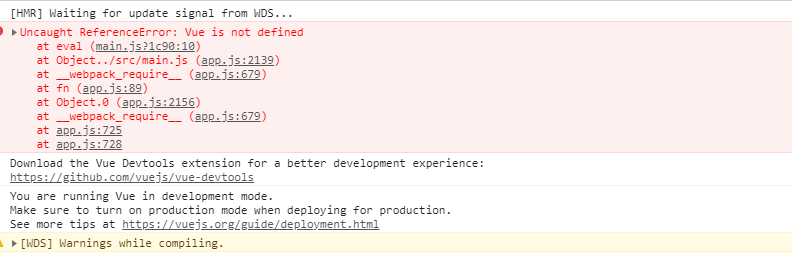
注意:到此部element-ui只是安装到项目目录下,但还需要在项目文件中配置才能使用,否则直接写入element-ui的组件代码会报错!!【此处新手极易踩巨坑!】
(1),在package.json文件中找到 devDependencies,在括号内追加上"element-ui": "^2.4.6",如果不知道element的版本,可以在node_modules/element-ui/package.json中查找版本号,
(2),在src/main.js中添加引用element-ui声明
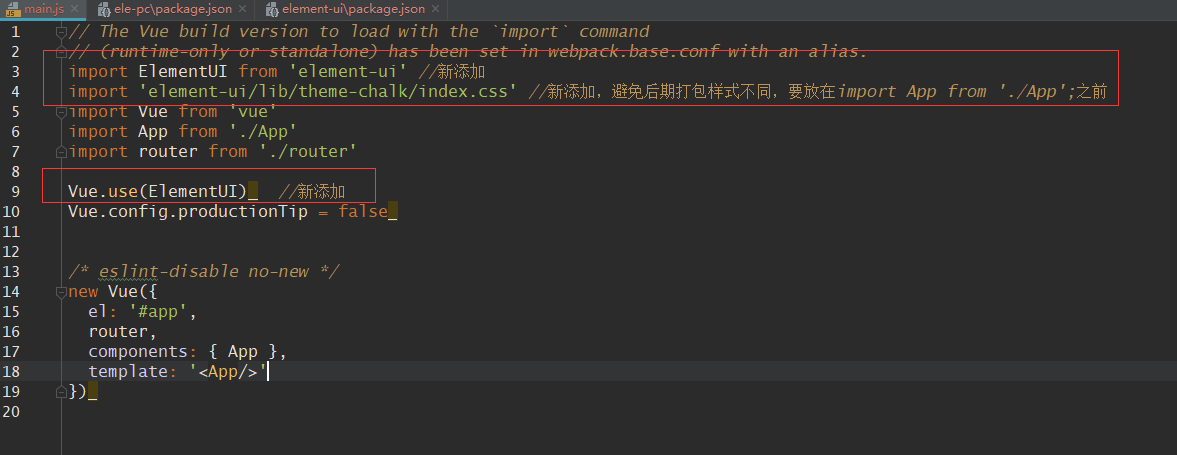
到此,element-ui安装完毕。
7.依赖安装
npm install
8.运行项目
npm run dev
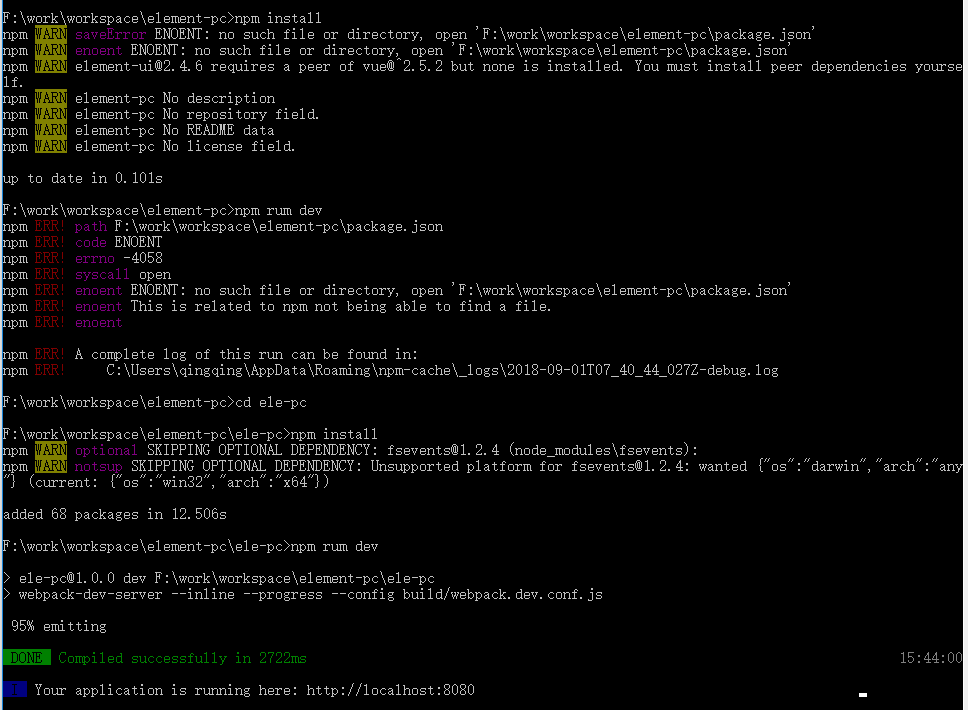
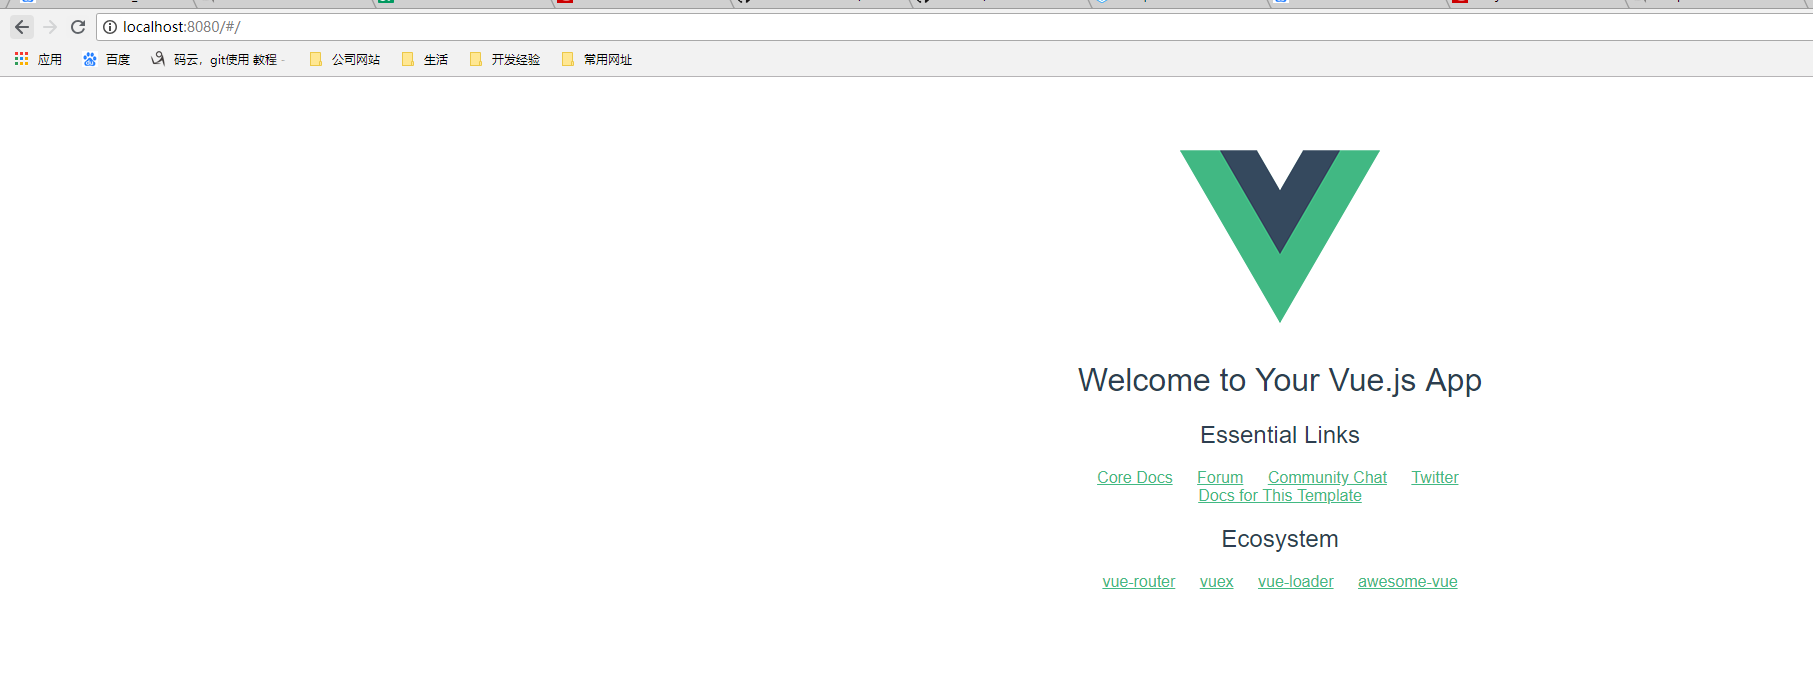
运行成功!
9,添加一个实例
(1),在src/components目录下新建一个Index.vue文件
<template>
  <div class="hello" id="">
    <h1>{{ msg }}</h1>
    <template>
      <el-carousel :interval="4000" type="card" height="200px">
        <el-carousel-item v-for="item in 6" :key="item">
          <h3>{{ item }}</h3>
        </el-carousel-item>
      </el-carousel>
    </template>
  </div>
</template>

<script>
  export default {
    name: 'index',
    data () {
      return {
        msg: '这是新添加的走马灯文件',
      }
    }
  }
</script>

<!-- Add "scoped" attribute to limit CSS to this component only -->
<style scoped> h1, h2 { font-weight: normal; } .hello{ width: 1200px; margin: auto; } .el-carousel__item h3 { color: #475669; font-size: 14px; opacity: 0.75; line-height: 200px; margin: 0; } .el-carousel__item:nth-child(2n) { background-color: #99a9bf; } .el-carousel__item:nth-child(2n+1) { background-color: #d3dce6; } </style>
(2),修改HelloWorld.vue文件
<template>
  <div class="hello">
    <h1>{{ msg }}</h1>
    <router-link to="index"><h1>{{ btnLin }}</h1></router-link> <!-- router是vue官方路由to="index"是在router/index.js路由文件中跳转到Index.vue文件 -->

  </div>
</template>

<script>
export default {
  name: 'HelloWorld', data () { return { msg: '测试文件安装是否成功111', btnLin: '点击我跳转' } } } </script> <!-- Add "scoped" attribute to limit CSS to this component only --> <style scoped> h1, h2 { font-weight: normal; } ul { list-style-type: none; padding: 0; } li { display: inline-block; margin: 0 10px; } a { color: #42b983; } </style>
(3),修改路由文件router/index.js
 1 import Vue from 'vue'
 2 import Router from 'vue-router'
 3 import HelloWorld from '@/components/HelloWorld'
 4 import Index from '@/components/Index'
 5 // import home from '@/components/home/home'
 6
 7
 8 Vue.use(Router) 9 10 export default new Router({ 11  routes: [ 12  { 13  path: '/', 14  name: 'HelloWorld', 15  component: HelloWorld 16  }, 17  { 18  path: '/index', 19  name: 'Index', 20  component: Index 21  } 22  ] 23  24 25 })
(4),ctrl+s保存文件后,页面自动刷新如下


大功告成!!!
├─build # 编译后生成的所有代码、资源(图片、字体等,虽然只是简单的从源目录迁移过来)
├─node_modules # 利用npm管理的所有包及其依赖
├─vendor # 所有不能用npm管理的第三方库
├─.babelrc # babel的配置文件
├─.eslintrc # ESLint的配置文件
├─index.html # 仅作为重定向使用
├─package.json # npm的配置文件
├─webpack-config # 存放分拆后的webpack配置文件
│   ├─base # 主要是存放一些变量
│   ├─inherit # 存放生产环境和开发环境相同的部分,以供继承
│   └─vendor # 存放webpack兼容第三方库所需的配置文件
├─webpack.config.js # 生产环境的webpack配置文件(无实质内容,仅为组织整理)
├─webpack.dev.config.js # 开发环境的webpack配置文件(无实质内容,仅为组织整理)
├─src # 当前项目的源码
    ├─pages # 各个页面独有的部分,如入口文件、只有该页面使用到的css、模板文件等
    │  ├─alert # 业务模块
    │  │  └─index # 具体页面
    │  ├─index # 业务模块
    │  │  ├─index # 具体页面
    │  │  └─login # 具体页面
    │  │      └─templates # 如果一个页面的HTML比较复杂,可以分成多块再拼在一起
    │  └─user # 业务模块
    │      ├─edit-password # 具体页面
    │      └─modify-info # 具体页面
    └─public-resource # 各个页面使用到的公共资源
        ├─components # 组件,可以是纯HTML,也可以包含js/css/image等,看自己需要
        │  ├─footer # 页尾
        │  ├─header # 页头
        │  ├─side-menu # 侧边栏
        │  └─top-nav # 顶部菜单
        ├─config # 各种配置文件
        ├─iconfont # iconfont的字体文件
        ├─imgs # 公用的图片资源
        ├─layout # UI布局,组织各个组件拼起来,因应需要可以有不同的布局套路
        │  ├─layout # 具体的布局套路
        │  └─layout-without-nav # 具体的布局套路
        ├─less # less文件,用sass的也可以,又或者是纯css
        │  ├─base-dir
        │  ├─components-dir # 如果组件本身不需要js的,那么要加载组件的css比较困难,我建议可以直接用less来加载
        │  └─base.less # 组织所有的less文件
        ├─libs # 与业务逻辑无关的库都可以放到这里
        └─logic # 业务逻辑


 202
202


 被折叠的 条评论
为什么被折叠?
被折叠的 条评论
为什么被折叠?
 到【灌水乐园】发言


