


上文提到了利用命令行下使用openstack的命令来创建虚拟机,这里选择安装dashboard来安装基于web界面的openstack平台
利用dashboard界面来创建虚拟机
dashboard这里选择安装在控制端,详细的dashboard配置文件参考:https://github.com/jsonhc/openstack_project
1、安装dashboard,安装它有手动编译安装和yum自动安装,这里选择使用yum进行安装
# yum install openstack-dashboard
修改配置文件:/etc/openstack-dashboard/local_settings
OPENSTACK_HOST = "192.168.101.10"

    Allow your hosts to access the dashboard:
ALLOWED_HOSTS = ['*‘]
        [‘*’] to accept all hosts,the host is validated

    Configure the memcached session storage service:
SESSION_ENGINE = 'django.contrib.sessions.backends.cache'
CACHES = {
    'default': {
        'BACKEND': 'django.core.cache.backends.memcached.MemcachedCache',
        'LOCATION': '192.168.101.10:11211',
    }
}
    注释掉其他的session配置

    Enable the Identity API version 3:
OPENSTACK_KEYSTONE_URL = "http://%s:5000/v3" % OPENSTACK_HOST
    Enable support for domains:
OPENSTACK_KEYSTONE_MULTIDOMAIN_SUPPORT = True
    Configure API versions:
OPENSTACK_API_VERSIONS = {
    "identity": 3,
    "image": 2,
    "volume": 2,
}

    Configure Default as the default domain for users that you create via the dashboard:
OPENSTACK_KEYSTONE_DEFAULT_DOMAIN = "Default"

    Configure user as the default role for users that you create via the dashboard:
OPENSTACK_KEYSTONE_DEFAULT_ROLE = "user"

    If you chose networking option 1, disable support for layer-3 networking services:
OPENSTACK_NEUTRON_NETWORK = {
    'enable_router': False,
    'enable_quotas': False,
    'enable_distributed_router': False,
    'enable_ha_router': False,
    'enable_lb': False,
    'enable_firewall': False,
    'enable_vpn': False,
    'enable_fip_topology_check': False,
}

    Optionally, configure the time zone:
TIME_ZONE = "TIME_ZONE"    例如:Asia/Shanghai

Restart the web server and session storage service:
# systemctl restart httpd.service memcached.service
校验dashboard:
Access the dashboard using a web browser at
http://controller/dashboard.
当访问dashboard的web页面时,报错500,日志报错如下:
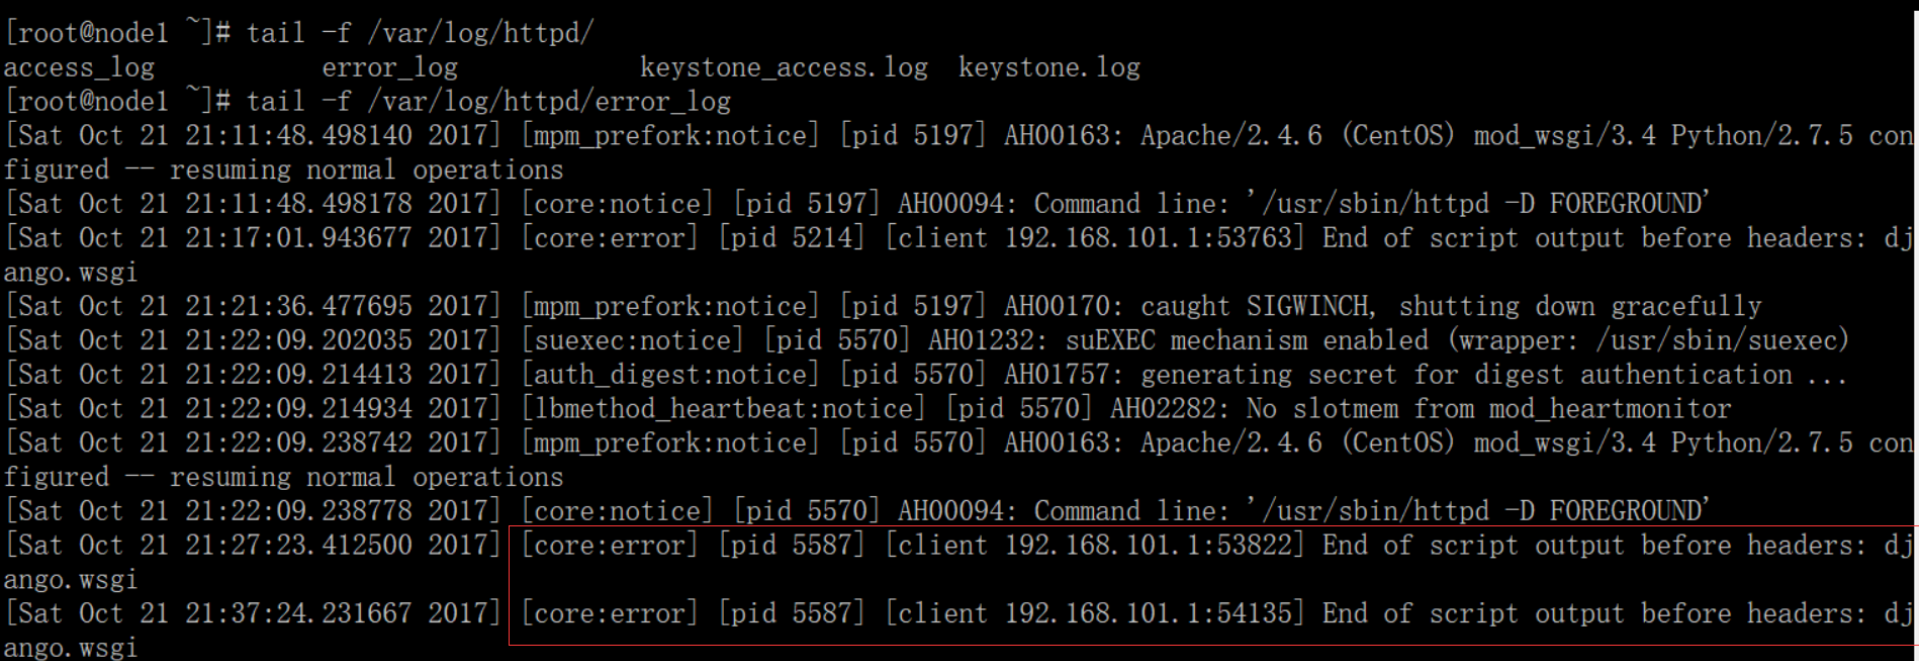
在配置文件:/etc/httpd/conf.d/openstack-dashboard.conf
添加:WSGIApplicationGroup %{GLOBAL},如下所示:
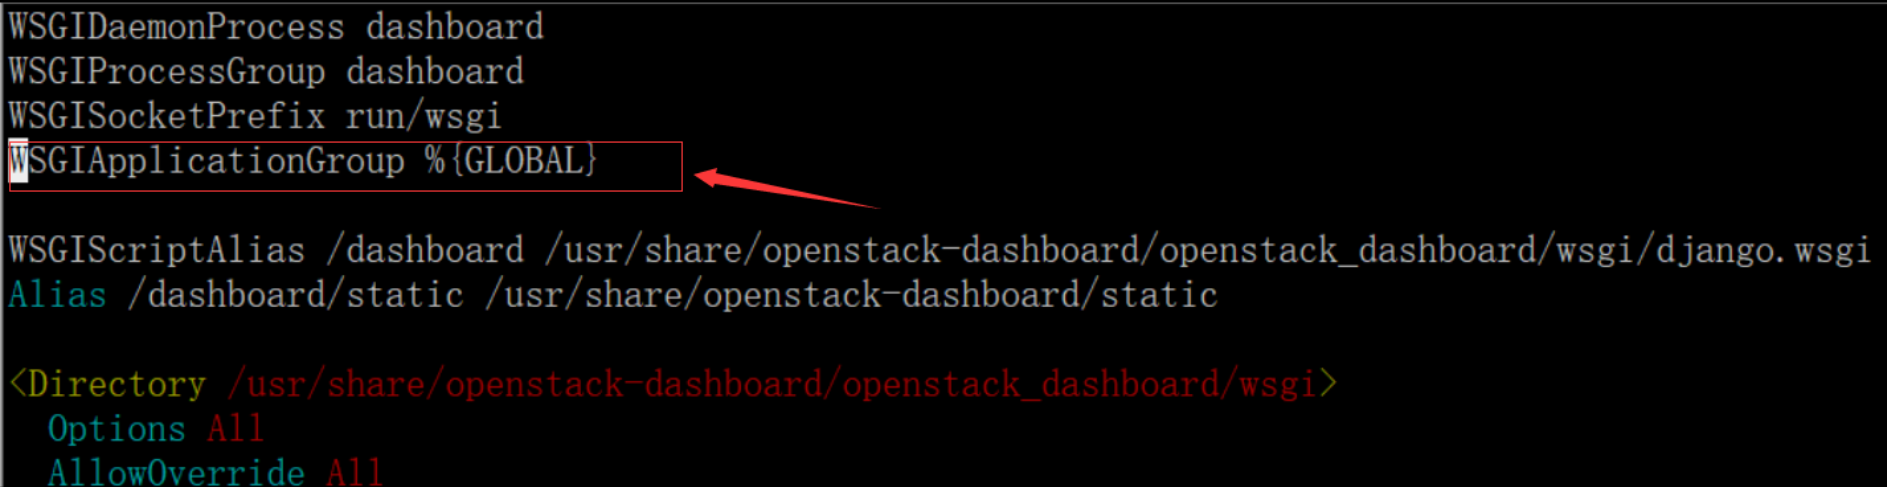
添加上面一行即可,重启httpd服务:# systemctl restart httpd.service
再次观察日志:
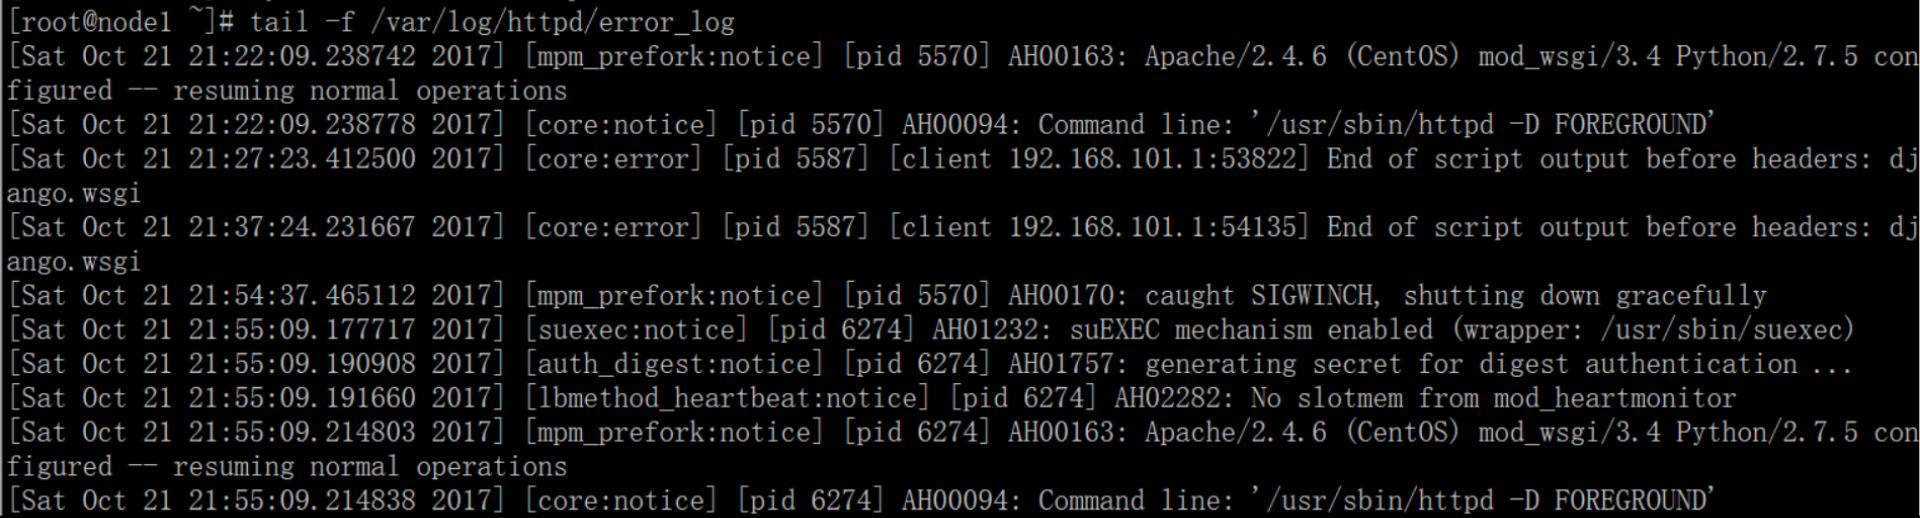
没有报错出现,于是再次访问:
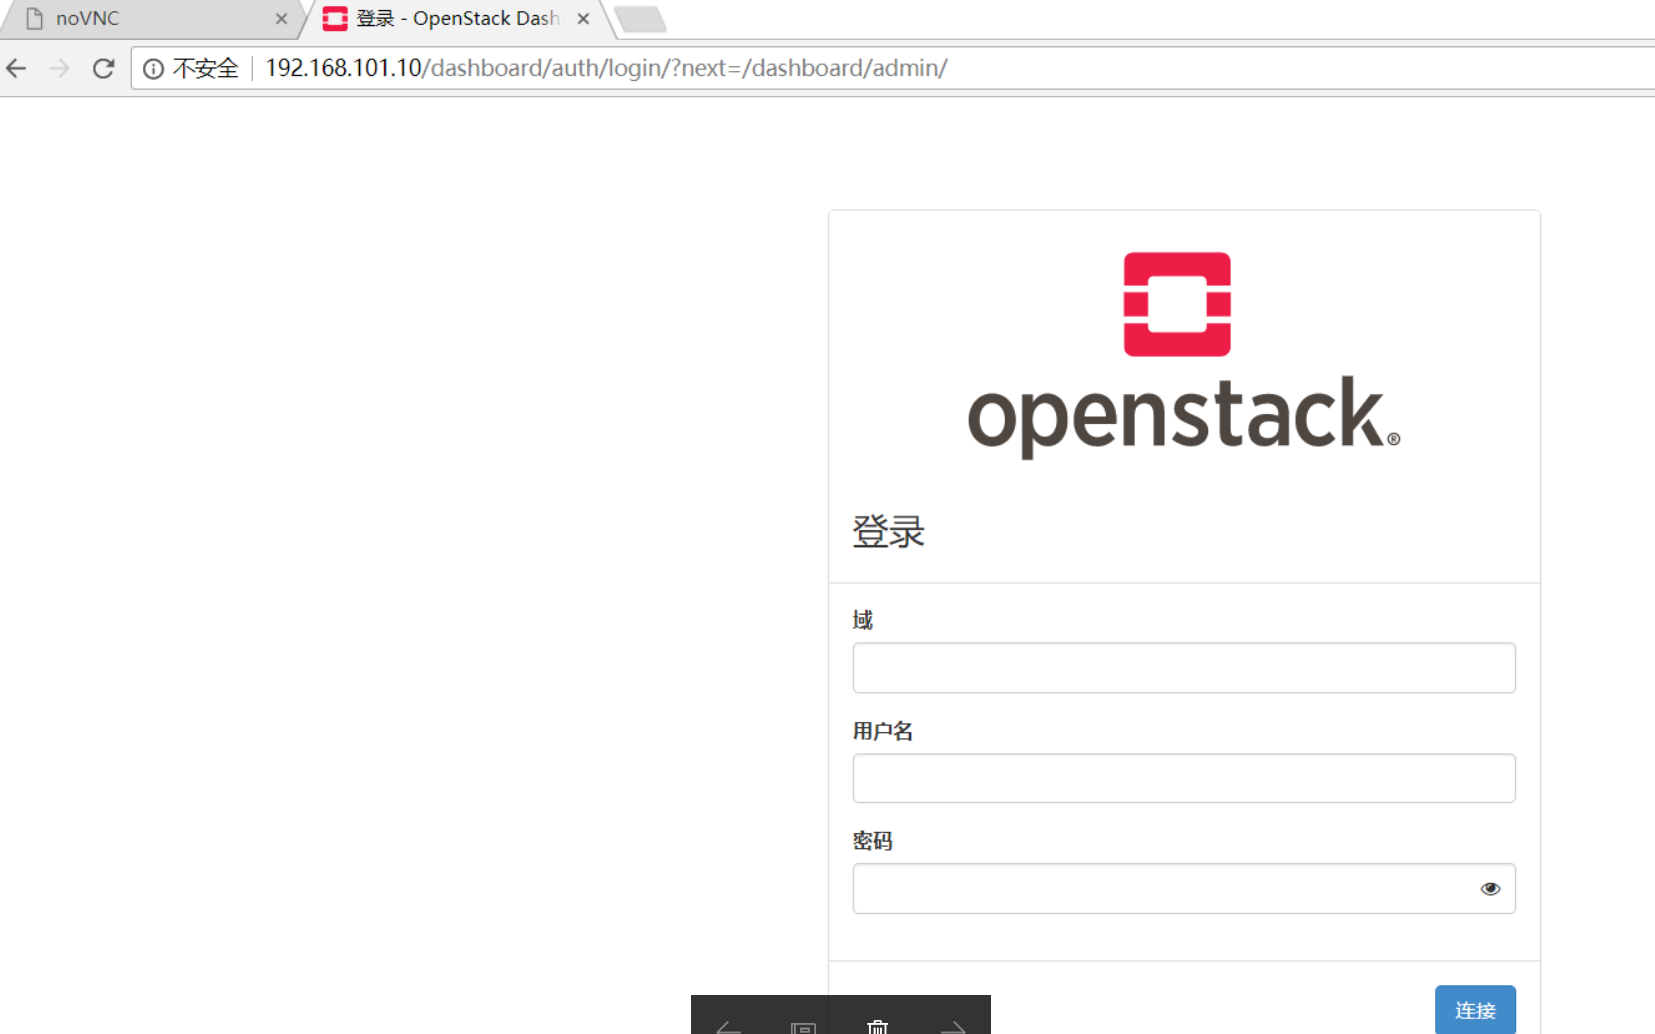
默认域:default,账户密码:admin:bootstrap/demo:demo也可以
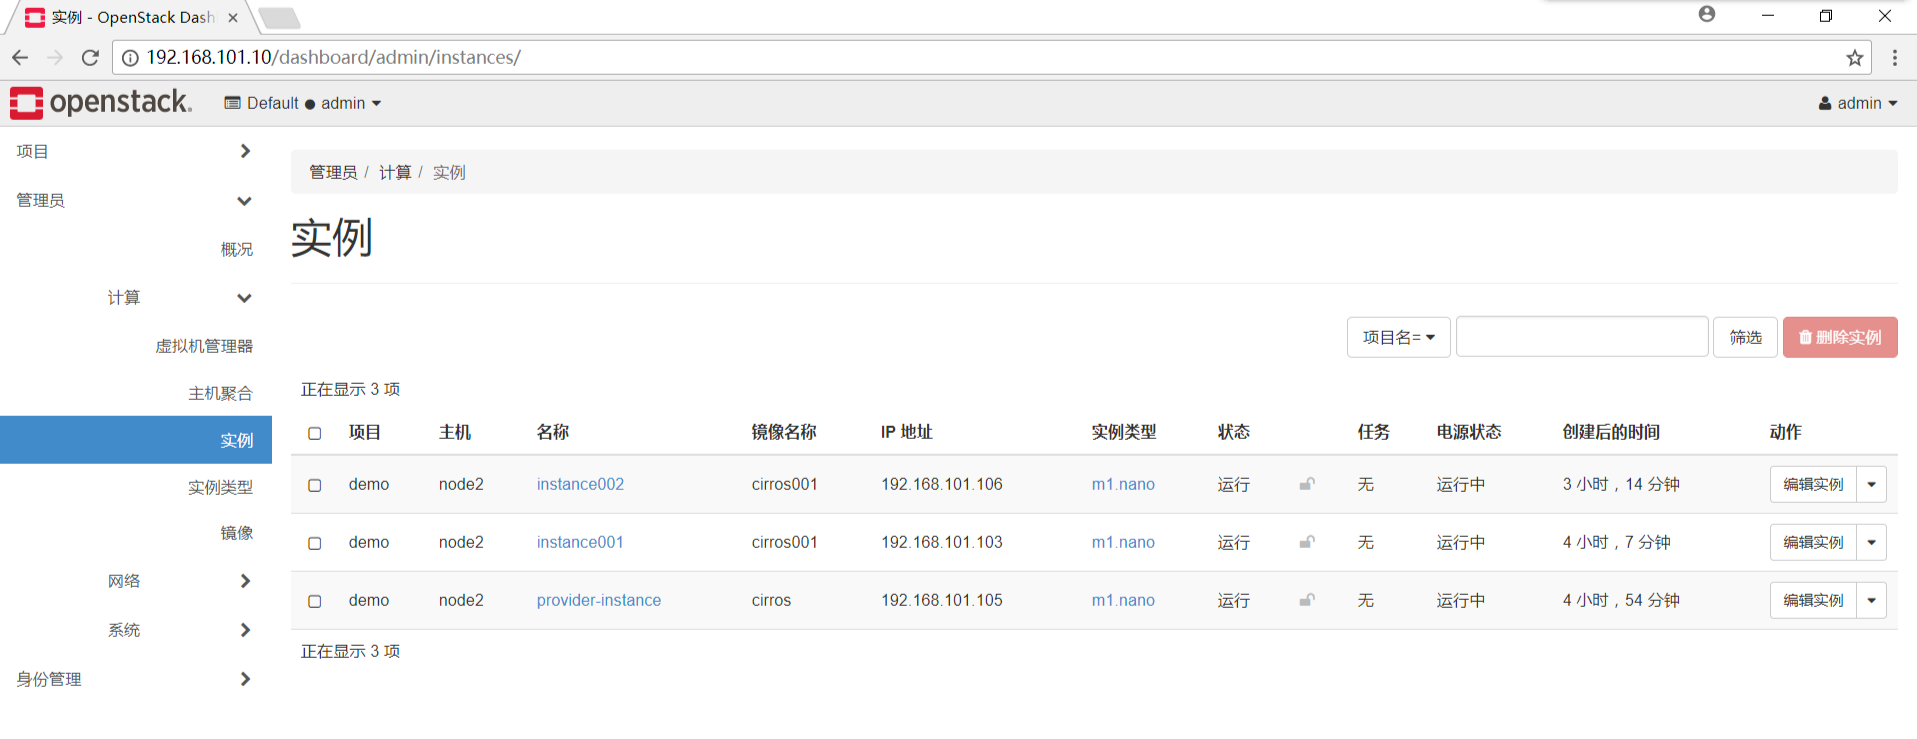
至此dashboard安装完成,可以在web界面进行安装虚拟机instance了


 2211
2211

 被折叠的 条评论
为什么被折叠?
被折叠的 条评论
为什么被折叠?
 到【灌水乐园】发言


