


在NPOI中,本身并不支持Chart等高级对象的创建,但通过l模板的方式可以巧妙地利用Excel强大的透视和图表功能,请看以下例子。
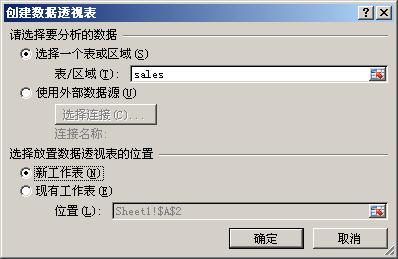
首先建立模板文件,定义两列以及指向此区域的名称“sales”:

创建数据表,数据来源填入刚才定义的区域:
最后生成的数据透视表所在Sheet的样式如下:
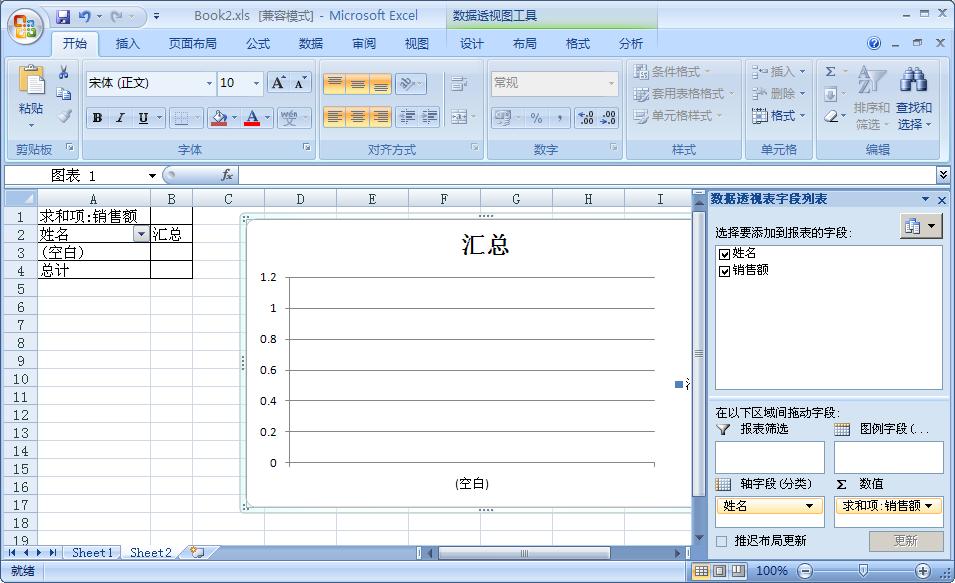
至此,模板已经建好,另存为“D:\MyProject\NPOIDemo\Chart\Book2.xls”。我们发现,模板就相当于一个“空架子”,仅仅有操作方式没并没有任何数据。下一步,我们往这个“空架子”中填入数据。我们通过如下代码往这个“空架子”中写入数据:
static
void
Main(
string
[] args)
{
HSSFWorkbook wb = new HSSFWorkbook( new FileStream( @" D:\MyProject\NPOIDemo\Chart\Book2.xls " , FileMode.Open));
HSSFSheet sheet1 = wb.GetSheet( " Sheet1 " );
HSSFRow row = sheet1.CreateRow( 1 );
row.CreateCell( 0 ).SetCellValue( " 令狐冲 " );
row.CreateCell( 1 ).SetCellValue( 50000 );
row = sheet1.CreateRow( 2 );
row.CreateCell( 0 ).SetCellValue( " 任盈盈 " );
row.CreateCell( 1 ).SetCellValue( 30000 );
row = sheet1.CreateRow( 3 );
row.CreateCell( 0 ).SetCellValue( " 风清扬 " );
row.CreateCell( 1 ).SetCellValue( 80000 );
row = sheet1.CreateRow( 4 );
row.CreateCell( 0 ).SetCellValue( " 任我行 " );
row.CreateCell( 1 ).SetCellValue( 20000 );
// Write the stream data of workbook to the root directory
FileStream file = new FileStream( @" test.xls " , FileMode.Create);
wb.Write(file);
file.Close();
}
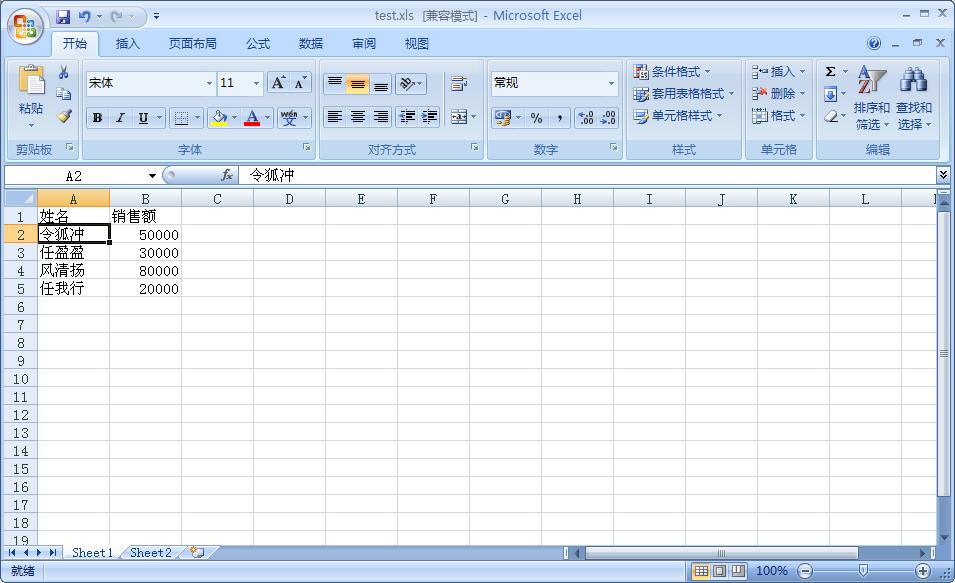
打开生成的test.xls文件,发现数据已经被填进去了:
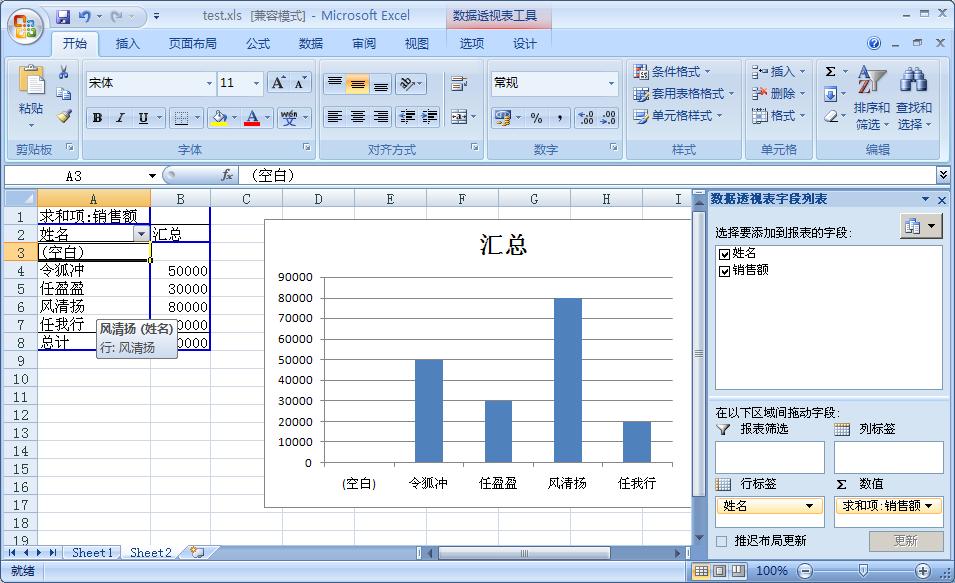
再看数据透视表,也有数据了:
总结:
Excel有着强大的报表透视和图表功能,而且简单易用,利用NPOI,可以对其进行充分利用。在做图形报表、透视报表时将非常有用!


 2740
2740


 被折叠的 条评论
为什么被折叠?
被折叠的 条评论
为什么被折叠?
 到【灌水乐园】发言


