


center.html
-------------------------------------
<div class="informations">
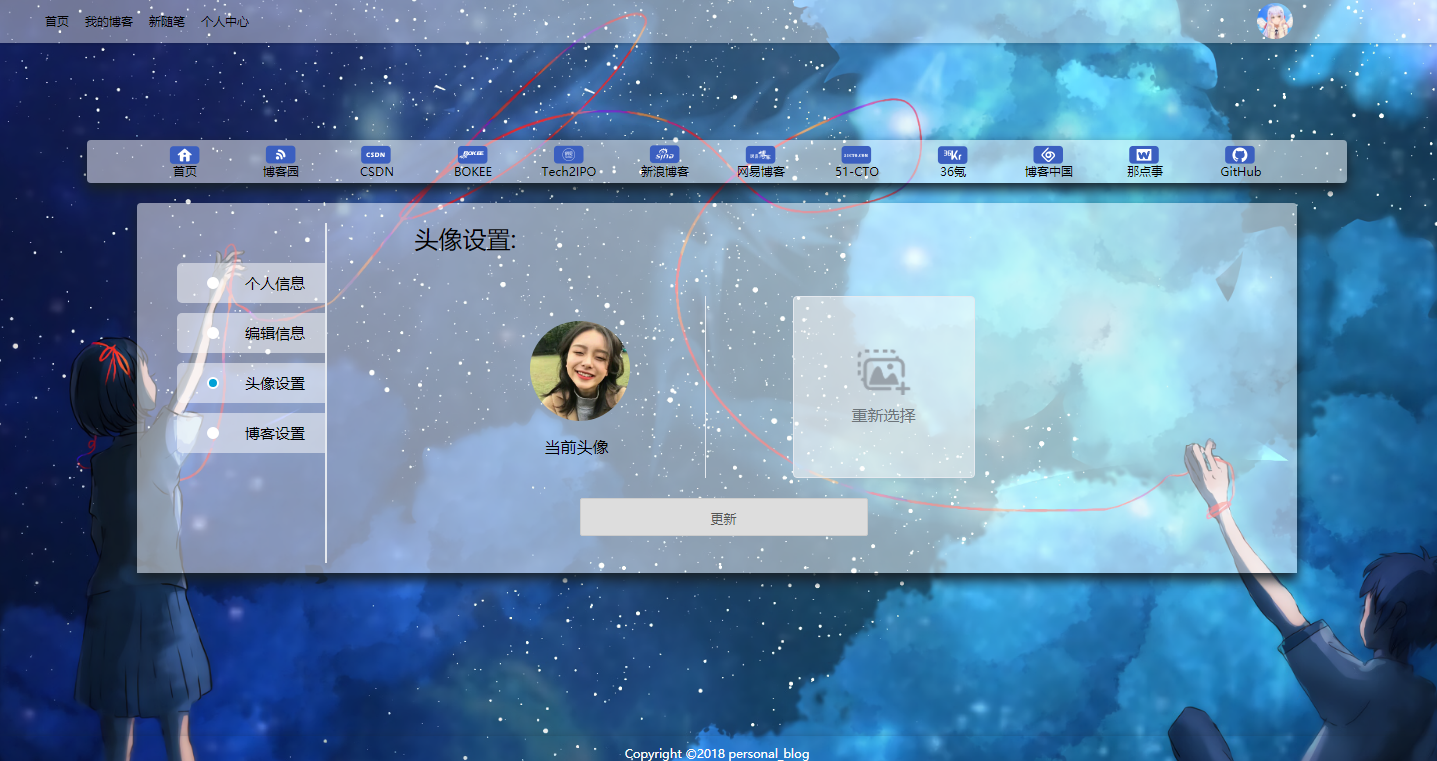
<p class="title">头像设置:</p>
<div class="content">
<div class="left">
<p><img src={% static "blog/image/head.jpg" %} class="face"></p>
<p class="text_for_head">当前头像</p>
</div>
<div class="right">
<label id="file_input" for="file_input">
<i></i>
<span class="before">选择图片</span>
<span class="after">重新选择</span>
</label>
</div>
<form action="" method="POST" enctype="multipart/form-data">
{% csrf_token %}
<input class="imgfile" name="avatar" type="file" style="display:none" accept="image/*" />
<button class="update" type="submit">更新</button>
</form>
</div>
</div>
利用 jq 实现 选择图片后直接显示效果
$(function(){
$('.center .content input.imgfile').on('change', function(){
var choose_file = $(this)[0].files[0];
var reader = new FileReader();
reader.readAsDataURL(choose_file);
reader.onload = function(){
$('.body .center .content p img.face').attr('src', reader.result);
};
$('.body .center .informations #file_input span.before').css('display','none');
$('.body .center .informations #file_input span.after').css('display','block');
});
})
views.py
-----------------------
request.user.user_imformations.head = request.FILES.get('avatar')
request.user.user_imformations.save()


 6266
6266


 被折叠的 条评论
为什么被折叠?
被折叠的 条评论
为什么被折叠?
 到【灌水乐园】发言


