


阅读目录:
1. 关闭防火墙和Selinux
2. 安装依赖库
3. 下载并安装GitLab 7.13.x版本
4. 配置并启动GitLab
5. 登录GitLab
6. 重置root账户密码
7.配置要求以及说明
1. 关闭防火墙和Selinux
Linux的防火墙是咱们新手的噩梦,很多情况会出现能ping通,但是访问不了Web页面。所以开始就干掉它!
1.1 关闭防火墙
    [root@localhost ~]# /etc/init.d/iptables stop
    iptables: Setting chains to policy ACCEPT: filter          [  OK  ]
    iptables: Flushing firewall rules:                         [  OK  ]
    iptables: Unloading modules:                               [  OK  ]
1.2 开机自动关闭防火墙
[root@localhost ~]# chkconfig iptables off
1.3 查看Selinux状态
    [root@localhost ~]# sestatus
    SELinux status: enabled
    SELinuxfs mount: /sys/fs/selinux
    SELinux root directory: /etc/selinux
    Loaded policy name: targeted
    Current mode: enforcing
    Mode from config file: enforcing
    Policy MLS status: enabled
    Policy deny_unknown status: allowed
    Max kernel policy version: 28
1.4 关闭selinux
[root@localhost ~]# vim /etc/selinux/config
修改 SELINUX=disabled ,重启机器。
注:永久开启->改成:SELINUX=enforcing
2. 安装依赖库
2.1 安装依赖库
[root@localhost ~]# yum -y install curl policycoreutils openssh-server openssh-clients postfix cronie
2.2 启动postfix发送邮件
[root@localhost ~]# service postfix start
2.2.1 设置postfix自启动
[root@localhost ~]# chkconfig postfix on
2.3 启动sshd
[root@localhost ~]# service sshd start
2.3.1 设置sshd自启动
[root@localhost ~]# chkconfig sshd on
可选:不推荐-> 设置避免用户通过ssh方式和http来访问
[root@localhost ~]# lokkit -s http -s ssh
3. 下载并安装GitLab 7.13.x版本
3.1 下载GitLab(两种方式)
[root@localhost ~]# cd /
3.1.1 curl下载
[root@localhost/]# curl https://packages.gitlab.com/install/repositories/gitlab/gitlab-ce/script.rpm.sh | sudo bash
3.1.2 wget下载
[root@localhost /]# wget -c https://packages.gitlab.com/gitlab/gitlab-ce/el/6/x86_64/gitlab-ce-7.13.3-ce.1.el6.x86_64.rpm
3.2 安装GitLab(两种方式)
3.2.1 yum安装
[root@localhost /]# yum -y install gitlab-ce
整个包有300多MB,如果使用yum无法下载,可以直接下载RPM包。
3.2.2 rpm安装
[root@localhost /]# rpm -ivh gitlab-ce-7.13.3-ce.1.el6.x86_64.rpm
4. 配置并启动GitLab
4.1 查看ip
    [root@localhost /]# ifconfig
    eth0      Link encap:Ethernet  HWaddr 00:0C:29:DD:0E:62
              inet addr:192.168.28.131  Bcast:192.168.163.255  Mask:255.255.255.0
              inet6 addr: fe80::20c:29ff:fedd:e62/64 Scope:Link
4.2 编辑配置文件
[root@localhost /]# vim /etc/gitlab/gitlab.rb
# 指定host地址(此处改成自己的ip)
external_url 'http://192.168.28.131'
注:如果8080端口也被其他程序占用了, 比如说我们有启动着的tomcat。那么,我们还需要修改unicorn的端口
# 同样找到并修改
unicorn['port'] = 18080
可选:修改Gitlab数据存储路径
#找到git_data_dir "/var/opt/gitlab/git-data"修改为
git_data_dir "/gitlab"
#有可能配置文件的数据存储路径是这样的,
#git_data_dirs({ "default" => { "path" => "/var/opt/gitlab/git-data" } }) 修改为
git_data_dirs({ "default" => { "path" => "/gitlab } })
4.3 修改完配置文件,需要重新加载
[root@localhost /]# gitlab-ctl reconfigure
4.4 启动GitLab
[root@localhost /]# gitlab-ctl start
5.登录GitLab
5.1 打开浏览器,输入ip:18080
http://192.168.28.131:18080
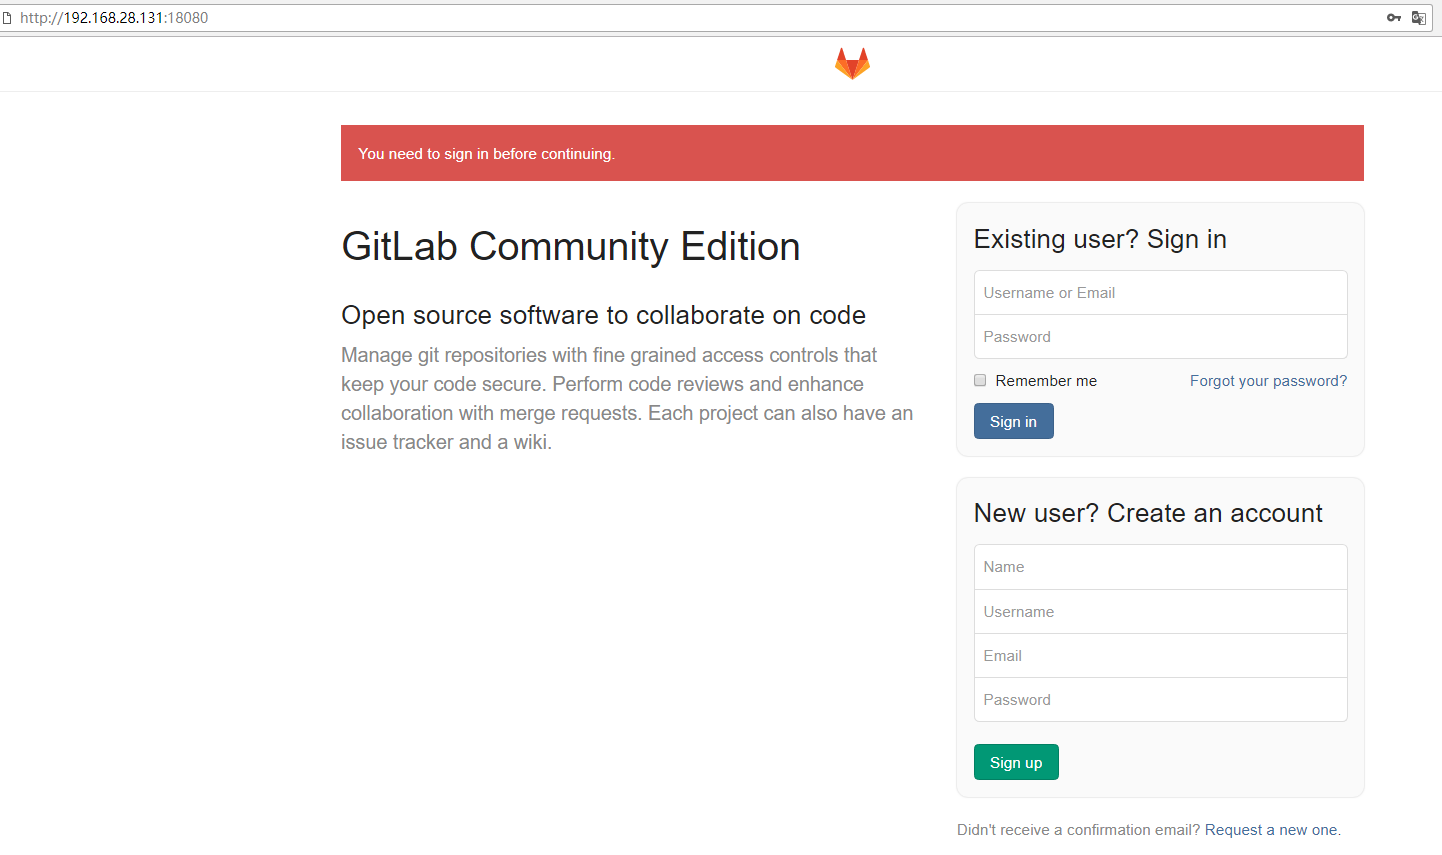
5.2 root管理员登录
账号: root
初始密码: 5iveL!fe

6. 重置root账户密码
6.1 获得用户数据,修改用户密码。<红色是需要输入的>
    [root@localhost /]# gitlab-rails console production
    Loading production environment (Rails 4.2.5.2) irb(main):001:0> user = User.where(id: 1).first
    => #<User id: 1, email: "admin@example.com", encrypted_password: "$2a$10$Ig35HkpOYVnOHepZNsFsaO1H7Uq
    4eUIx2o8CWWPYGfk...", reset_password_token: nil, reset_password_sent_at: nil, remember_created_at: n
    il, sign_in_count: 0, current_sign_in_at: nil, last_sign_in_at: nil, current_sign_in_ip: nil, last_si
    gn_in_ip: nil, created_at: "2018-01-26 09:12:32", updated_at: "2018-01-26 09:12:32", name: "Administr
    ator", admin: true, projects_limit: 10000, skype: "", linkedin: "", twitter: "", authentication_token
    : "Zz4KYrJXqGh7-PHtMzv1", theme_id: 2, bio: nil, failed_attempts: 0, locked_at: nil, username: "root",
    can_create_group: true, can_create_team: false, state: "active", color_scheme_id: 1, notification_leve
    l: 1, password_expires_at: "2018-01-26 09:12:31", created_by_id: nil, last_credential_check_at: nil, a
    vatar: nil, confirmation_token: nil, confirmed_at: "2018-01-26 09:12:32", confirmation_sent_at: "2018-
    01-26 09:12:32", unconfirmed_email: nil, hide_no_ssh_key: false, website_url: "", github_access_token:
    nil, gitlab_access_token: nil, notification_email: "admin@example.com", hide_no_password: false, passw
    ord_automatically_set: false, bitbucket_access_token: nil, bitbucket_access_token_secret: nil, locatio
    n: nil, encrypted_otp_secret: nil, encrypted_otp_secret_iv: nil, encrypted_otp_secret_salt: nil, otp_r
    equired_for_login: false, otp_backup_codes: nil, public_email: "", dashboard: 0, project_view: 0>

    irb(main):002:0> user.password=12345678
    => 12345678
    irb(main):003:0> user.password_confirmation=12345678
    => 12345678
    irb(main):004:0> user.save!
    => true
    irb(main):005:0> quit
7.配置要求、注意事项以及说明
配置要求:
- cpu : 2核心 支持500用户,这也是官方推荐的最低标准。
- 内存 : 4GB 物理内存 支持100用户,也是 官方推荐 的配置。
注意事项:
8080端口被Tomcat占用,会出现502的页面。
说明:本次使用
操作系统:CentOS 6.8 64位
GitLab 版本:7.13.3
下一篇:GitLab 7.13.x安装和配置<二>--Linux篇
https://my.oschina.net/u/3209432/blog/1613898


 1585
1585

 被折叠的 条评论
为什么被折叠?
被折叠的 条评论
为什么被折叠?
 到【灌水乐园】发言


