


一、为什么会诞生SpringBoot?
先看看spring的优势:
1、代码解耦、简化开发:代码中不再需要new去构造对象,而是交由spring去管理对象。
2、支持AOP:面向切面的编程,方便进行权限拦截、日志监控等。
3、声明式事务:通过配置即可完成对事务的管理。
当然,他还有很多的好处,就不一一举例了。
通过以上我们可以知道,spring可以通过配置来简化开发,随着时间的推移,我们发现配置文件越来越臃肿和庞大,动辄上百行的xml配置文件,容易看的人眼花缭乱。
每当程序界发现了问题的时候,总会有一个人来拯救大家,于是springboot诞生了,解决了配置臃肿的难题。
二、构建SpringBoot项目
构建SpringBoot项目的方式:
1、使用Spring Initializr的web页面:http://start.spring.io/
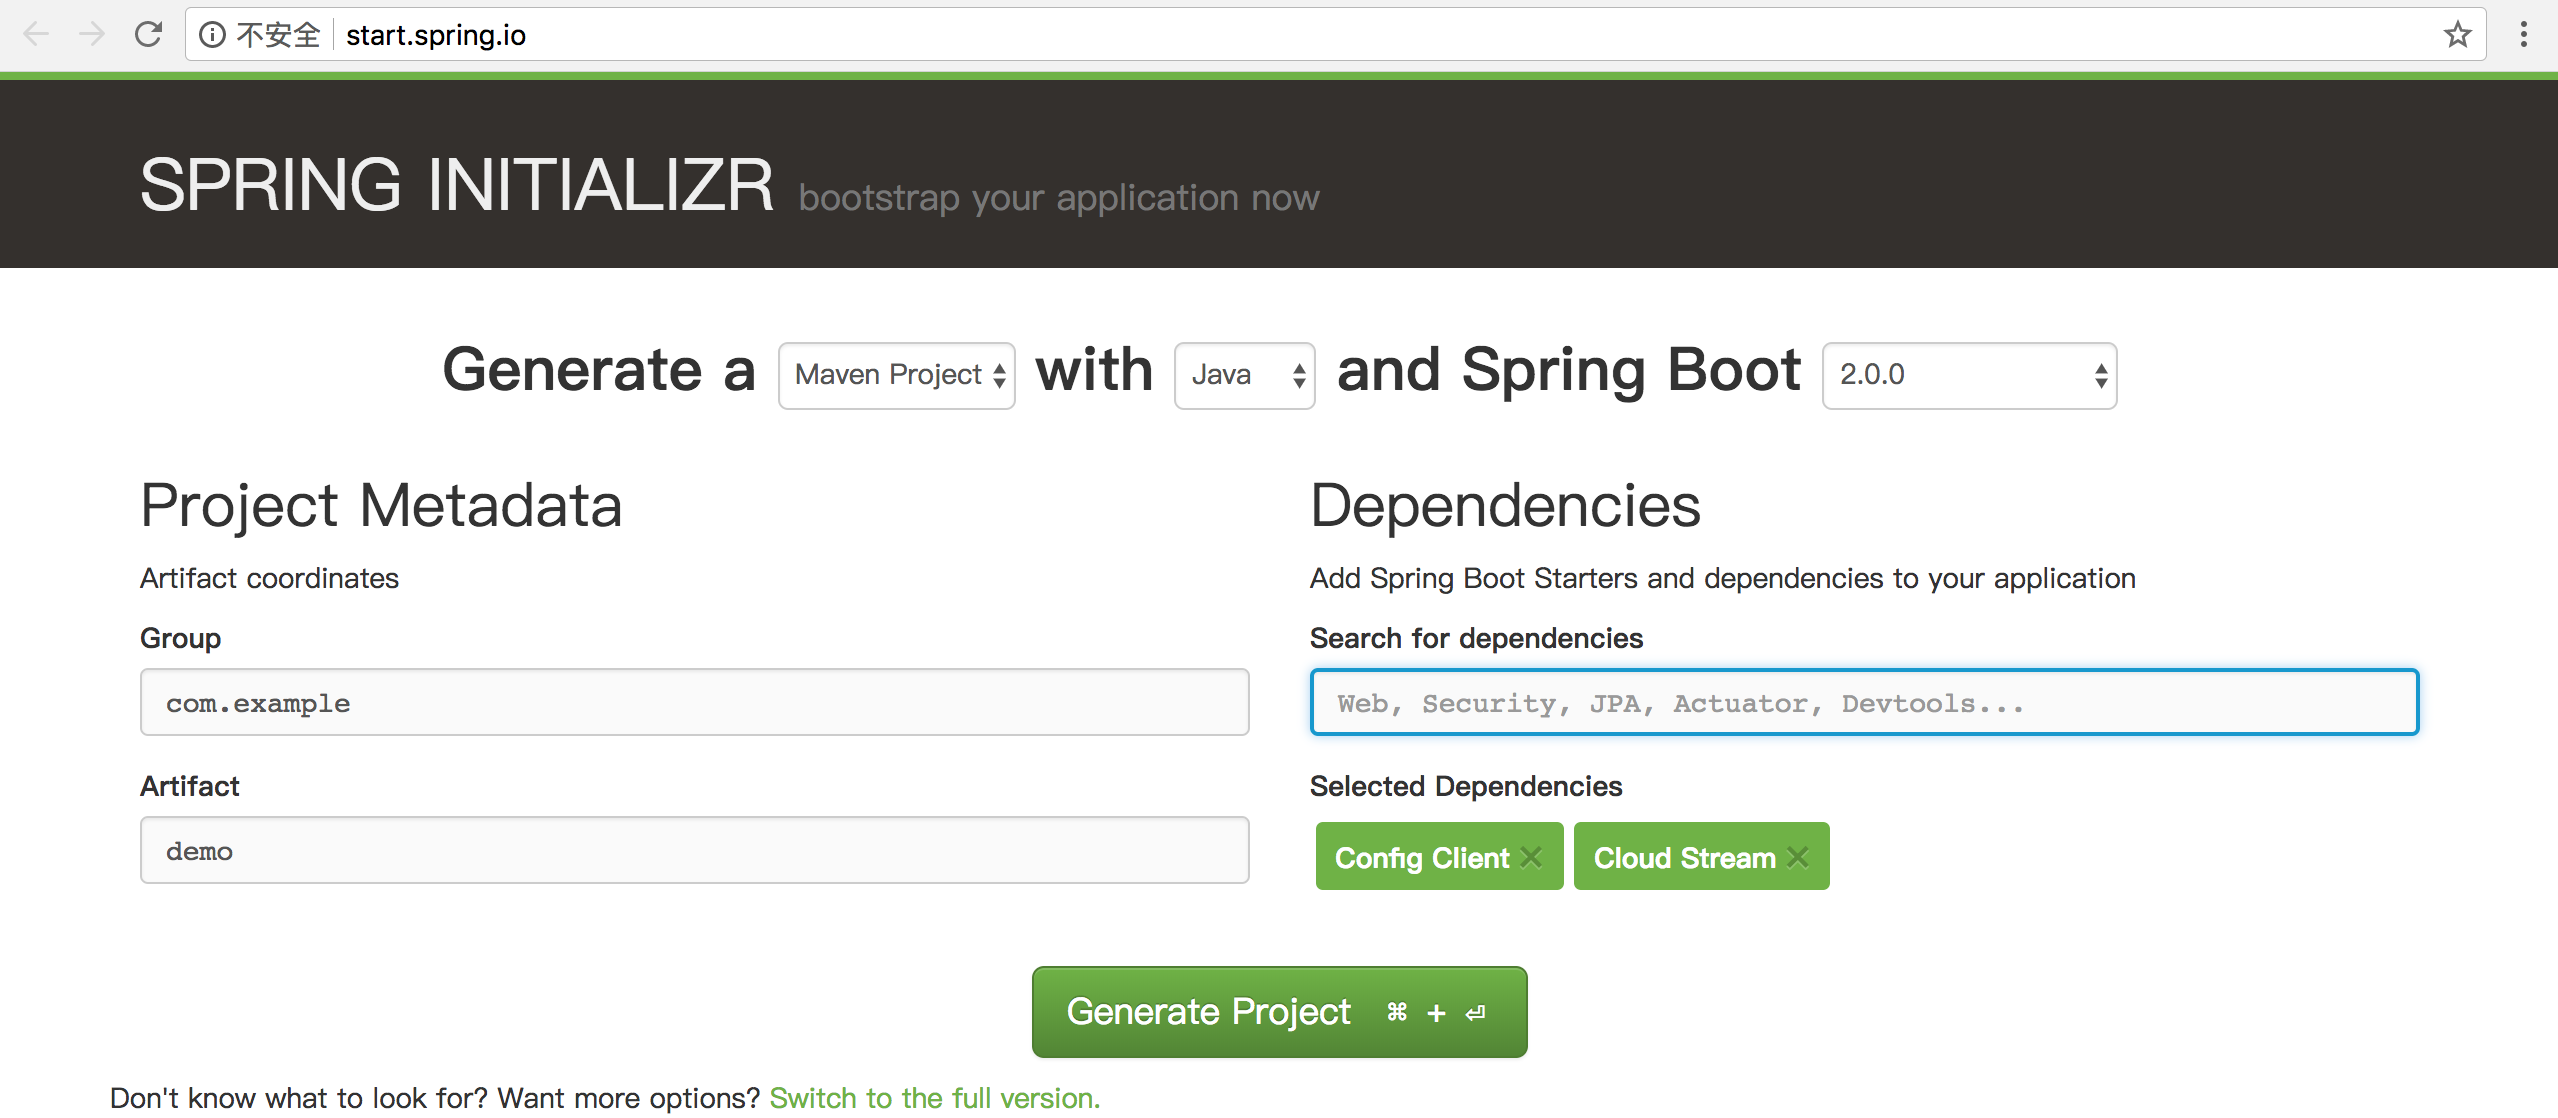
界面的可选项包括:
(1)项目管理工具:Maven、Gradle
(2)语言:Java、Kotlin、Groovy
(3)SpringBoot版本:2.0.0或者其他
(4)包名:com.example;工程名:demo
(5)搜索需要依赖的包:如,Config Client、Cloud Stream
点击“Generate Project”即可生成项目的压缩包。
2、使用编译器IDEA自带的插件(推荐使用)。
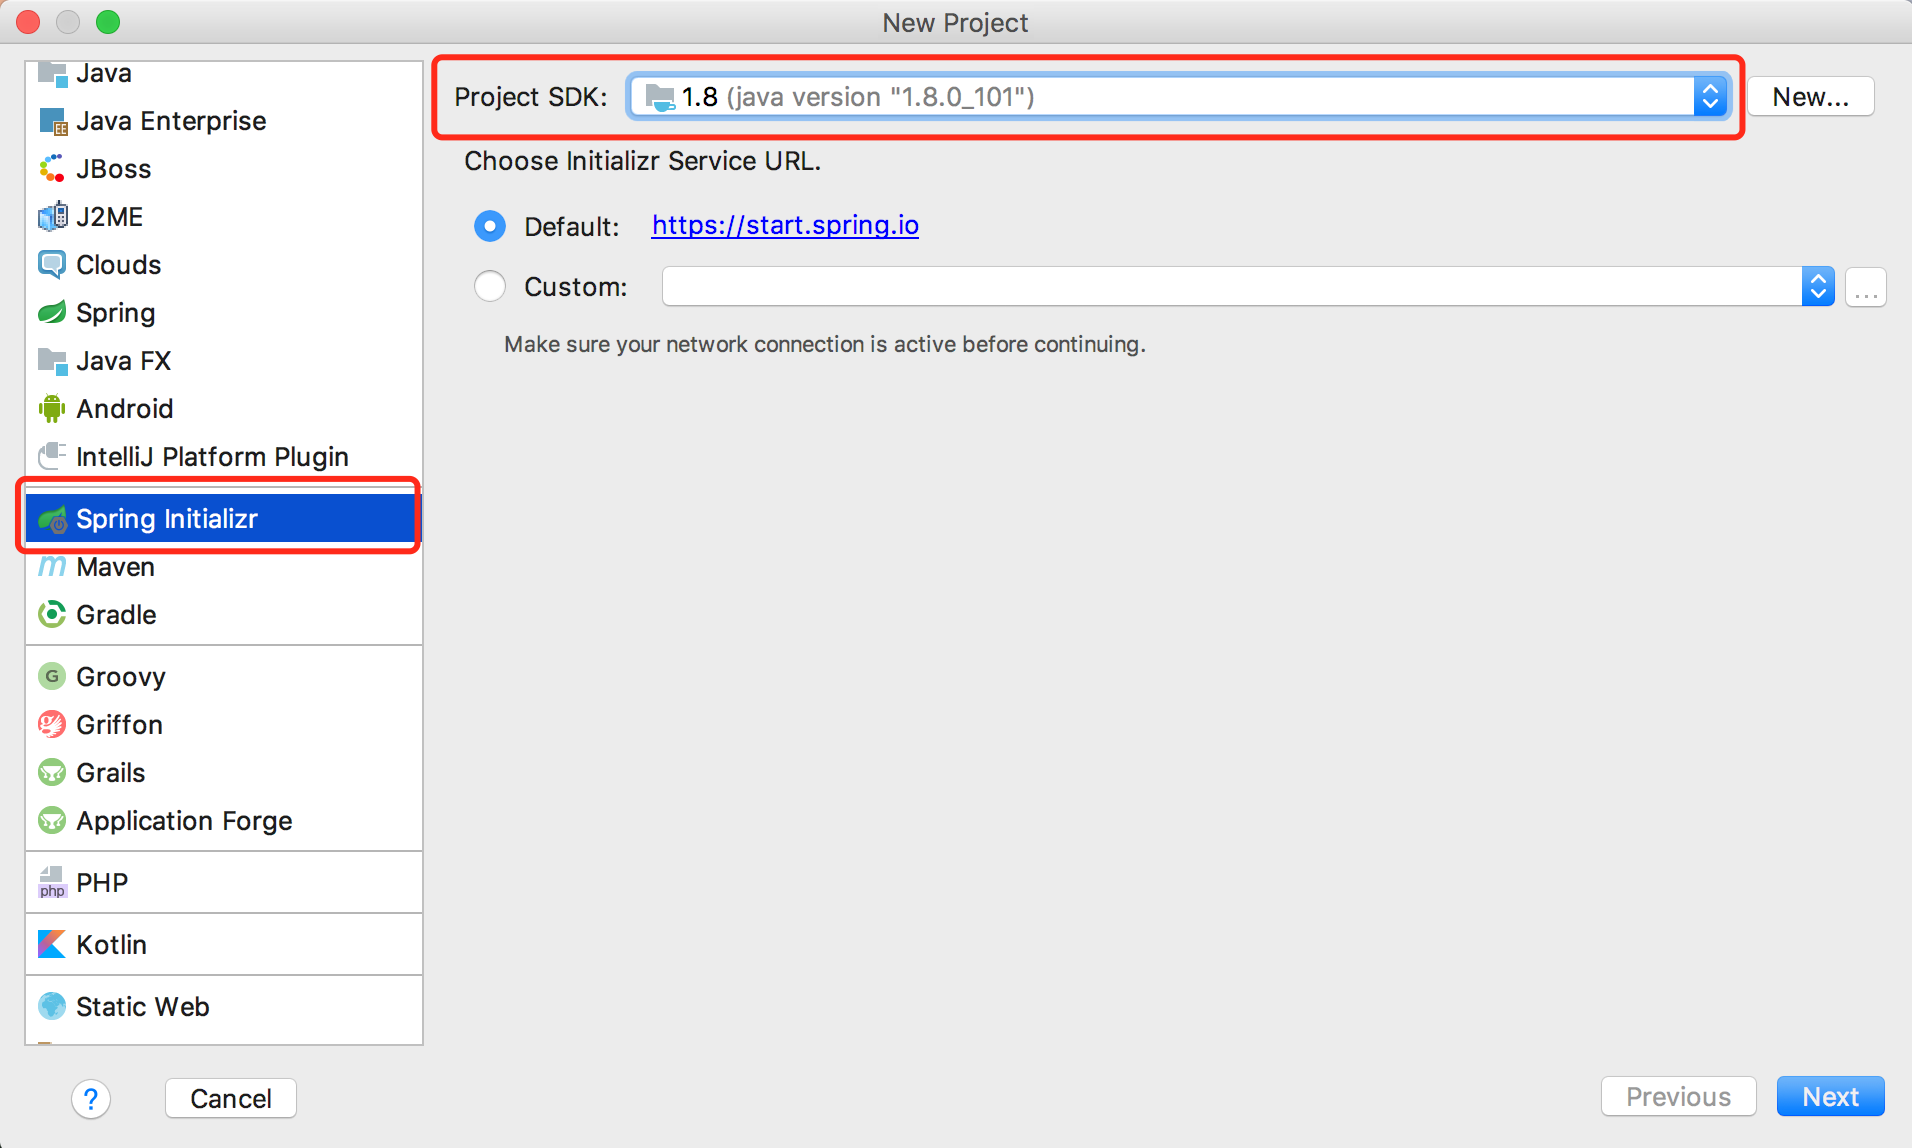
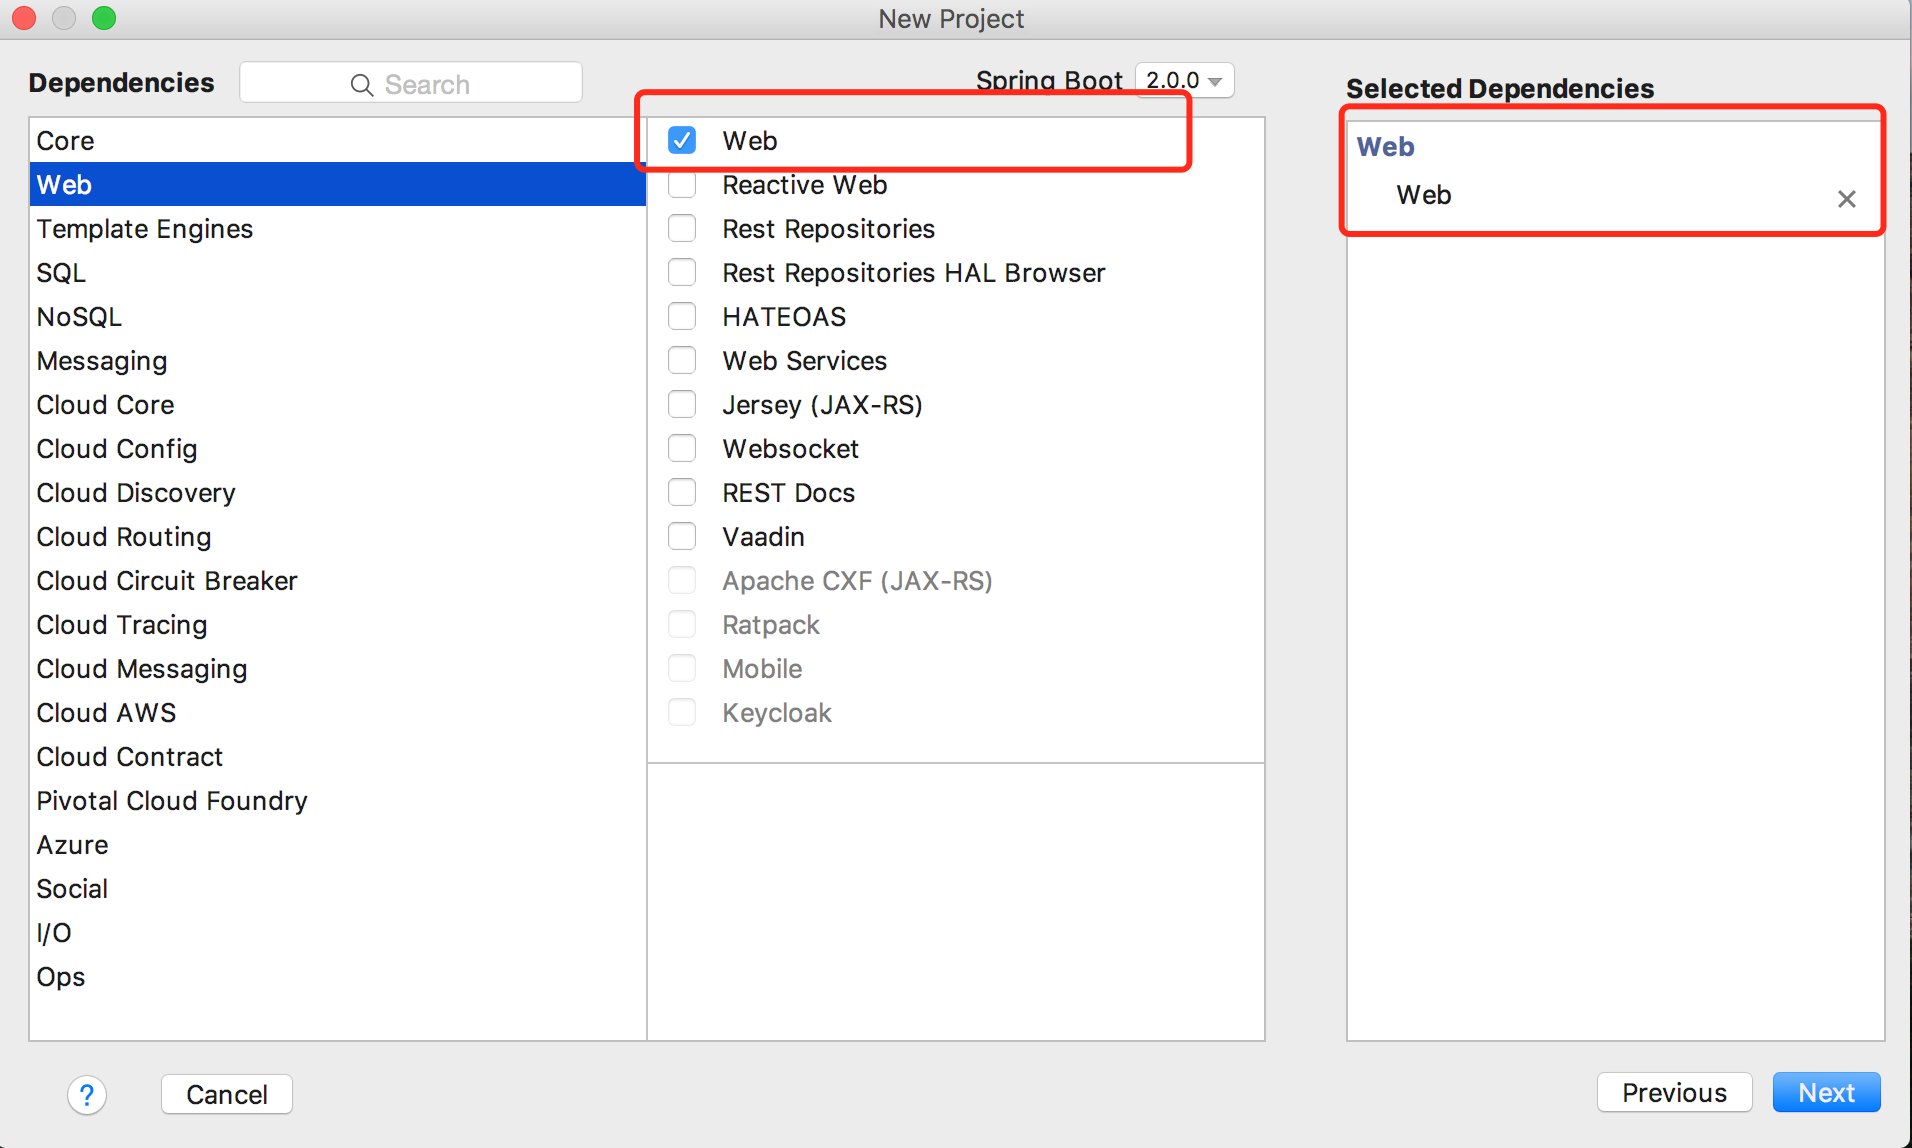
同样需要填写项目的相关配置,例如:
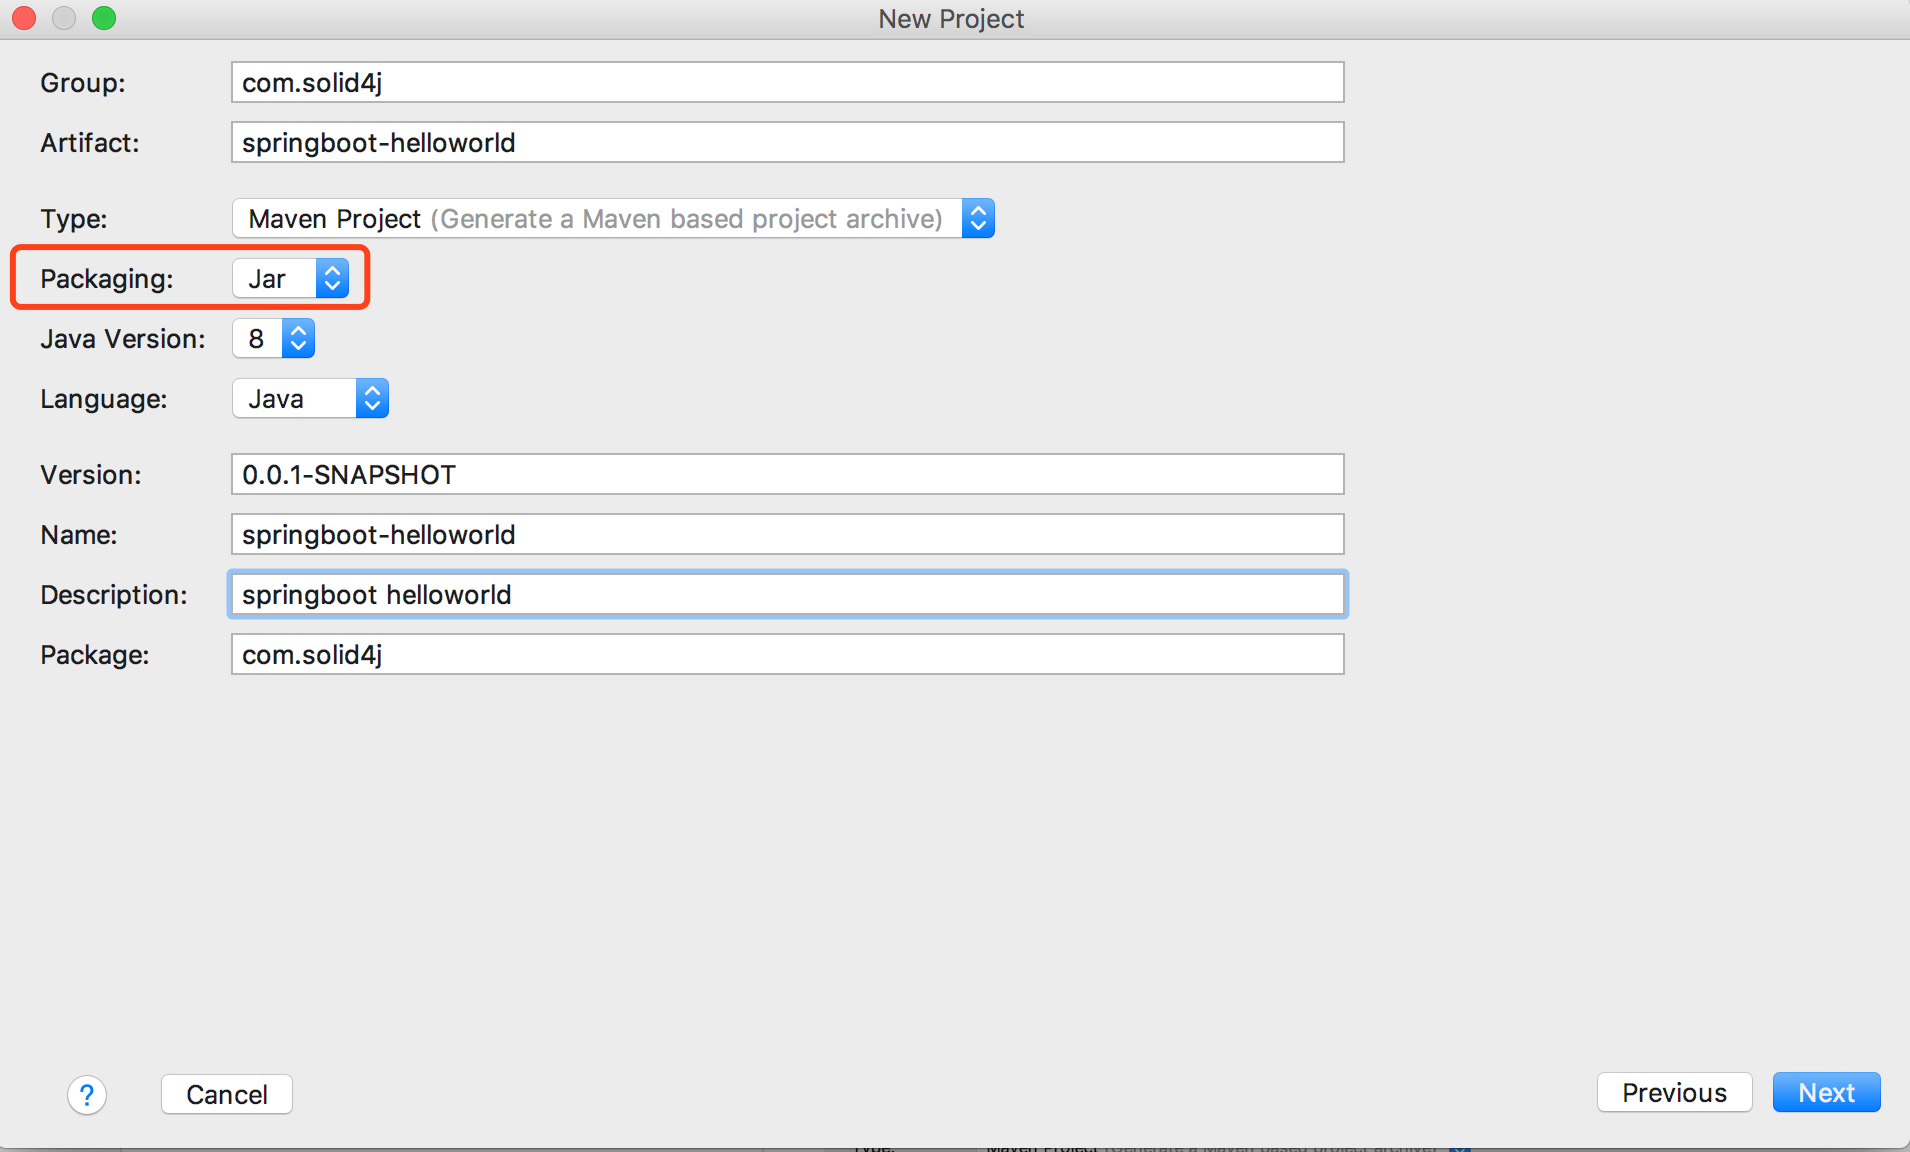
点击“Next”:
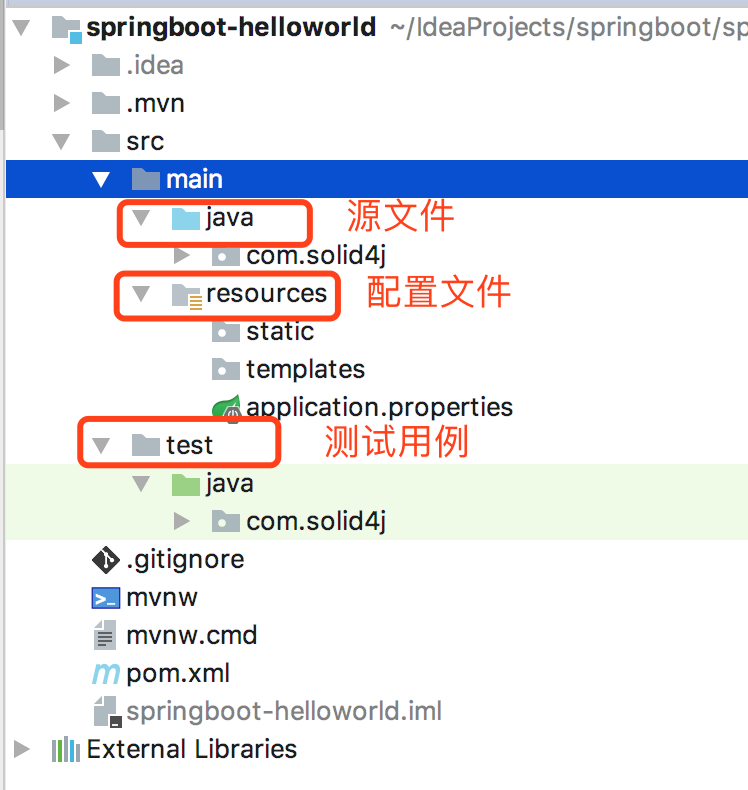
生成项目之后,在编译器中的目录如下图所示:
package com.solid4j;

import org.springframework.boot.SpringApplication;
import org.springframework.boot.autoconfigure.SpringBootApplication;

@SpringBootApplication
public class SpringbootHelloworldApplication {

	public static void main(String[] args) {
		SpringApplication.run(SpringbootHelloworldApplication.class, args);
	}
}
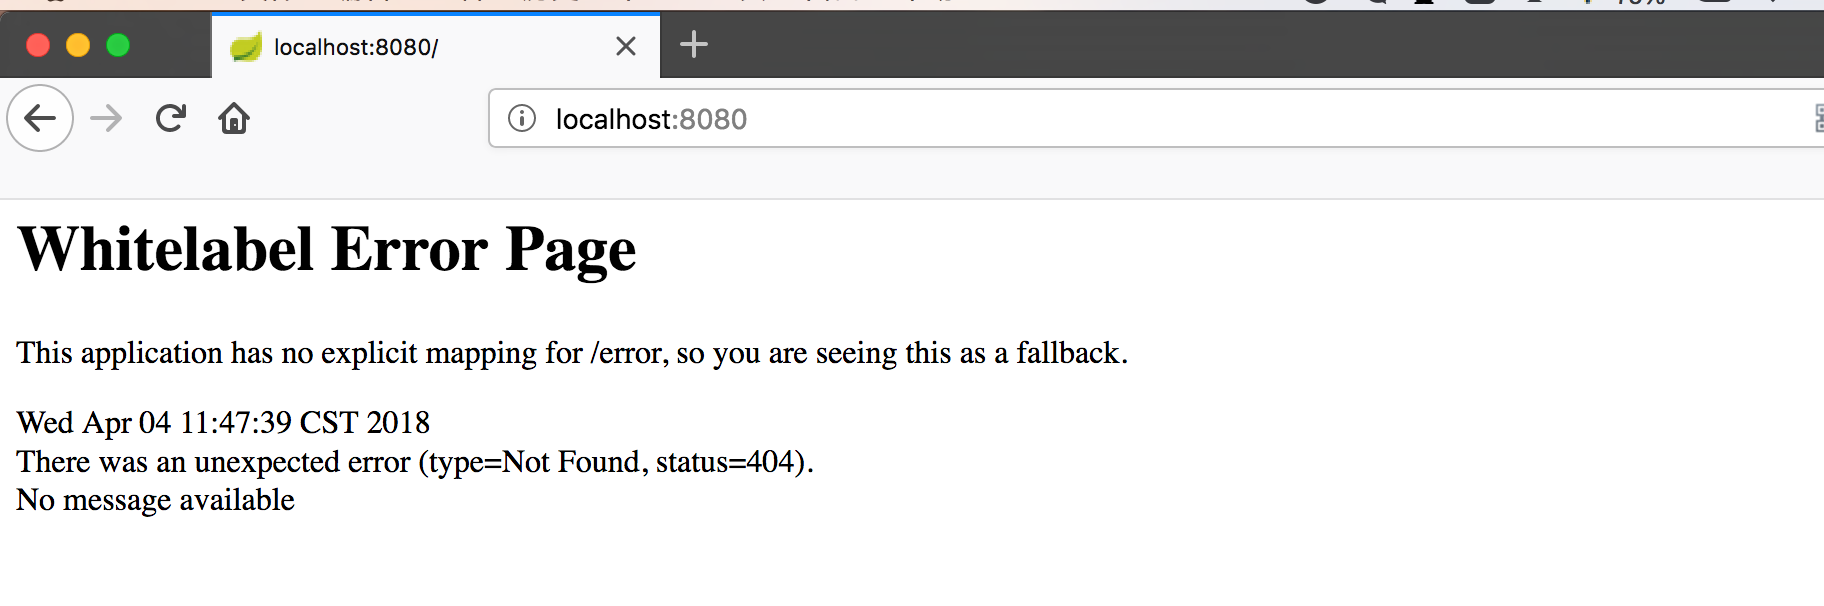
启动main方法,可以通过浏览器访问:http://localhost:8080/
新建一个controller,启动上面的main方法,再次通过浏览器访问:http://localhost:8080/hello
/*
 * Copyright (c) 2018 solidwang. All Rights Reserved
 */
package com.solid4j.controller;
import org.springframework.web.bind.annotation.RequestMapping;
import org.springframework.web.bind.annotation.RequestMethod;
import org.springframework.web.bind.annotation.RestController;

/**
 * @author: solidwang
 * @date:2018/4/17 下午6:09
 */
@RestController
@RequestMapping
public class HelloworldController {
    /**
     * 测试helloworld
     * @return
     */
    @RequestMapping(value = "/hello", method = RequestMethod.GET)
    public String hello() {
        return "helloworld";
    }
}
访问如下:


 1597
1597

 被折叠的 条评论
为什么被折叠?
被折叠的 条评论
为什么被折叠?
 到【灌水乐园】发言


