仿百度壁纸客户端(二)——主页自定义ViewPager广告定时轮播图
百度壁纸系列
仿百度壁纸客户端(一)——主框架搭建,自定义Tab + ViewPager + Fragment
仿百度壁纸客户端(二)——主页自定义ViewPager广告定时轮播图
仿百度壁纸客户端(三)——首页单向,双向事件冲突处理,壁纸列表的实现
搭建完框架,我们来实现首页的轮播图
vp_item.xml
<?xml version="1.0" encoding="utf-8"?>
<RelativeLayout xmlns:android="http://schemas.android.com/apk/res/android"
    android:layout_width="match_parent"
    android:layout_height="200dp"
    >

    <android.support.v4.view.ViewPager
        android:id="@+id/viewpager"
        android:layout_width="match_parent"
        android:layout_height="match_parent"/>

    <LinearLayout
        android:alpha="0.5"
        android:gravity="center"
        android:orientation="horizontal"
        android:layout_alignParentBottom="true"
        android:background="#9000"
        android:layout_width="match_parent"
        android:layout_height="30dp">


        <ImageView
            android:id="@+id/imgOne"
            android:src="@mipmap/point_selected"
            android:layout_width="wrap_content"
            android:layout_height="wrap_content" />
        <ImageView
            android:layout_marginLeft="10dp"
            android:layout_marginRight="10dp"
            android:id="@+id/imgTwo"
            android:src="@mipmap/point_normal"
            android:layout_width="wrap_content"
            android:layout_height="wrap_content" />

        <ImageView
            android:layout_marginRight="10dp"
            android:id="@+id/imgThree"
            android:src="@mipmap/point_normal"
            android:layout_width="wrap_content"
            android:layout_height="wrap_content" />

        <ImageView
            android:id="@+id/imgFour"
            android:src="@mipmap/point_normal"
            android:layout_width="wrap_content"
            android:layout_height="wrap_content" />


    </LinearLayout>

</RelativeLayout>
这就是大体的样子,我们再写个图片的item,里面啥也没有,就一个imageview
vp_scroll_item.xml
<?xml version="1.0" encoding="utf-8"?>
<LinearLayout xmlns:android="http://schemas.android.com/apk/res/android"
    android:layout_width="match_parent"
    android:layout_height="match_parent"
    android:orientation="vertical">

    <ImageView
        android:id="@+id/vpImg"
        android:layout_width="wrap_content"
        android:layout_height="wrap_content" />

</LinearLayout>
然后我们就可以编写自定义的组合控件了
VPScrollLayout
package com.lgl.baiduwallpaper.view;

import android.content.Context;
import android.os.Bundle;
import android.os.Handler;
import android.os.Message;
import android.support.v4.view.ViewPager;
import android.util.AttributeSet;
import android.util.Log;
import android.view.LayoutInflater;
import android.view.View;
import android.widget.ImageView;
import android.widget.LinearLayout;

import com.lgl.baiduwallpaper.R;

import java.util.Timer;
import java.util.TimerTask;

/**
 * 广告轮播
 * Created by lgl on 16/3/31.
 */
public class VPScrollLayout extends LinearLayout {

    private ViewPager viewpager;
    private ImageView imgOne, imgTwo, imgThree, imgFour;
    //计时器
    private Timer timer;
    private TimerTask timerTask;

    private static final int ReFish = 10;


    //标记,当前页面滑动的位置
    private int index = 0;

    //构造方法
    public VPScrollLayout(Context context, AttributeSet attrs) {
        super(context, attrs);
        initView();
    }

    /**
     * 初始化
     */
    private void initView() {
        LayoutInflater inflater = LayoutInflater.from(getContext());
        View views = inflater.inflate(R.layout.vp_item, this);
        findView(views);
        viewpager.setOnPageChangeListener(new ViewPager.OnPageChangeListener() {
            @Override
            public void onPageScrolled(int position, float positionOffset, int positionOffsetPixels) {

            }

            @Override
            public void onPageSelected(int position) {
                index = position;
                hand();

            }

            @Override
            public void onPageScrollStateChanged(int state) {

            }
        });
    }

    /**
     * 找控件
     *
     * @param views
     */
    private void findView(View views) {
        viewpager = (ViewPager) views.findViewById(R.id.viewpager);
        imgOne = (ImageView) views.findViewById(R.id.imgOne);
        imgTwo = (ImageView) views.findViewById(R.id.imgTwo);
        imgThree = (ImageView) views.findViewById(R.id.imgThree);
        imgFour = (ImageView) views.findViewById(R.id.imgFour);
    }

    /**
     * 轮播效果
     */
    public void setPagerFromTime(int dalayTime) {
        timer = new Timer();
        timerTask = new TimerTask() {
            @Override
            public void run() {
                //逻辑
//                initPic(index);
                hand();

                //没运行一次+1
                index++;
                //循环轮播
                if (index == 4) {
                    index = 0;
                }
            }
        };
        //隔几秒更新
        timer.schedule(timerTask, dalayTime, dalayTime);
    }


    //更新UI
    private Handler handler = new Handler() {
        @Override
        public void handleMessage(Message msg) {
            switch (msg.what) {
                case ReFish:
                    //获取数据
                    int index = msg.getData().getInt("index");
                    Log.i("Index",index+"");
                    initPic(index);
                    break;
            }
        }
    };

    /**
     * 设置轮播,定时更新页面
     *
     * @param indexs
     */
    private void initPic(int indexs) {
        viewpager.setCurrentItem(indexs);
        Log.i("Indexs", indexs + "");
        switch (indexs) {
            case 0:
                imgOne.setBackgroundResource(R.mipmap.point_selected);
                imgTwo.setBackgroundResource(R.mipmap.point_normal);
                imgThree.setBackgroundResource(R.mipmap.point_normal);
                imgFour.setBackgroundResource(R.mipmap.point_normal);

                break;
            case 1:
                imgOne.setBackgroundResource(R.mipmap.point_normal);
                imgTwo.setBackgroundResource(R.mipmap.point_selected);
                imgThree.setBackgroundResource(R.mipmap.point_normal);
                imgFour.setBackgroundResource(R.mipmap.point_normal);

                break;
            case 2:
                imgOne.setBackgroundResource(R.mipmap.point_normal);
                imgTwo.setBackgroundResource(R.mipmap.point_normal);
                imgThree.setBackgroundResource(R.mipmap.point_selected);
                imgFour.setBackgroundResource(R.mipmap.point_normal);

                break;
            case 3:
                imgOne.setBackgroundResource(R.mipmap.point_normal);
                imgTwo.setBackgroundResource(R.mipmap.point_normal);
                imgThree.setBackgroundResource(R.mipmap.point_normal);
                imgFour.setBackgroundResource(R.mipmap.point_selected);

                break;
        }
    }

    public ViewPager getViewPager() {
        //调用
        return viewpager;
    }

    /**
     * 发送消息
     */
    private void hand(){
        Bundle bundle = new Bundle();
        bundle.putInt("index", index);
        Message msg = new Message();
        msg.setData(bundle);
        msg.what = ReFish;
        handler.sendMessage(msg);
    }

}
写完这个之后,我们就可以在主页应用了
home_fragment.xml
<?xml version="1.0" encoding="utf-8"?>
<RelativeLayout xmlns:android="http://schemas.android.com/apk/res/android"
    android:layout_width="match_parent"
    android:layout_height="match_parent">


    <com.lgl.baiduwallpaper.view.VPScrollLayout
        android:id="@+id/vp_scroll"
        android:layout_width="match_parent"
        android:layout_height="wrap_content" />
</RelativeLayout>
我们可以在HomeFragment里直接用了
HomeFragment
package com.lgl.baiduwallpaper.fragment;

import android.os.Bundle;
import android.support.v4.app.Fragment;
import android.support.v4.view.PagerAdapter;
import android.support.v4.view.ViewPager;
import android.view.LayoutInflater;
import android.view.View;
import android.view.ViewGroup;

import com.lgl.baiduwallpaper.R;
import com.lgl.baiduwallpaper.view.VPScrollLayout;

import java.util.ArrayList;

/**
 * 主页
 * Created by lgl on 16/3/31.
 */
public class HomeFragment extends Fragment {

    private VPScrollLayout vpScroll;
    private ViewPager myViewPager;
    private ArrayList<View> bitmap = new ArrayList<View>();

    @Override
    public View onCreateView(LayoutInflater inflater, ViewGroup container, Bundle savedInstanceState) {
        View view = inflater.inflate(R.layout.home_fragment, container, false);
        findView(view);
        return view;
    }


    @Override
    public void onActivityCreated(Bundle savedInstanceState) {
        super.onActivityCreated(savedInstanceState);
        init();
    }

    /**
     * 初始化
     */
    private void init() {
        initVPData();
        myViewPager.setAdapter(new MyAdapter());
        //设置几秒轮播
        vpScroll.setPagerFromTime(1000);
    }

    /**
     * 初始化图片
     */
    private void initVPData() {
        LayoutInflater inflater1 = getActivity().getLayoutInflater();
        View view1 = inflater1.inflate(R.layout.vp_seroll_item, null);
        view1.findViewById(R.id.vpImg).setBackgroundResource(R.mipmap.img1);
        bitmap.add(view1);

        LayoutInflater inflater2 = getActivity().getLayoutInflater();
        View view2 = inflater2.inflate(R.layout.vp_seroll_item, null);
        view2.findViewById(R.id.vpImg).setBackgroundResource(R.mipmap.img2);
        bitmap.add(view2);

        LayoutInflater inflater3 = getActivity().getLayoutInflater();
        View view3 = inflater3.inflate(R.layout.vp_seroll_item, null);
        view3.findViewById(R.id.vpImg).setBackgroundResource(R.mipmap.img3);
        bitmap.add(view3);

        LayoutInflater inflater4 = getActivity().getLayoutInflater();
        View view4 = inflater4.inflate(R.layout.vp_seroll_item, null);
        view4.findViewById(R.id.vpImg).setBackgroundResource(R.mipmap.img4);
        bitmap.add(view4);
    }

    /**
     * 绑定
     *
     * @param view
     */
    private void findView(View view) {
        vpScroll = (VPScrollLayout) view.findViewById(R.id.vp_scroll);
        //直接拿到
        myViewPager = vpScroll.getViewPager();

    }

    /**
     * adapter
     */
    private class MyAdapter extends PagerAdapter {

        @Override
        public int getCount() {
            return bitmap.size();
        }

        @Override
        public boolean isViewFromObject(View view, Object object) {

            return view == object;
        }

        @Override
        public void destroyItem(ViewGroup container, int position, Object object) {
//            super.destroyItem(container, position, object);
            //删除
            ((ViewPager) container).removeView(bitmap.get(position));
        }

        @Override
        public Object instantiateItem(ViewGroup container, int position) {
            ((ViewPager) container).addView(bitmap.get(position));

            return bitmap.get(position);
        }
    }
}
这里注意的是你必须要继承的是V4的fragment,而且这个有个bug,就是小圆点不动,逻辑是没有写错,那究竟是什么原因尼?
OK,其实应该是AS的原因吧,你只要在vp_item.xml中,不引用图片,就像这样
<?xml version="1.0" encoding="utf-8"?>
<RelativeLayout xmlns:android="http://schemas.android.com/apk/res/android"
    android:layout_width="match_parent"
    android:layout_height="200dp">

    <android.support.v4.view.ViewPager
        android:id="@+id/viewpager"
        android:layout_width="match_parent"
        android:layout_height="match_parent" />

    <LinearLayout
        android:layout_width="match_parent"
        android:layout_height="30dp"
        android:layout_alignParentBottom="true"
        android:alpha="0.5"
        android:background="#9000"
        android:gravity="center"
        android:orientation="horizontal">


        <ImageView
            android:id="@+id/imgOne"
            android:layout_width="wrap_content"
            android:layout_height="wrap_content" />

        <ImageView
            android:id="@+id/imgTwo"
            android:layout_width="wrap_content"
            android:layout_height="wrap_content"
            android:layout_marginLeft="10dp"
            android:layout_marginRight="10dp" />

        <ImageView
            android:id="@+id/imgThree"
            android:layout_width="wrap_content"
            android:layout_height="wrap_content"
            android:layout_marginRight="10dp" />

        <ImageView
            android:id="@+id/imgFour"
            android:layout_width="wrap_content"
            android:layout_height="wrap_content" />


    </LinearLayout>

</RelativeLayout>
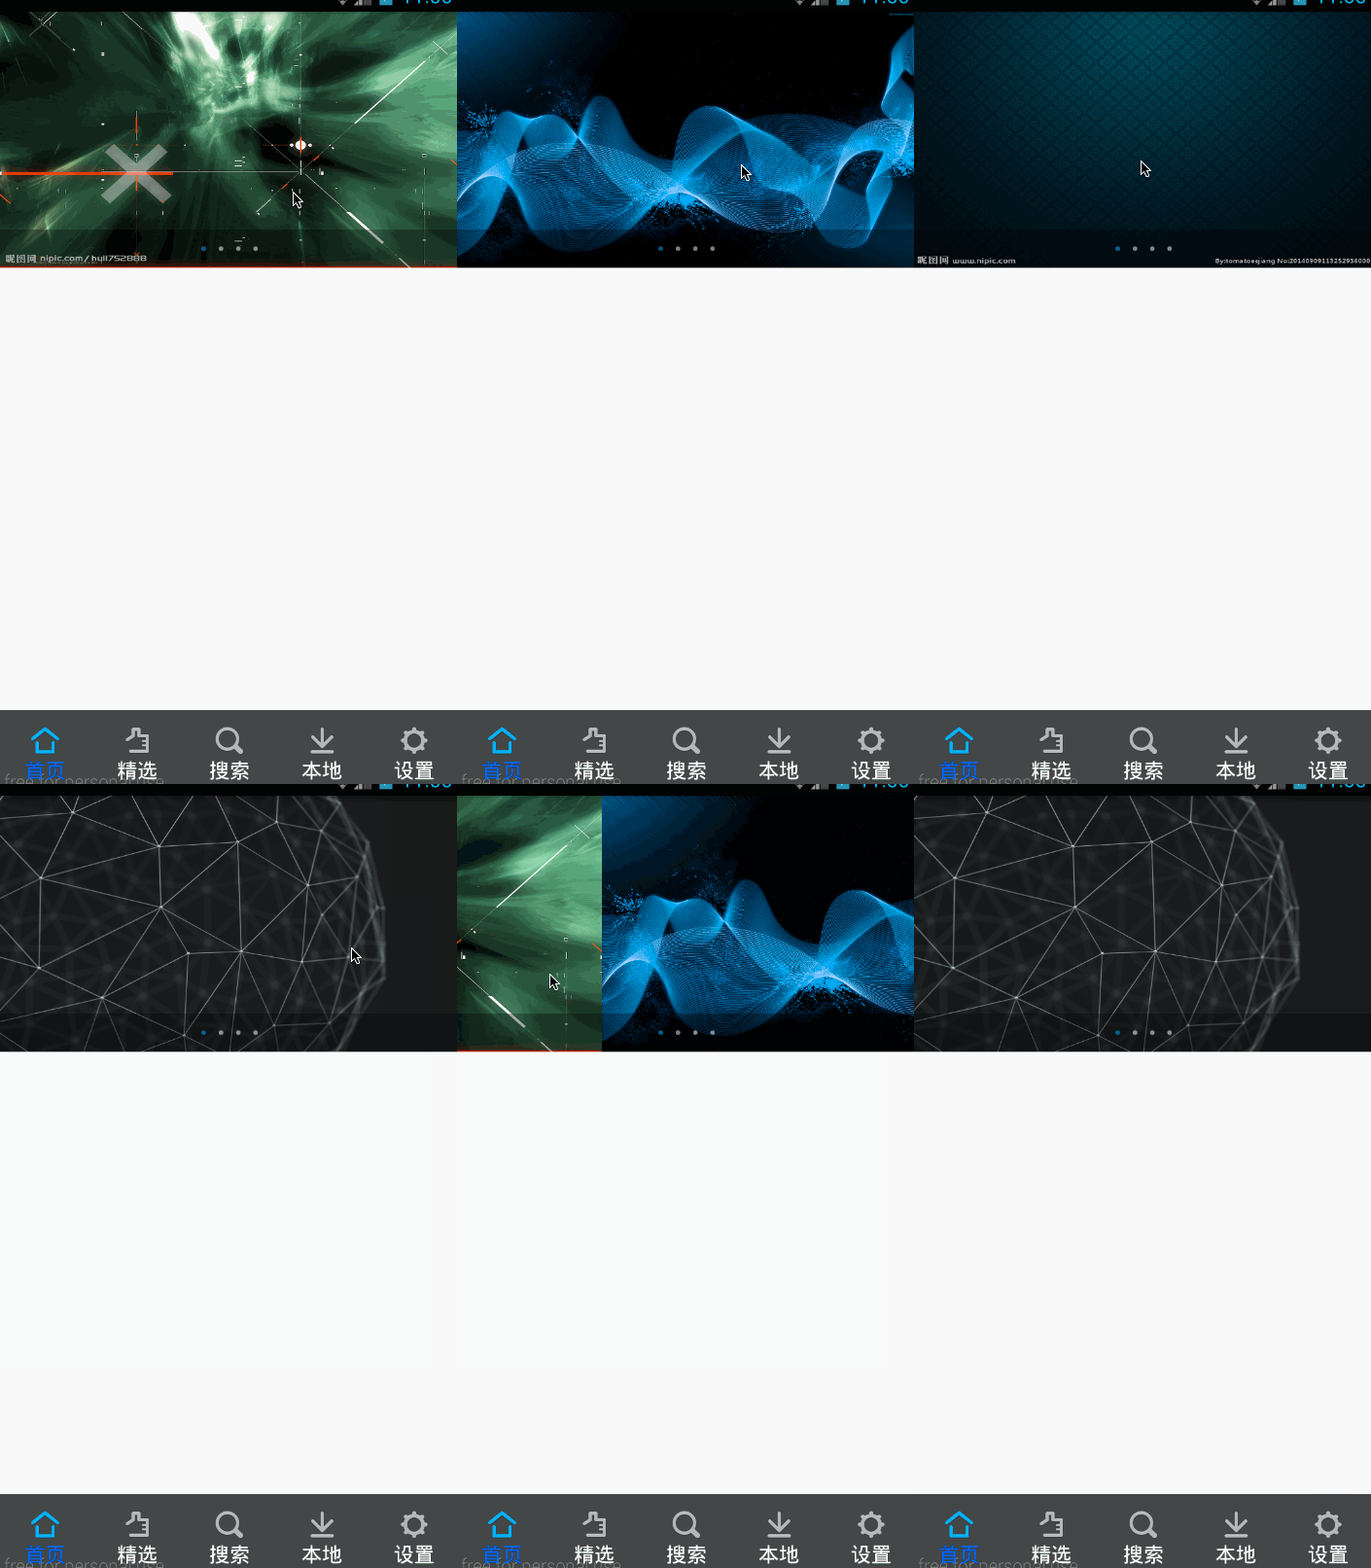
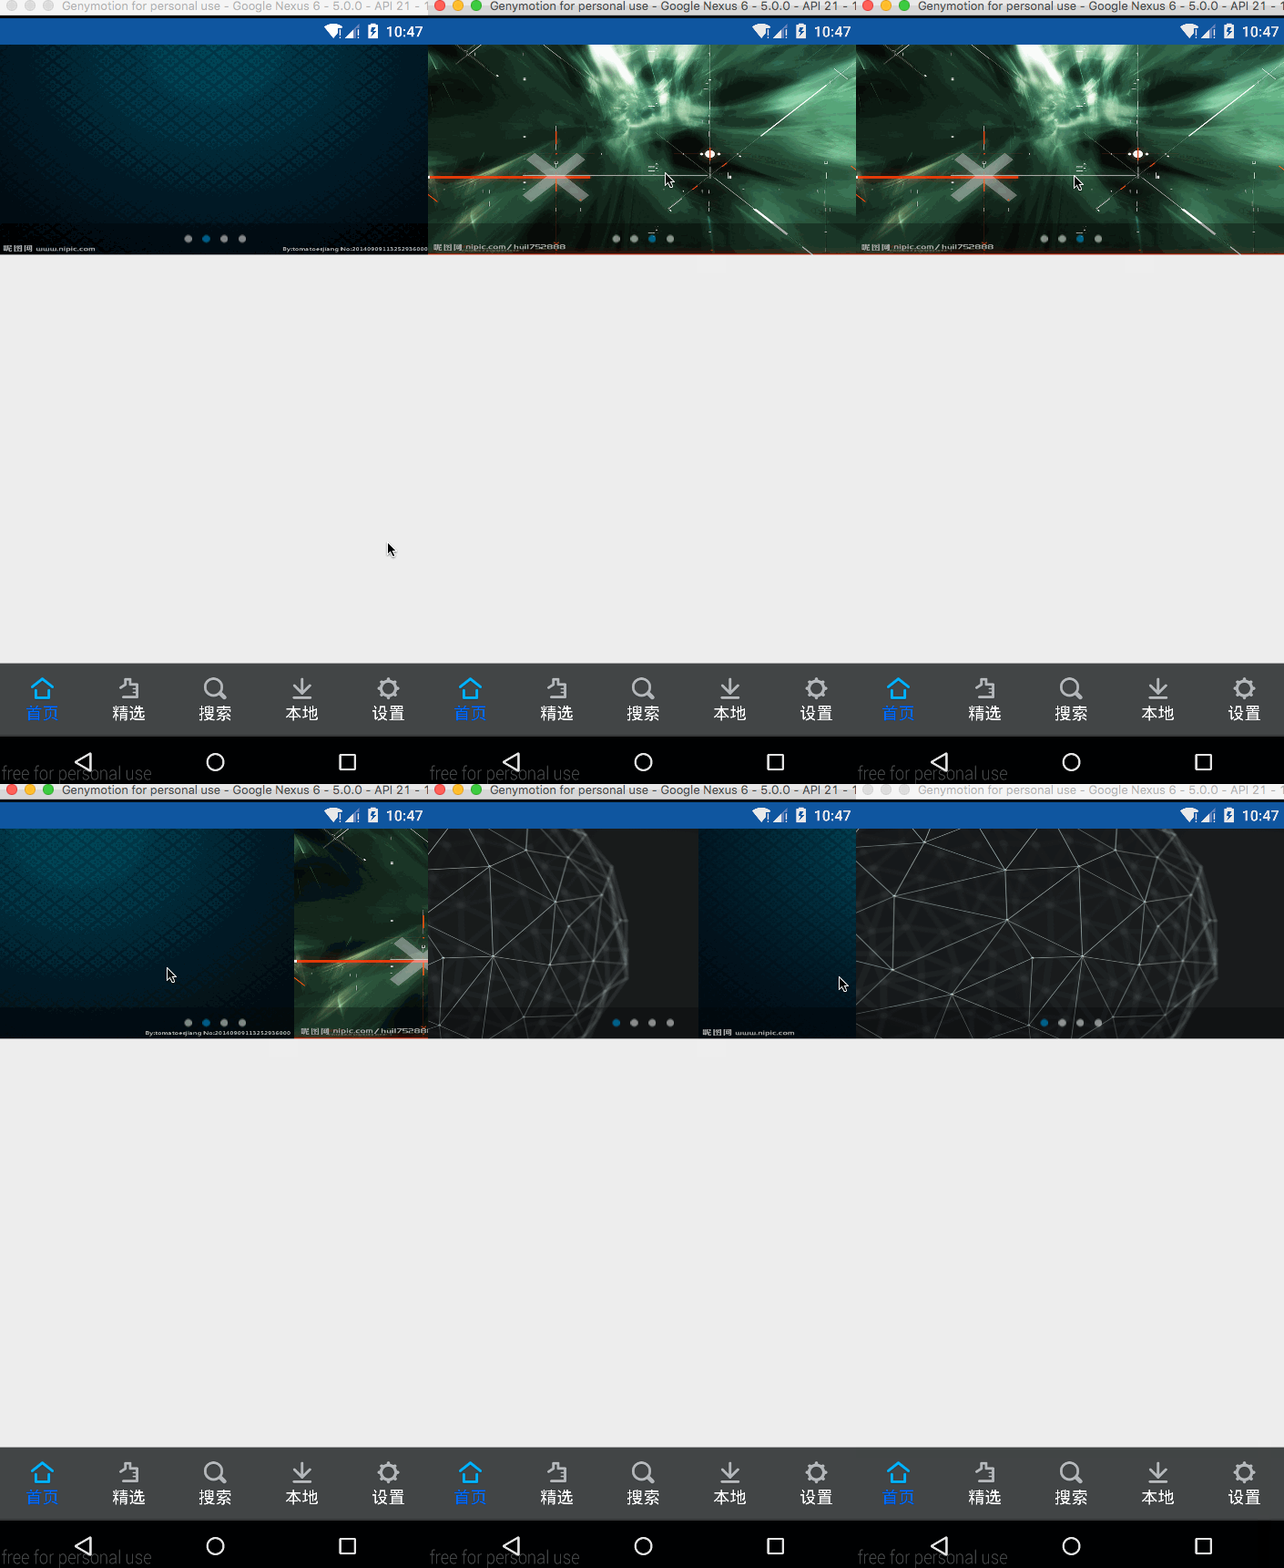
现在我们运行一下
这个是个完整的项目,看下去对自己的帮助很大哟,我也在写,可能陈述的就不是很清晰的条例=理了,可能初学者确实会有点小困难,不过慢慢看下去,总会有收货的,考虑到轮播图,应该也有人需要,所以,这里我把Demo上传吧!


 2965
2965

 被折叠的 条评论
为什么被折叠?


