


idea创建project
| eclipse | idea |
| workspace | project |
| project | model |
一、创建maven工程。
1.欢迎页面,点击“Create New Project”

2.打开创建项目页面,可以选择具体的model,选择具体的model后,project中只能创建一个model.在这里选择"Empty Project".

3.如图,点击"Finish".

4.接下来,需要配置project,以及创建model
5.主要配置JDK.

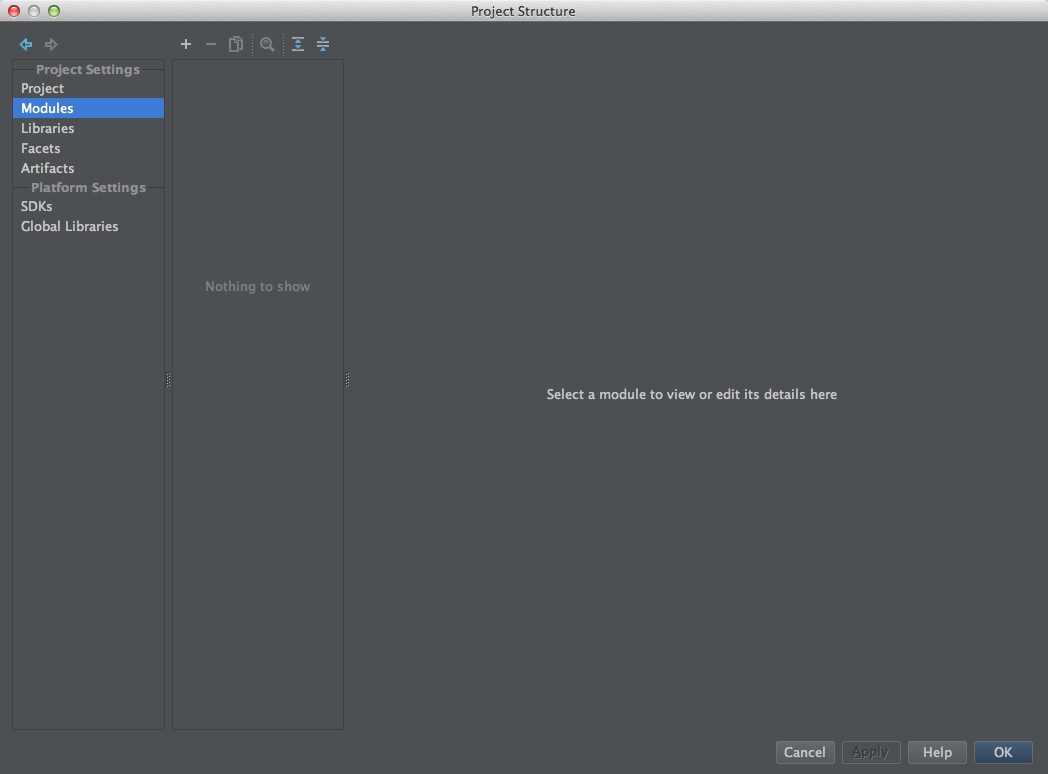
6.点击"OK",project就创建完成,项目中不包含任何model,如图:

7.创建model.此例以maven为例。File-->New Model.

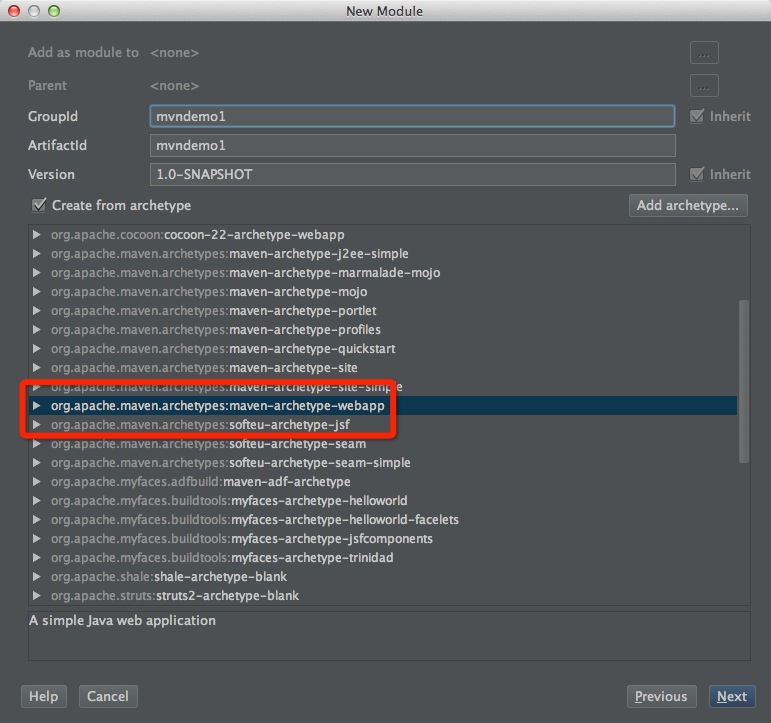
8.弹出如下页面:

左侧选择“Maven Model”,右侧配置项目信息。点击"Next".
9.选中“Create from archetype”,选中下图所示,即创建web项目.
10.点击“Next”.确定项目信息,如图:
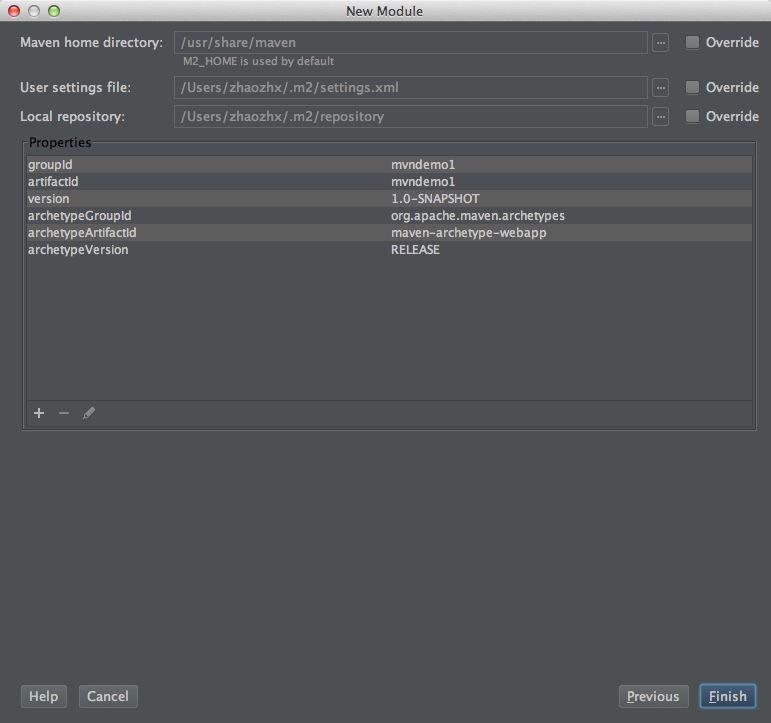
11.点击"Finish".

12.创建完成。

至此,已经创建好maven的基本工程。但是并没有src/main/java,src/test/java,src/test/resource.找了好久不知道在哪里添加,以致后面创建不知道如何创建java类。
小技巧:
File->Project Structure.
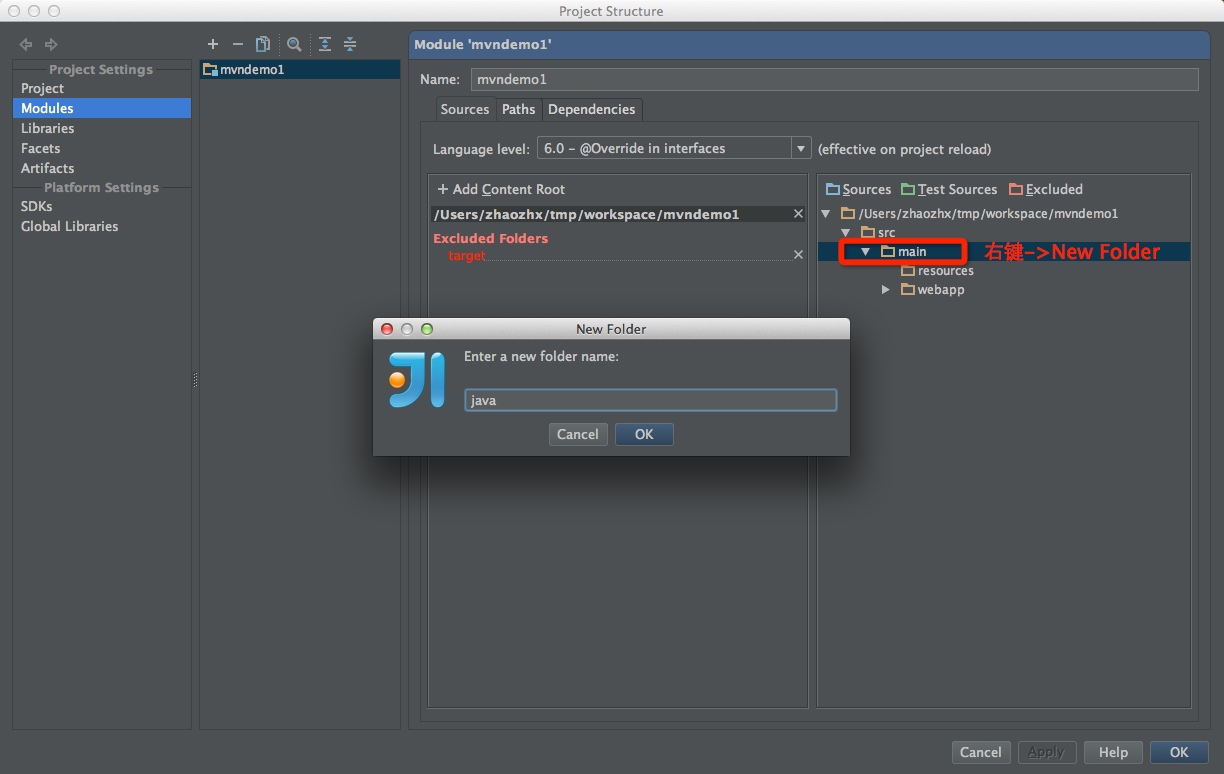
选中main,鼠标右键->New Folder,输入java.
以此类推创建其他目录。并标识Sources,Test Sources.

这样在java目录下即可创建java文件了。

二、将maven工程添加到svn版本控制。
添加之前,先确保svn功能已经打开,svn资源库已经存在。
1.打开svn功能
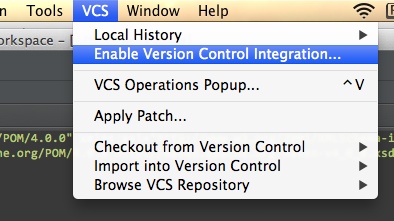
2.弹出框选择svn即可。然后单击“OK”。

3.将工程添加到svn库。选中项目,鼠标右键,Subversion->Share Directory.

4.弹出如下窗口

5.点击“+”,创建repositiory.

6.选择相应的目录。
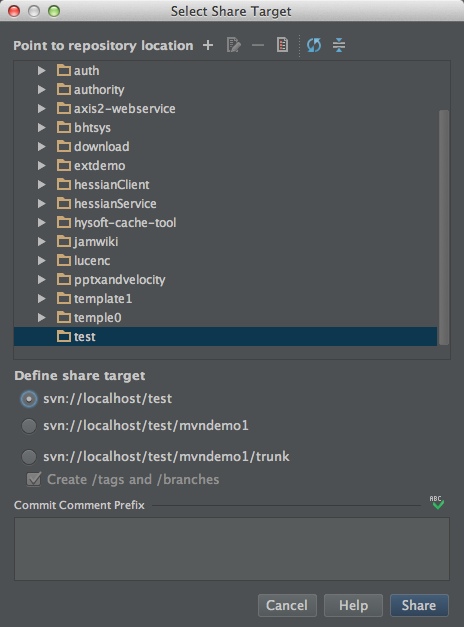
7.点击"Share",之后弹出一个框

默认即可。
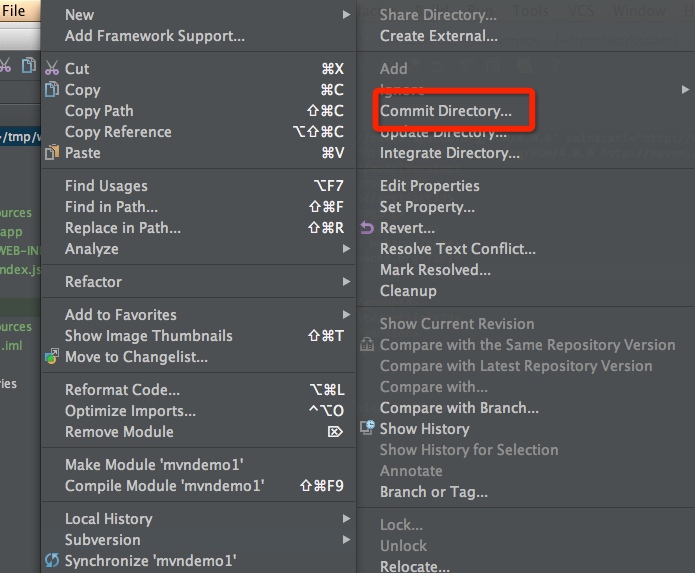
8.接下来就可以提交model了。选中model,鼠标右键,Subversion,Commit Directory.
9.提交窗口如下图

10.Commit。


 159
159

 被折叠的 条评论
为什么被折叠?
被折叠的 条评论
为什么被折叠?
 到【灌水乐园】发言


