


WCF的话是相对比较新的技术,里面的basichttpbinding可以跟以前的ws进行通信,并且继承了大部分的通信协议(几种http协议的实现以及net.TCP实现、msmp、命名管道等实现),另外寄宿的宿主可以是命令行控制台、IIS、桌面程序等。
WCF过多的就不介绍,通过项目例子来实现WCF和C#的通信。
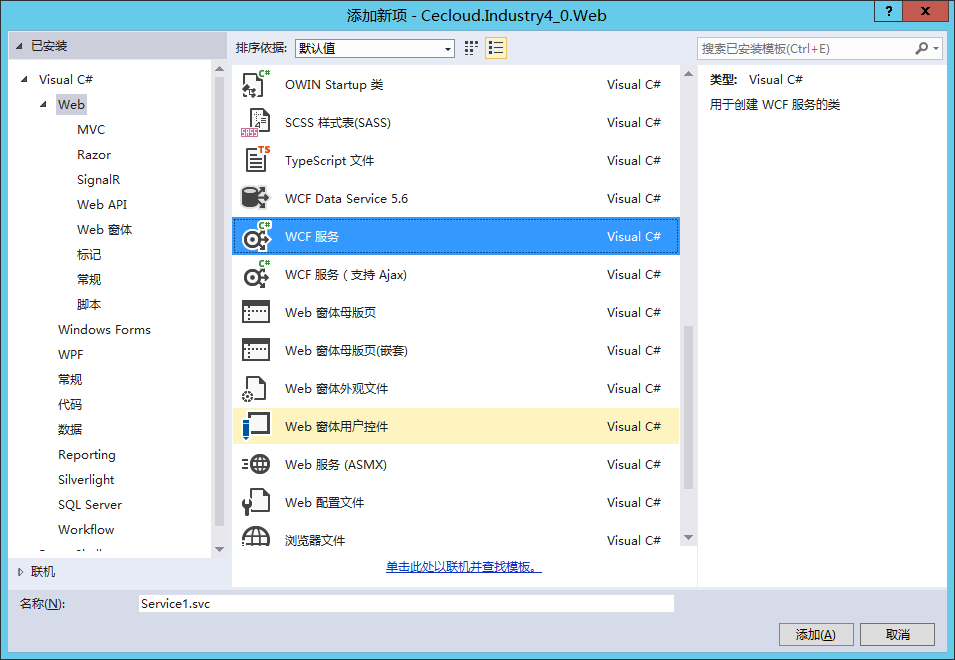
创建新的项目解决方案:根据需要,添加WCF,这里是在Web中添加的WCF。
添加完成会生产两个类:

Iservice1:
using System;
using System.Collections.Generic;
using System.Linq;
using System.Runtime.Serialization;
using System.ServiceModel;
using System.Text;
namespace WebApplication1
{
// 注意: 使用“重构”菜单上的“重命名”命令,可以同时更改代码和配置文件中的接口名“IService1”。
[ServiceContract]
public interface IService1
{
[OperationContract]
void DoWork();
}
}
Service.svc.cs:
using System;
using System.Collections.Generic;
using System.Linq;
using System.Runtime.Serialization;
using System.ServiceModel;
using System.Text;
namespace WebApplication1
{
// 注意: 使用“重构”菜单上的“重命名”命令,可以同时更改代码、svc 和配置文件中的类名“Service1”。
// 注意: 为了启动 WCF 测试客户端以测试此服务,请在解决方案资源管理器中选择 Service1.svc 或 Service1.svc.cs,然后开始调试。
public class Service1 : IService1
{
public void DoWork()
{
}
}
}
这是类中的方法。
其中Web.config会自动生产一段代码
<system.serviceModel>
<behaviors>
<serviceBehaviors>
<behavior name="">
<serviceMetadata httpGetEnabled="true" httpsGetEnabled="true" />
<serviceDebug includeExceptionDetailInFaults="false" />
</behavior>
</serviceBehaviors>
</behaviors>
<serviceHostingEnvironment aspNetCompatibilityEnabled="true"
multipleSiteBindingsEnabled="true" />
</system.serviceModel>
一般情况需要修改这段代码内容:
<system.serviceModel>
<behaviors>
<serviceBehaviors>
<behavior name="">
<serviceMetadata httpGetEnabled="true" httpsGetEnabled="true" />
<serviceDebug includeExceptionDetailInFaults="false" />
</behavior>
</serviceBehaviors>
</behaviors>
<serviceHostingEnvironment aspNetCompatibilityEnabled="true" multipleSiteBindingsEnabled="true" />
<bindings>
<basicHttpBinding>
<binding name="BasicHttpBinding_IMESService" closeTimeout="00:01:00" openTimeout="00:01:00" receiveTimeout="00:10:00" sendTimeout="00:01:00" allowCookies="false" bypassProxyOnLocal="false" hostNameComparisonMode="StrongWildcard" maxBufferPoolSize="524288" maxBufferSize="65536" maxReceivedMessageSize="65536" textEncoding="utf-8" transferMode="Buffered" useDefaultWebProxy="true" messageEncoding="Text">
<readerQuotas maxDepth="32" maxStringContentLength="8192" maxArrayLength="16384" maxBytesPerRead="4096" maxNameTableCharCount="16384" />
<security mode="None">
<transport clientCredentialType="None" proxyCredentialType="None" realm="" />
<message clientCredentialType="UserName" algorithmSuite="Default" />
</security>
</binding>
</basicHttpBinding>
</bindings>
<client>
<endpoint address="http://localhost:8733/MESService/" binding="basicHttpBinding" bindingConfiguration="BasicHttpBinding_IMESService" contract="ServiceReferenceMES.IMESService" name="BasicHttpBinding_IMESService" />
</client>
</system.serviceModel>
之后再例外新的程序添加服务引用:运行上个项目的程序,自动检索就会找到,之后再添加。

这样就可以实现两个项目的通信!!
通信原理,就是通过WCF生成的两个类进行编写方法,通过引用服务中的类,可以实现通信交互。
例如:
//打开服务
ServiceReferenceMES.MESServiceClient proman = new MESServiceClient();
string str = proman.TerminateProduct(MESOrder.ToString());//运行服务端方法
方法自己定义!!!


 3114
3114


 被折叠的 条评论
为什么被折叠?
被折叠的 条评论
为什么被折叠?
 到【灌水乐园】发言


