


首先配置jdk和maven 在这里就不说了自己在网搜一大片
下面直接代码和图 有图有真相
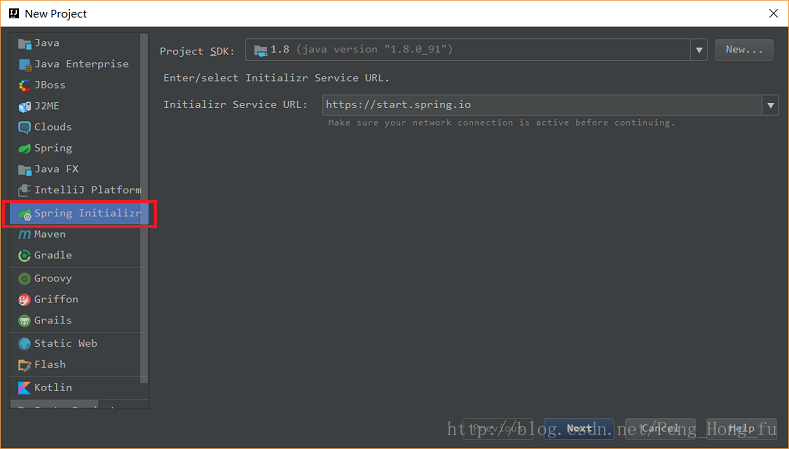
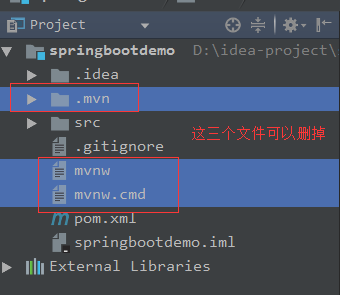
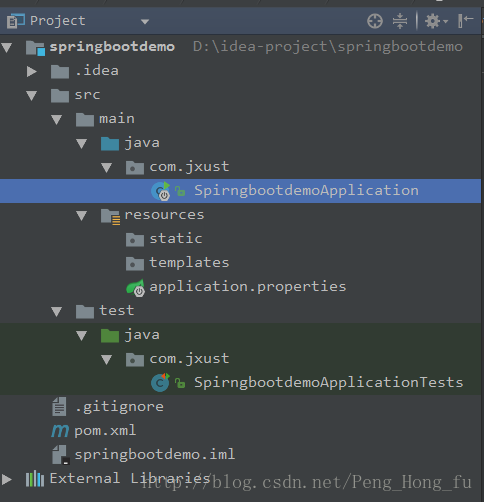
项目结构为:
项目默认的 maven pom.xml文件
pom.xml
<?xml version="1.0" encoding="UTF-8"?>
<project xmlns="http://maven.apache.org/POM/4.0.0" xmlns:xsi="http://www.w3.org/2001/XMLSchema-instance"
xsi:schemaLocation="http://maven.apache.org/POM/4.0.0 http://maven.apache.org/xsd/maven-4.0.0.xsd">
<modelVersion>4.0.0</modelVersion>
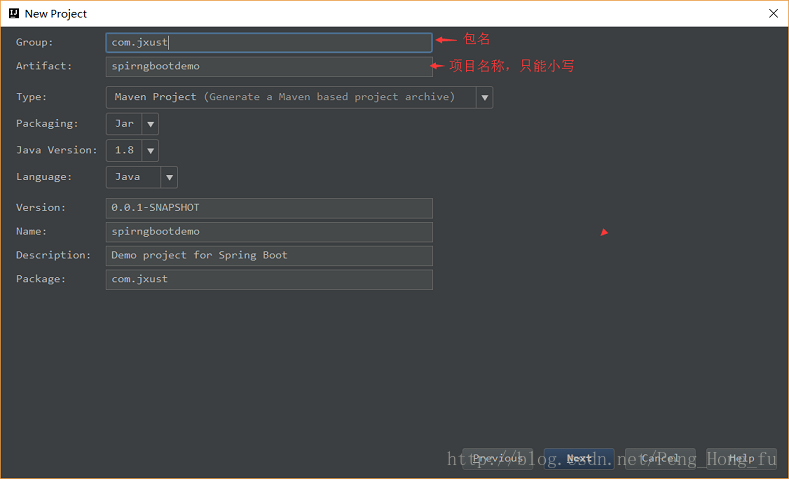
<groupId>com.jxust</groupId>
<artifactId>spirngbootdemo</artifactId>
<version>0.0.1-SNAPSHOT</version>
<packaging>jar</packaging>
<name>spirngbootdemo</name>
<description>Demo project for Spring Boot</description>
<parent>
<groupId>org.springframework.boot</groupId>
<artifactId>spring-boot-starter-parent</artifactId>
<version>1.4.2.RELEASE</version>
<relativePath/> <!-- lookup parent from repository -->
</parent>
<properties>
<project.build.sourceEncoding>UTF-8</project.build.sourceEncoding>
<project.reporting.outputEncoding>UTF-8</project.reporting.outputEncoding>
<java.version>1.8</java.version>
</properties>
<dependencies>
<dependency>
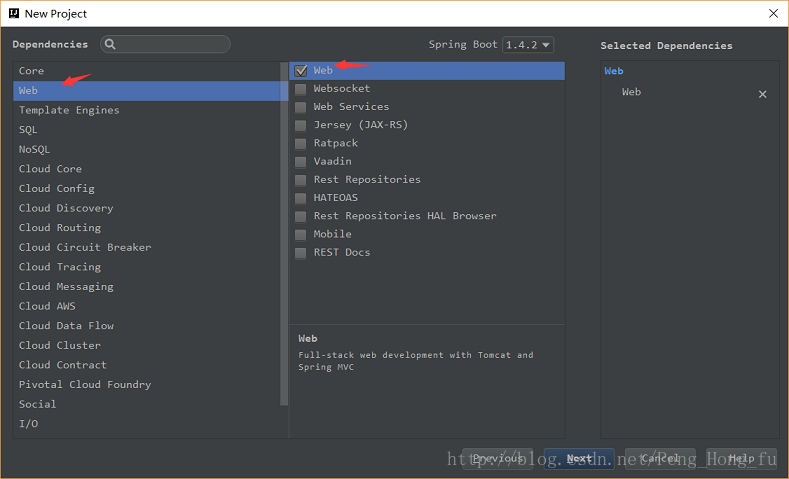
<groupId>org.springframework.boot</groupId>
<artifactId>spring-boot-starter-web</artifactId>
</dependency>
<dependency>
<groupId>org.springframework.boot</groupId>
<artifactId>spring-boot-starter-test</artifactId>
<scope>test</scope>
</dependency>
</dependencies>
<build>
<plugins>
<plugin>
<groupId>org.springframework.boot</groupId>
<artifactId>spring-boot-maven-plugin</artifactId>
</plugin>
</plugins>
</build>
</project>
运行SpirngbootdemoApplication的main方法,就能开始运行。
其他启动方式,请看视频教程http://www.imooc.com/learn/767\
控制台输出:
"C:\Program Files\Java\jdk1.8.0_91\bin\java" ....
. ____ _ __ _ _
/\\ / ___'_ __ _ _(_)_ __ __ _ \ \ \ \
( ( )\___ | '_ | '_| | '_ \/ _` | \ \ \ \
\\/ ___)| |_)| | | | | || (_| | ) ) ) )
' |____| .__|_| |_|_| |_\__, | / / / /
=========|_|==============|___/=/_/_/_/
:: Spring Boot :: (v1.4.2.RELEASE)
2016-12-16 14:56:52.083 INFO 15872 --- [ main] o.s.j.e.a.AnnotationMBeanExporter : Registering beans for JMX exposure on startup
2016-12-16 14:56:52.215 INFO 15872 --- [ main] s.b.c.e.t.TomcatEmbeddedServletContainer : Tomcat started on port(s): 8080 (http)
2016-12-16 14:56:52.255 INFO 15872 --- [ main] com.jxust.SpirngbootdemoApplication : Started SpirngbootdemoApplication in 7.795 seconds (JVM running for 9.177)
创建一个HelloController,位于controller包下
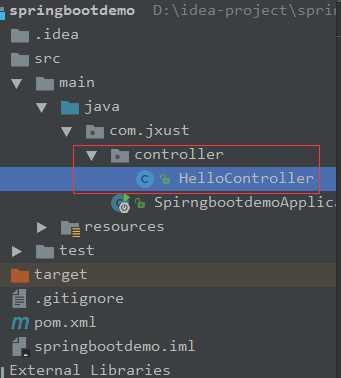
HelloController.java
package com.jxust.controller;
import org.springframework.web.bind.annotation.GetMapping;
import org.springframework.web.bind.annotation.RestController;
/**
* Created by Peng
* Time: 2016/12/16 15:45
*/
@RestController
public class HelloController {
@RequestMapping("/hello")
public String say(){
return "Hello SpringBoot!";
}
}
@RestController Spring4 之后新加的注解,原来返回json需要@ResponseBody配合@Controller,现在一个顶俩
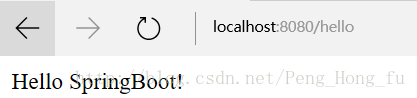
在浏览器中输入http://localhost:8080/hello就能输出Hello SpringBoot!这句话。
自定义属性配置
用到的是application.properties这个文件

配置端口号和访问前缀
application.properties
server.port=8081
server.context-path=/springboot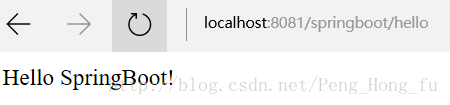
除了使用.properties格式的文件,还可以使用.yml格式的配置文件(推荐),更加简便
application.yml

把原来的application.properties文件删除
注意格式,空格不能少
获取配置文件中的属性值
我们也可以在配置文件中,配置数据,在 Controller 中获取,比如:
application.yml
server:
port: 8081
context-path: /springboot
name: 小胖
HelloController 获取配置文件中的值
HelloController.java
....
@RestController
public class HelloController {
@Value("${name}")
private String name;
@RequestMapping(value = "/hello",method = RequestMethod.GET)
public String say(){
return name;
}
}
配置文件中值配置方式的多样化
配置文件的值可以是多个,也可以是组合,如:
application.yml
name: 小胖
age: 22
1
2
或者
application.yml
name: 小胖
age: 22
content: "name: ${name},age: ${age}"
1
2
3
或者
application.yml
server:
port: 8081
context-path: /springboot
person:
name: 小胖
age: 22
前两种配置获取值的方式都是一样的,但是对于这种方式,person 有相应的两个属性,需要这样处理
PersonProperties.java
package com.jxust;
import org.springframework.boot.context.properties.ConfigurationProperties;
import org.springframework.stereotype.Component;
/**
* Created by Peng
* Time: 2016/12/16 16:34
*/
@Component
@ConfigurationProperties(prefix = "person")
public class PersonProperties {
private String name;
private Integer age;
public String getName() {
return name;
}
public void setName(String name) {
this.name = name;
}
public Integer getAge() {
return age;
}
public void setAge(Integer age) {
this.age = age;
}
}
Alt+insert快捷键提示生成 Getter and Setter
pom.xml需要加入下面的依赖,处理警告
<dependency>
<groupId>org.springframework.boot</groupId>
<artifactId>spring-boot-configuration-processor</artifactId>
<optional>true</optional>
</dependency>
HelloController.java
package com.jxust.controller;
import com.jxust.PersonProperties;
import org.springframework.beans.factory.annotation.Autowired;
import org.springframework.web.bind.annotation.RequestMapping;
import org.springframework.web.bind.annotation.RequestMethod;
import org.springframework.web.bind.annotation.RestController;
/**
* Created by Peng
* Time: 2016/12/15 20:55
*/
@RestController
public class HelloController {
@Autowired
private PersonProperties personProperties;
@RequestMapping(value = "/hello",method = RequestMethod.GET)
public String say(){
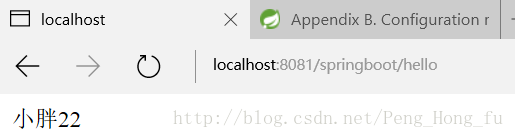
return personProperties.getName()+personProperties.getAge();
}
}
关于配置文件application.yml的多套配置
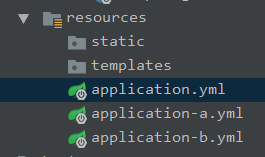
由application.yml配置文件决定使用那套配置文件。
application.yml
spring:
profiles:
active: a
application-a.yml
server:
port: 8081
context-path: /springboot
person:
name: 小雷
age: 21
application-b.yml
server:
port: 8081
context-path: /springboot
person:
name: 小胖
age: 22
转自https://blog.csdn.net/peng_hong_fu/article/details/53691705


 1868
1868


 被折叠的 条评论
为什么被折叠?
被折叠的 条评论
为什么被折叠?
 到【灌水乐园】发言


