Office 2013 Web App Server + SharePoint 2013 Integration
With the release of the Office 2013 Preview, Microsoft also launched a beta of Office Web App Server. This product which is also known from Office 365 and SharePoint 2010, allows you to host the apps (Word, Excel, PowerPoint and OneNote.) in your own infrastructure to work in conjunction with either Exchange, SharePoint or Lync 2013.You can also manage the deployment via PowerShell pretty nifty! (we will go more into detail on that later)
This new features has some new features from the previous versus and removes some restrictions.
The name Web App, allows users to use the Apps via a browser, even from a tablet (Even thou not all support the editing function yet, just viewing)
(From Microsoft.com)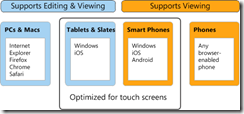
Now in order to install the product you need either a
Windows 2008 R2 with SP1 + .Net 4.5 + PowerShell 3.0 + KB2592525
Download .Net 4.5 RC http://go.microsoft.com/fwlink/p/?LinkId=256560
Download KB2592525 http://go.microsoft.com/fwlink/p/?LinkId=236954
Download PowerShell 3.0 http://go.microsoft.com/fwlink/p/?LinkId=256560
or Windows Server 2012 (Which has all the prerequisites installed)
And your server has to be joined to a Active Directory domain as well. And you would need a another service like SharePoint to integrate it with in order to make it work.
+ have to have IIS installed with the following features.
For Windows Server 2008 R2
Import-Module ServerManager
And then run:
Add-WindowsFeature Web-Server,Web-WebServer,Web-Common-Http,Web-Static-Content,Web-App-Dev,Web-Asp-Net,Web-Net-Ext,Web-ISAPI-Ext,Web-ISAPI-Filter,Web-Includes,Web-Security,Web-Windows-Auth,Web-Filtering,Web-Stat-Compression,Web-Dyn-Compression,Web-Mgmt-Console,Ink-Handwriting,IH-Ink-Support
For Windows Server 2012
Import-Module ServerManager
And then run:
Add-WindowsFeature Web-Server,Web-Mgmt-Tools,Web-Mgmt-Console,Web-WebServer,Web-Common-Http,Web-Default-Doc,Web-Static-Content,Web-Performance,Web-Stat-Compression,Web-Dyn-Compression,Web-Security,Web-Filtering,Web-Windows-Auth,Web-App-Dev,Web-Net-Ext45,Web-Asp-Net45,Web-ISAPI-Ext,Web-ISAPI-Filter,Web-Includes,InkandHandwritingServices
Now we can start installing OfficeWebApps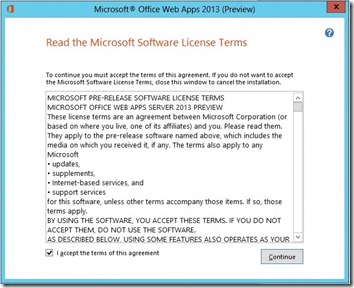
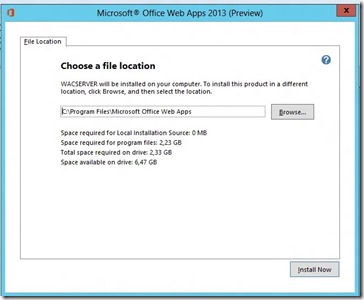
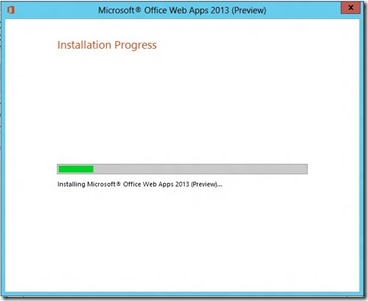
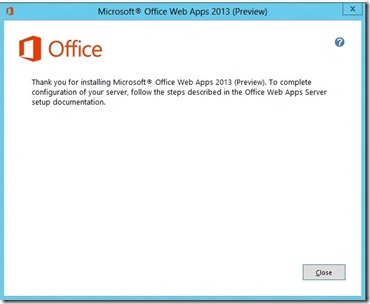
After the installation you can open PowerShell and import the Officewebapp module.
Import-Module OfficeWebApps
you might need to open Powershell from the Admin module folder within Office Webapps.
We can list out all the cmdlets avaliable from the module
Now we can create a Webapp server farm (Which consists of this single server) 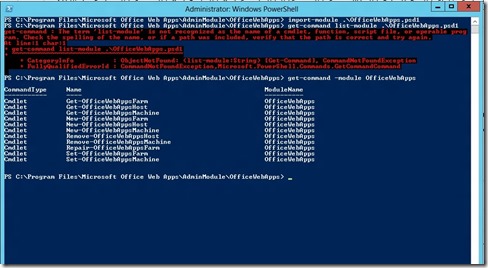
By running this command
New-OfficeWebAppsFarm –InternalURL http://servername –AllowHttp -EditingEnabled
(This just creates a web farm with the URL of http://servername and only communicates using HTTP and it enables the editing function in conjunction with SharePoint 2013. Since I don’t have SharePoint installed at this moment I’m going to run the command without the Editing parameter.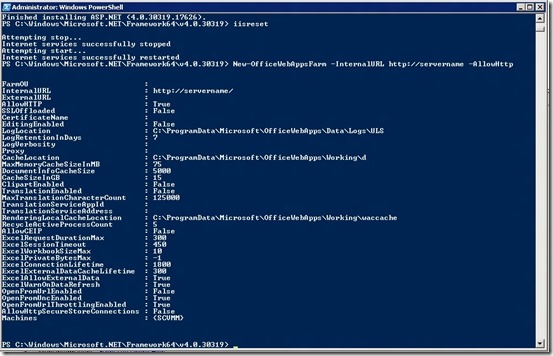
Now we have to verify that the farm is successfully created, by opening a browser window to http://servername/hosting/discovery
If it works as expected you should see some WOPI XML in the browser.
<?xml version=”1.0″ encoding=”utf-8″ ?>
- <wopi-discovery>
- <net-zone name=”internal-http”>
- <app name=”Excel” favIconUrl=”http://servername/x/_layouts/images/FavIcon_Excel.ico” checkLicense=”true”>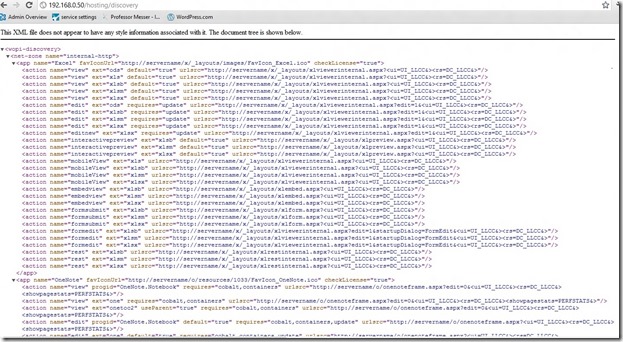
Something like that.
After that is complete, head over to the SharePoint 2013 server and open a PowerShell window.
But remember that Office webapps can only be used in conjunction with Claims based authentication.
If you are unfamiliar how to configure a claims based authentication website in SharePoint you can view it here à http://technet.microsoft.com/en-us/library/ee806885(v=office.15)
Import the SharePoint module
Add-PsSnapin Microsoft.SharePoint.PowerShell
Now you have to create a binding between the SharePoint server and the Office Web App server.
New-SPWOPIBinding -ServerName <WacServerName> -AllowHTTP
In my case New-SPWOPIBINDING –Servername SCCM –AllowHTTP
Next we have to add the SPWOPIZONE to internal
Set-SPWopiZone internal-http
After that open a SharePoint Library and open a document,
Just by marking the document if will trigger the office webapp and open the document.
This release is a part of Office 365 solution to Microsoft, they have already released the Azure portal available for download, will we see Office365 portal as a download soon as well?
If you wish to try the product you can download it from here:
http://www.microsoft.com/en-us/download/details.aspx?id=30358


 357
357

 被折叠的 条评论
为什么被折叠?


