


阅读目录:
1. 关闭防火墙和Selinux
2. 下载Tomcat 7.0.x版本
3. 配置环境并验证
1. 关闭防火墙和Selinux
Linux的防火墙是咱们新手的噩梦,很多情况会出现能ping通,但是访问不了Web页面。所以开始就干掉它!
1.1 关闭防火墙
    [root@localhost ~]# /etc/init.d/iptables stop
    iptables: Setting chains to policy ACCEPT: filter          [  OK  ]
    iptables: Flushing firewall rules:                         [  OK  ]
    iptables: Unloading modules:                               [  OK  ]
1.2 开机自动关闭防火墙
[root@localhost ~]# chkconfig iptables off
1.3 查看Selinux状态
    [root@localhost ~]# sestatus
    SELinux status: enabled
    SELinuxfs mount: /sys/fs/selinux
    SELinux root directory: /etc/selinux
    Loaded policy name: targeted
    Current mode: enforcing
    Mode from config file: enforcing
    Policy MLS status: enabled
    Policy deny_unknown status: allowed
    Max kernel policy version: 28
1.4 关闭selinux
[root@localhost ~]# vi /etc/selinux/config
修改 SELINUX=disabled
注:永久开启->改成:SELINUX=enforcing
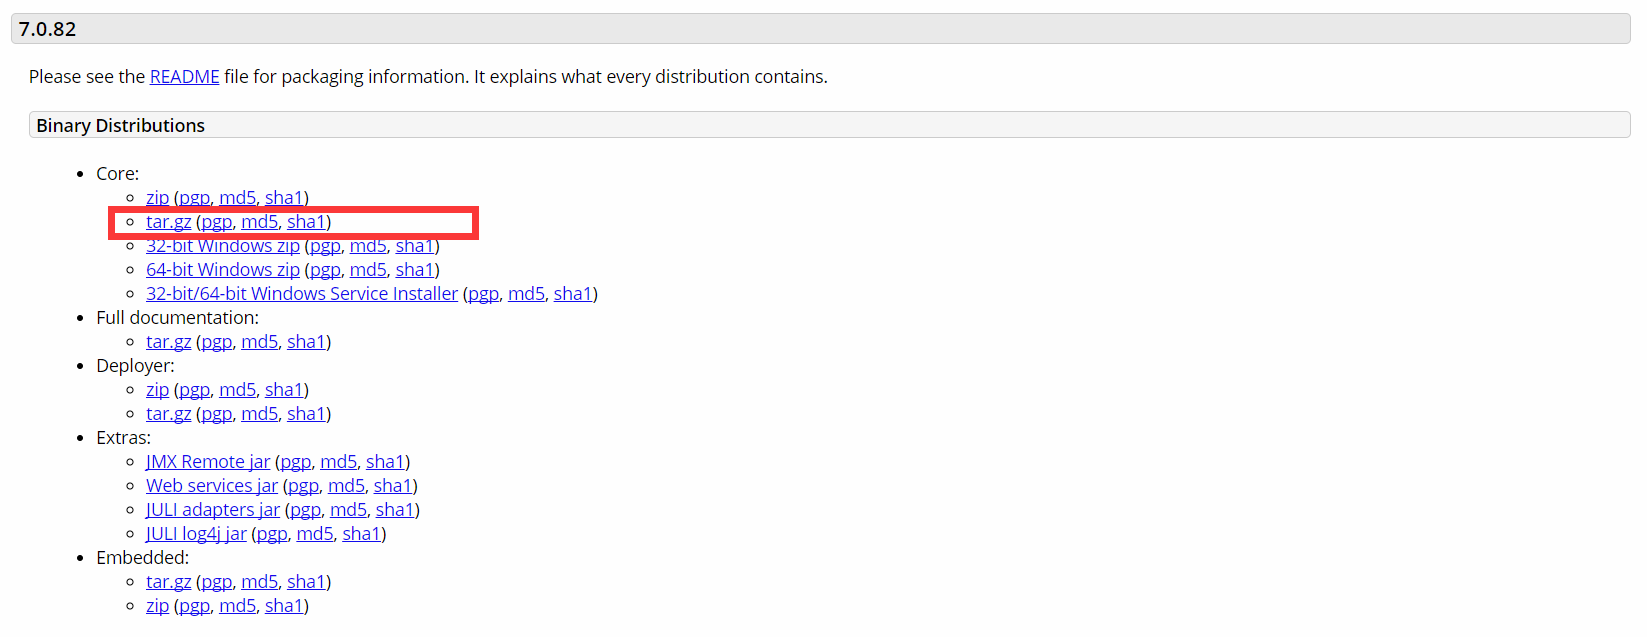
2. 下载Tomcat 7.0.x版本
注:为了方便管理,创建一个文件夹专门放所需软件
    [root@localhost /]# mkdir developer
    [root@localhost /]# cd developer
2.1 下载Tomcat
[root@localhost developer]# wget http://mirrors.hust.edu.cn/apache/tomcat/tomcat-7/v7.0.79/bin/apache-tomcat-7.0.79.tar.gz
Tomcat下载的官网url:
https://tomcat.apache.org/download-70.cgi
2.2 解压Tomcat
[root@localhost developer]# tar -zxvf apache-tomcat-7.079.tar.gz
3. 配置环境并验证
3.1 配置Tomcat的环境变量
[root@localhost developer]# vim /etc/profile
在文本末最后一行添加如下代码:
export CATALINA_HOME=/developer/apache-tomcat-7.0.79
export PATH=$PATH:$CATALINA_HOME/bin
保存退出。
3.2 使配置立即生效
[root@localhost developer]# source /etc/profile
3.3 启动Tomcat
    [root@localhost developer]# cd apache-tomcat-7.0.79
    [root@localhost apache-tomcat-7.0.79]# ./bin/startup.sh
3.4 验证Tomcat是否成功
    [root@localhost apache-tomcat-7.0.79]# ifconfig
          Link encap:Ethernet  HWaddr 00:16:3E:30:F0:D0
          inet addr:172.17.44.141  Bcast:172.17.47.255  Mask:255.255.240.0
          UP BROADCAST RUNNING MULTICAST  MTU:1500  Metric:1
          RX packets:2112785 errors:0 dropped:0 overruns:0 frame:0
          TX packets:1543924 errors:0 dropped:0 overruns:0 carrier:0
          collisions:0 txqueuelen:1000
          RX bytes:634155757 (604.7 MiB)  TX bytes:1117403868 (1.0 GiB)
打开浏览器,输入ip:8080,比如我的ip是172.17.44.141,所以浏览器中输入172.17.44.141:8080,
出现tomcat页面就算成功!


 369
369


 被折叠的 条评论
为什么被折叠?
被折叠的 条评论
为什么被折叠?
 到【灌水乐园】发言


