


在成功安装了Nginx之后,本文介绍Nginx的几个基本操作:启动、停止、重启、信号控制
Nginx的启动:
命令格式: nginx地址 -c nginx配置文件地址
下面是我的电脑上的操作过程。注意启动需要su权限。
[neil@neilhost ~]$ cd /usr/local/nginx/sbin
[neil@neilhost sbin]$ ll
总用量 3260
-rwxr-xr-x. 1 root root 3334713 3月   3 13:36 nginx
[neil@neilhost sbin]$ sudo /usr/local/nginx/sbin/nginx -c /usr/local/nginx/conf/nginx.conf
[sudo] password for neil:
[neil@neilhost sbin]$
有没有启动成功呢?验证方法有三种:
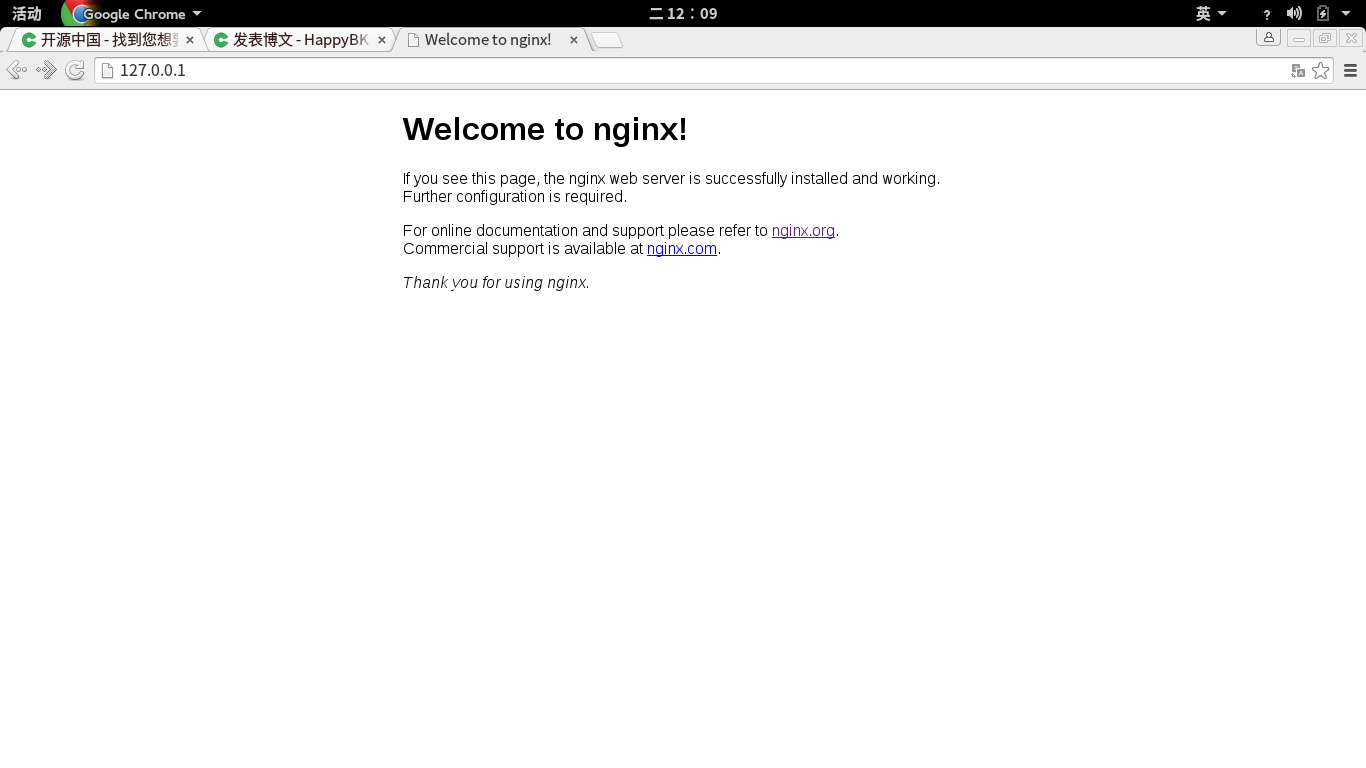
验证方法1:打开浏览器,访问127.0.0.1,如过你是远程访问的服务器或者虚拟机,使用对应的IP地址。nginx默认的端口号设置就是80。
验证方法2:查看nginx的进程是否存在
[neil@neilhost sbin]$ pstree -p | grep nginx
           |-nginx(3675)---nginx(3676)
[neil@neilhost sbin]$
可以看到,系统的的PID为3675的进程就是nginx,说明nginx已经成功启动。
(本文出自oschina和HappyBKs 文章:http://my.oschina.net/happyBKs/blog/632771)
验证方法3:查看80号端口被什么程序占用,是不是nginx
[neil@neilhost sbin]$ sudo netstat -tunpl | grep 80
[sudo] password for neil:
tcp        0      0 0.0.0.0:80              0.0.0.0:*               LISTEN      3675/nginx: master
udp        0      0 0.0.0.0:59251           0.0.0.0:*                           3180/dhclient
udp        0      0 0.0.0.0:68              0.0.0.0:*                           3180/dhclient
udp6       0      0 :::58294                :::*                                3180/dhclient
[neil@neilhost sbin]$
可以看到,80端口的监听中的程序正式nginx
Nginx的停止:
Nginx的停止有三种不同的停止方法:从容停止,快速停止,强制停止
(1)从容停止:首先,需要获取nginx的主进程master process的ID号;然后,用-QUIT参数作为从容停止的类型标注来停止
[neil@neilhost sbin]$ ps -ef | grep nginx
root      3675     1  0 12:08 ?        00:00:00 nginx: master process /usr/local/nginx/sbin/nginx -c /usr/local/nginx/conf/nginx.conf
nobody    3676  3675  0 12:08 ?        00:00:00 nginx: worker process
neil      3855  3598  0 12:41 pts/0    00:00:00 grep --color=auto nginx
[neil@neilhost sbin]$ kill -QUIT 3675
bash: kill: (3675) - 不允许的操作
[neil@neilhost sbin]$ sudo kill -QUIT 3675
[sudo] password for neil:
[neil@neilhost sbin]$
[neil@neilhost sbin]$ ps -ef | grep nginx
neil      3877  3598  0 12:42 pts/0    00:00:00 grep --color=auto nginx
[neil@neilhost sbin]$
这里可以看到,原先的nginx主进程已经关闭,剩余的那个3877进程是nginx的开机自动启动服务,它不隶属于nginx主进程,所以依然存在,但是nginx服务器本身已经成功关闭。
不信,请再访问一下浏览器:

(2)快速停止:步骤与从容停止类似,只是用于停止的信号量参数不同。并且,快速停止的信号量参数有两个,-TERM和-INT,两个都能表示快速停止,用哪个都可以。
[neil@neilhost sbin]$ sudo /usr/local/nginx/sbin/nginx -c /usr/local/nginx/conf/nginx.conf
[sudo] password for neil:
[neil@neilhost sbin]$ pstree -p | grep nginx
           |-nginx(4242)---nginx(4243)
[neil@neilhost sbin]$ ps -ef | grep nginx
root      4242     1  0 13:18 ?        00:00:00 nginx: master process /usr/local/nginx/sbin/nginx -c /usr/local/nginx/conf/nginx.conf
nobody    4243  4242  0 13:18 ?        00:00:00 nginx: worker process
neil      4283  3598  0 13:22 pts/0    00:00:00 grep --color=auto nginx
[neil@neilhost sbin]$ sudo kill -TERM 4242
[sudo] password for neil:
[neil@neilhost sbin]$ ps -ef | grep nginx
neil      4307  3598  0 13:25 pts/0    00:00:00 grep --color=auto nginx
[neil@neilhost sbin]$
(3) 强制停止:所谓强制停止,就是不管现在的nginx是否真的允许被停止掉,我们都要强制将其停止。
用的命令是pkill -9
这里需要注意的是,这里的命令是pkill,而不是kill,效果上的不同我会在下面的实际操作中做个比较。-9参数不用我多说了,那是“绝杀”
[neil@neilhost sbin]$ sudo /usr/local/nginx/sbin/nginx -c /usr/local/nginx/conf/nginx.conf
[neil@neilhost sbin]$ pstree -p | grep nginx
           |-nginx(4331)---nginx(4332)
[neil@neilhost sbin]$ ps -ef | grep nginx
root      4331     1  0 13:28 ?        00:00:00 nginx: master process /usr/local/nginx/sbin/nginx -c /usr/local/nginx/conf/nginx.conf
nobody    4332  4331  0 13:28 ?        00:00:00 nginx: worker process
neil      4342  3598  0 13:28 pts/0    00:00:00 grep --color=auto nginx
[neil@neilhost sbin]$ sudo kill -9 nginx
[neil@neilhost sbin]$ ps -ef | grep nginx
nobody    4332     1  0 13:28 ?        00:00:00 nginx: worker process
neil      4353  3598  0 13:29 pts/0    00:00:00 grep --color=auto nginx
[neil@neilhost sbin]$
[neil@neilhost sbin]$
[neil@neilhost sbin]$
[neil@neilhost sbin]$
[neil@neilhost sbin]$
[neil@neilhost sbin]$ sudo /usr/local/nginx/sbin/nginx -c /usr/local/nginx/conf/nginx.conf
nginx: [emerg] bind() to 0.0.0.0:80 failed (98: Address already in use)
nginx: [emerg] bind() to 0.0.0.0:80 failed (98: Address already in use)
nginx: [emerg] bind() to 0.0.0.0:80 failed (98: Address already in use)
nginx: [emerg] bind() to 0.0.0.0:80 failed (98: Address already in use)
nginx: [emerg] bind() to 0.0.0.0:80 failed (98: Address already in use)
nginx: [emerg] still could not bind()
[neil@neilhost sbin]$ sudo pkill -9 nginx
[neil@neilhost sbin]$ ps -ef | grep nginx
neil      4387  3598  0 13:30 pts/0    00:00:00 grep --color=auto nginx
[neil@neilhost sbin]$
从上面的例子可以看到,kill -9 只能将nginx的主进程杀死,但无法杀死其工作进程。并且,此时,如果想开启nginx也是不被允许的;所以正确的强制停止的命令应该是pkill -9 nginx
Nginx的重启:
什么时候我们需要重启Nginx?很多时候都有重启Nginx的必要。比如,当Nginx的配置文件被更改,需要通过重启Nginx来使得配置更改生效。这一点到和Tomcat十分相似。
这里,我们就假设我们的应用场景是在修改过配置文件之后需要重启nginx。这时候,我们正确的操作步骤不是立即执行重启命令,而是应该对配置文件进行测试,看其是否符合语法通过检测。命令如下:哪一种都可以。
[neil@neilhost sbin]$ sudo /usr/local/nginx/sbin/nginx -t
[sudo] password for neil:
nginx: the configuration file /usr/local/nginx/conf/nginx.conf syntax is ok
nginx: configuration file /usr/local/nginx/conf/nginx.conf test is successful
[neil@neilhost sbin]$
[neil@neilhost sbin]$ sudo /usr/local/nginx/sbin/nginx -t -c /usr/local/nginx/conf/nginx.conf
nginx: the configuration file /usr/local/nginx/conf/nginx.conf syntax is ok
nginx: configuration file /usr/local/nginx/conf/nginx.conf test is successful
[neil@neilhost sbin]$
[neil@neilhost sbin]$ sudo ./nginx -t
nginx: the configuration file /usr/local/nginx/conf/nginx.conf syntax is ok
nginx: configuration file /usr/local/nginx/conf/nginx.conf test is successful
[neil@neilhost sbin]$
下面,我们开始重启nginx。命令是./nginx -s reload
但是,这里有几个地方需要注意,先看看我的操作示例。
[neil@neilhost sbin]$ sudo /usr/local/nginx/sbin/nginx -s reload
nginx: [alert] kill(4331, 1) failed (3: No such process)
[neil@neilhost sbin]$ sudo /usr/local/nginx/sbin/nginx -c /usr/local/nginx/conf/nginx.conf
[neil@neilhost sbin]$ ps -ef | grep nginx
root      4531     1  0 13:53 ?        00:00:00 nginx: master process /usr/local/nginx/sbin/nginx -c /usr/local/nginx/conf/nginx.conf
nobody    4532  4531  0 13:53 ?        00:00:00 nginx: worker process
neil      4537  3598  0 13:53 pts/0    00:00:00 grep --color=auto nginx
[neil@neilhost sbin]$ sudo /usr/local/nginx/sbin/nginx -s reload
[neil@neilhost sbin]$
[neil@neilhost sbin]$ ps -ef | grep nginx
root      4531     1  0 13:53 ?        00:00:00 nginx: master process /usr/local/nginx/sbin/nginx -c /usr/local/nginx/conf/nginx.conf
nobody    4544  4531  0 13:53 ?        00:00:00 nginx: worker process
neil      4552  3598  0 13:54 pts/0    00:00:00 grep --color=auto nginx
[neil@neilhost sbin]$
[neil@neilhost sbin]$
[neil@neilhost sbin]$
[neil@neilhost sbin]$
[neil@neilhost sbin]$
[neil@neilhost sbin]$
[neil@neilhost sbin]$ pstree -p | grep nginx
           |-nginx(4531)---nginx(4544)
[neil@neilhost sbin]$
[neil@neilhost sbin]$ sudo /usr/local/nginx/sbin/nginx -s reload
[neil@neilhost sbin]$ pstree -p | grep nginx
           |-nginx(4531)---nginx(4587)
[neil@neilhost sbin]$
[neil@neilhost sbin]$
[neil@neilhost sbin]$ sudo /usr/local/nginx/sbin/nginx -s reload
[neil@neilhost sbin]$
[neil@neilhost sbin]$ pstree -p | grep nginx
           |-nginx(4531)---nginx(4604)
[neil@neilhost sbin]$
[neil@neilhost sbin]$
(a)重启nginx,必须是在nginx已经启动的情况写下进行的。否则,会重启失败。
(b)重启 不等于 关闭+启动 !!!!
通过上面的例子就可以清楚地看到:虽然重启了多次,但是nginx的主进程号在第一次启动后就没有改变过,无论后面重启了的多少次,主进程ID都是4531,重启改变的只有工作进程的ID。着说明了什么自己细细回味吧。
如果是自己“关闭+启动”n次,那么nginx的主进程和工作进程的ID号一定都在变化。
重启有两种方法,除了上面的方法外,还有一种利用信号的方式。kill -HUP
[neil@neilhost sbin]$ sudo kill -HUP 4531
[sudo] password for neil:
[neil@neilhost sbin]$
[neil@neilhost sbin]$ pstree -p | grep nginx
           |-nginx(4531)---nginx(4867)
[neil@neilhost sbin]$ ps -ef | grep nginx
root      4531     1  0 13:53 ?        00:00:00 nginx: master process /usr/local/nginx/sbin/nginx -c /usr/local/nginx/conf/nginx.conf
nobody    4867  4531  0 14:08 ?        00:00:00 nginx: worker process
neil      4880  3598  0 14:08 pts/0    00:00:00 grep --color=auto nginx
[neil@neilhost sbin]$
[neil@neilhost sbin]$ sudo kill -HUP 4531
[neil@neilhost sbin]$
[neil@neilhost sbin]$ pstree -p | grep nginx
           |-nginx(4531)---nginx(4889)
[neil@neilhost sbin]$
[neil@neilhost sbin]$ sudo kill -HUP 4531
[neil@neilhost sbin]$ pstree -p | grep nginx
           |-nginx(4531)---nginx(4906)
[neil@neilhost sbin]$
同样,这种方法下,nginx重启后主进程ID依然不变,改变的惟有工作进程ID。
Nginx的信号控制
好,以上就是nginx的启动、关闭、重启的操作方法。我们可以可看到,在关闭的三种方式和重启的最后一种方式中,我们使用的都是信号控制的方法。这里,本文会对信号控制的相关内容做一个简单的集中介绍。
| 信号量 | 含义 |
| HUP | 重启 |
| QUIT | 从容停止 |
| TERM | 快速停止 |
| INT | 快速停止 |
| USR1 | 切换日志文件 |
| USR2 | 平滑升级可执行进程 |
| WINCH | 从容关闭工作进程 |
这里,我分别说一下,比如INT和TERM两个快速关闭的含义。
INT(快速关闭)----是当用户键入<Control-C>时由终端驱动程序发送的信号。这是一个终止当前操作的请求,如果捕获了这个信号,一些简单的程序应该退出,或者允许自给被终止,这也是程序没有捕获到这个信号时的默认处理方法。拥有命令行或者输入模式的那些程序应该停止它们在做的事情,清除状态,并等待用户的再次输入。
TERM(快速关闭)----是请求彻底终止某项执行操作,它期望接收进程清除自给的状态并退出。
HUP: 平滑启动。如果想要更改配置而不需停止并重新启动服务,请使用该命令。在对配置文件作必要的更改后,发出该命令以动态更新服务配置。
QUIT:从容关闭。
由原以上几个信号已经在前面的关闭和重启操作重介绍过,这里不再累述。
USER1和USER2,命令调用的方式就是 kill -USER1 进程号和 kill -USER2 进程号。具体在实际情况怎么使用,我们放到后面的文章中介绍。这里,本文只介绍WINCH。
kill -WINCH的功能是从容关闭工作进程。但是,kill -WINCH后面需要跟的nginx的主进程号。它所做的是关闭特定进程号的主进程的下属的工作进程。具体看例子:
[neil@neilhost sbin]$ pstree -p | grep nginx
           |-nginx(4531)---nginx(4906)
[neil@neilhost sbin]$ ps -ef | grep nginx
root      4531     1  0 13:53 ?        00:00:00 nginx: master process /usr/local/nginx/sbin/nginx -c /usr/local/nginx/conf/nginx.conf
nobody    4906  4531  0 14:08 ?        00:00:00 nginx: worker process
neil      5058  3598  0 14:32 pts/0    00:00:00 grep --color=auto nginx
[neil@neilhost sbin]$
[neil@neilhost sbin]$ sudo kill -WINCH 4531
[sudo] password for neil:
[neil@neilhost sbin]$
[neil@neilhost sbin]$ pstree -p | grep nginx
           |-nginx(4531)
[neil@neilhost sbin]$ ps -ef | grep nginx
root      4531     1  0 13:53 ?        00:00:00 nginx: master process /usr/local/nginx/sbin/nginx -c /usr/local/nginx/conf/nginx.conf
neil      5092  3598  0 14:34 pts/0    00:00:00 grep --color=auto nginx
[neil@neilhost sbin]$


 969
969


 被折叠的 条评论
为什么被折叠?
被折叠的 条评论
为什么被折叠?
 到【灌水乐园】发言


