


Spring Cloud Consul
简介
consul是google开源的一个使用go语言开发的服务发现、配置管理中心服务。内置了服务注册与发现框 架、分布一致性协议实现、健康检查、Key/Value存储、多数据中心方案,不再需要依赖其他工具(比如ZooKeeper等)。服务部署简单,只有一个可运行的二进制的包。每个节点都需要运行agent,他有两种运行模式server和client。每个数据中心官方建议需要3或5个server节点以保证数据安全,同时保证server-leader的选举能够正确的进行。
Consul的安装
1.安装
mkdir -p /opt/consul
cd /opt/consul/
wget https://releases.hashicorp.com/consul/1.2.0/consul_1.2.0_linux_amd64.zip
unzip consul_1.2.0_linux_amd64.zip
2.启动consul
mkdir -p /opt/consul/config
mkdir -p /opt/consul/data

#启用Gossip加密方式,只需要在启动Agent时设置加密密钥。通过encrypt参数设置密钥:设置的值是包含密钥的配置文件。

$ ./consul keygen
xZpdVT6DUTzQrYyf2B2uCQ==


vim /opt/consul/config/config.json


{
    "advertise_addr": "192.168.2.161",
    "bind_addr": "192.168.2.161",
    "client_addr": "0.0.0.0",
    "domain": "consul",
    "bootstrap_expect": 3,
    "server": true,
    "datacenter": "dc1",
    "data_dir": "/opt/consul/data",
    "encrypt": "xZpdVT6DUTzQrYyf2B2uCQ==",
    "ui": true,
    "enable_syslog": true,
    "performance": {
      "raft_multiplier": 1
    },
    "dns_config": {
        "allow_stale": true,
        "max_stale": "15s"
    },
    "retry_join": [
        "192.168.2.162",
        "192.168.2.163"
    ],
    "retry_interval": "10s",
    "skip_leave_on_interrupt": true,
    "leave_on_terminate": false,
    "rejoin_after_leave": true
}


#启动节点1(server模式)
nohup ./consul agent -config-dir /opt/consul/config -node node1 &
| 命令 | 解释 | 示例 |
|---|---|---|
| agent | 运行一个consul agent | consul agent -dev |
| join | 将agent加入到consul集群 | consul join IP |
| members | 列出consul cluster集群中的members | consul members |
| leave | 将节点移除所在集群 | consul leave |
consul agent 命令的常用选项
-data-dir 作用:指定agent储存状态的数据目录,这是所有agent都必须的,对于server尤其重要,因为他们必须持久化集群的状态
-config-dir 作用:指定service的配置文件和检查定义所在的位置,通常会指定为”某一个路径/consul.d”(通常情况下,.d表示一系列配置文件存放的目录)
-config-file 作用:指定一个要装载的配置文件,该选项可以配置多次,进而配置多个配置文件(后边的会合并前边的,相同的值覆盖)
-dev 作用:创建一个开发环境下的server节点,该参数配置下,不会有任何持久化操作,即不会有任何数据写入到磁盘,这种模式不能用于生产环境(因为第二条)
-bootstrap-expect 作用:该命令通知consul server我们现在准备加入的server节点个数,该参数是为了延迟日志复制的启动直到我们指定数量的server节点成功的加入后启动。
-node 作用:指定节点在集群中的名称,该名称在集群中必须是唯一的(默认采用机器的host),推荐:直接采用机器的IP
-bind 作用:指明节点的IP地址,有时候不指定绑定IP,会报Failed to get advertise address: Multiple private IPs found. Please configure one. 的异常
-server 作用:指定节点为server,每个数据中心(DC)的server数推荐至少为1,至多为5,所有的server都采用raft一致性算法来确保事务的一致性和线性化,事务修改了集群的状态,且集群的状态保存在每一台server上保证可用性,server也是与其他DC交互的门面(gateway)
-client 作用:指定节点为client,指定客户端接口的绑定地址,包括:HTTP、DNS、RPC,默认是127.0.0.1,只允许回环接口访问,若不指定为-server,其实就是-client
-join 作用:将节点加入到集群
-datacenter 作用:指定机器加入到哪一个数据中心中 -ui 作用:使得客户端可以直接通过url访问服务端的consul ui
#启动节点2-3(server模式)

#更改advertise_addr、bind_addr、retry_join 参数,启动节点2-3
nohup ./consul agent -config-dir /opt/consul/config -node node2 &

nohup ./consul agent -config-dir /opt/consul/config -node node3 &
打开浏览器,输入http://192.168.2.161:8500/ui/ 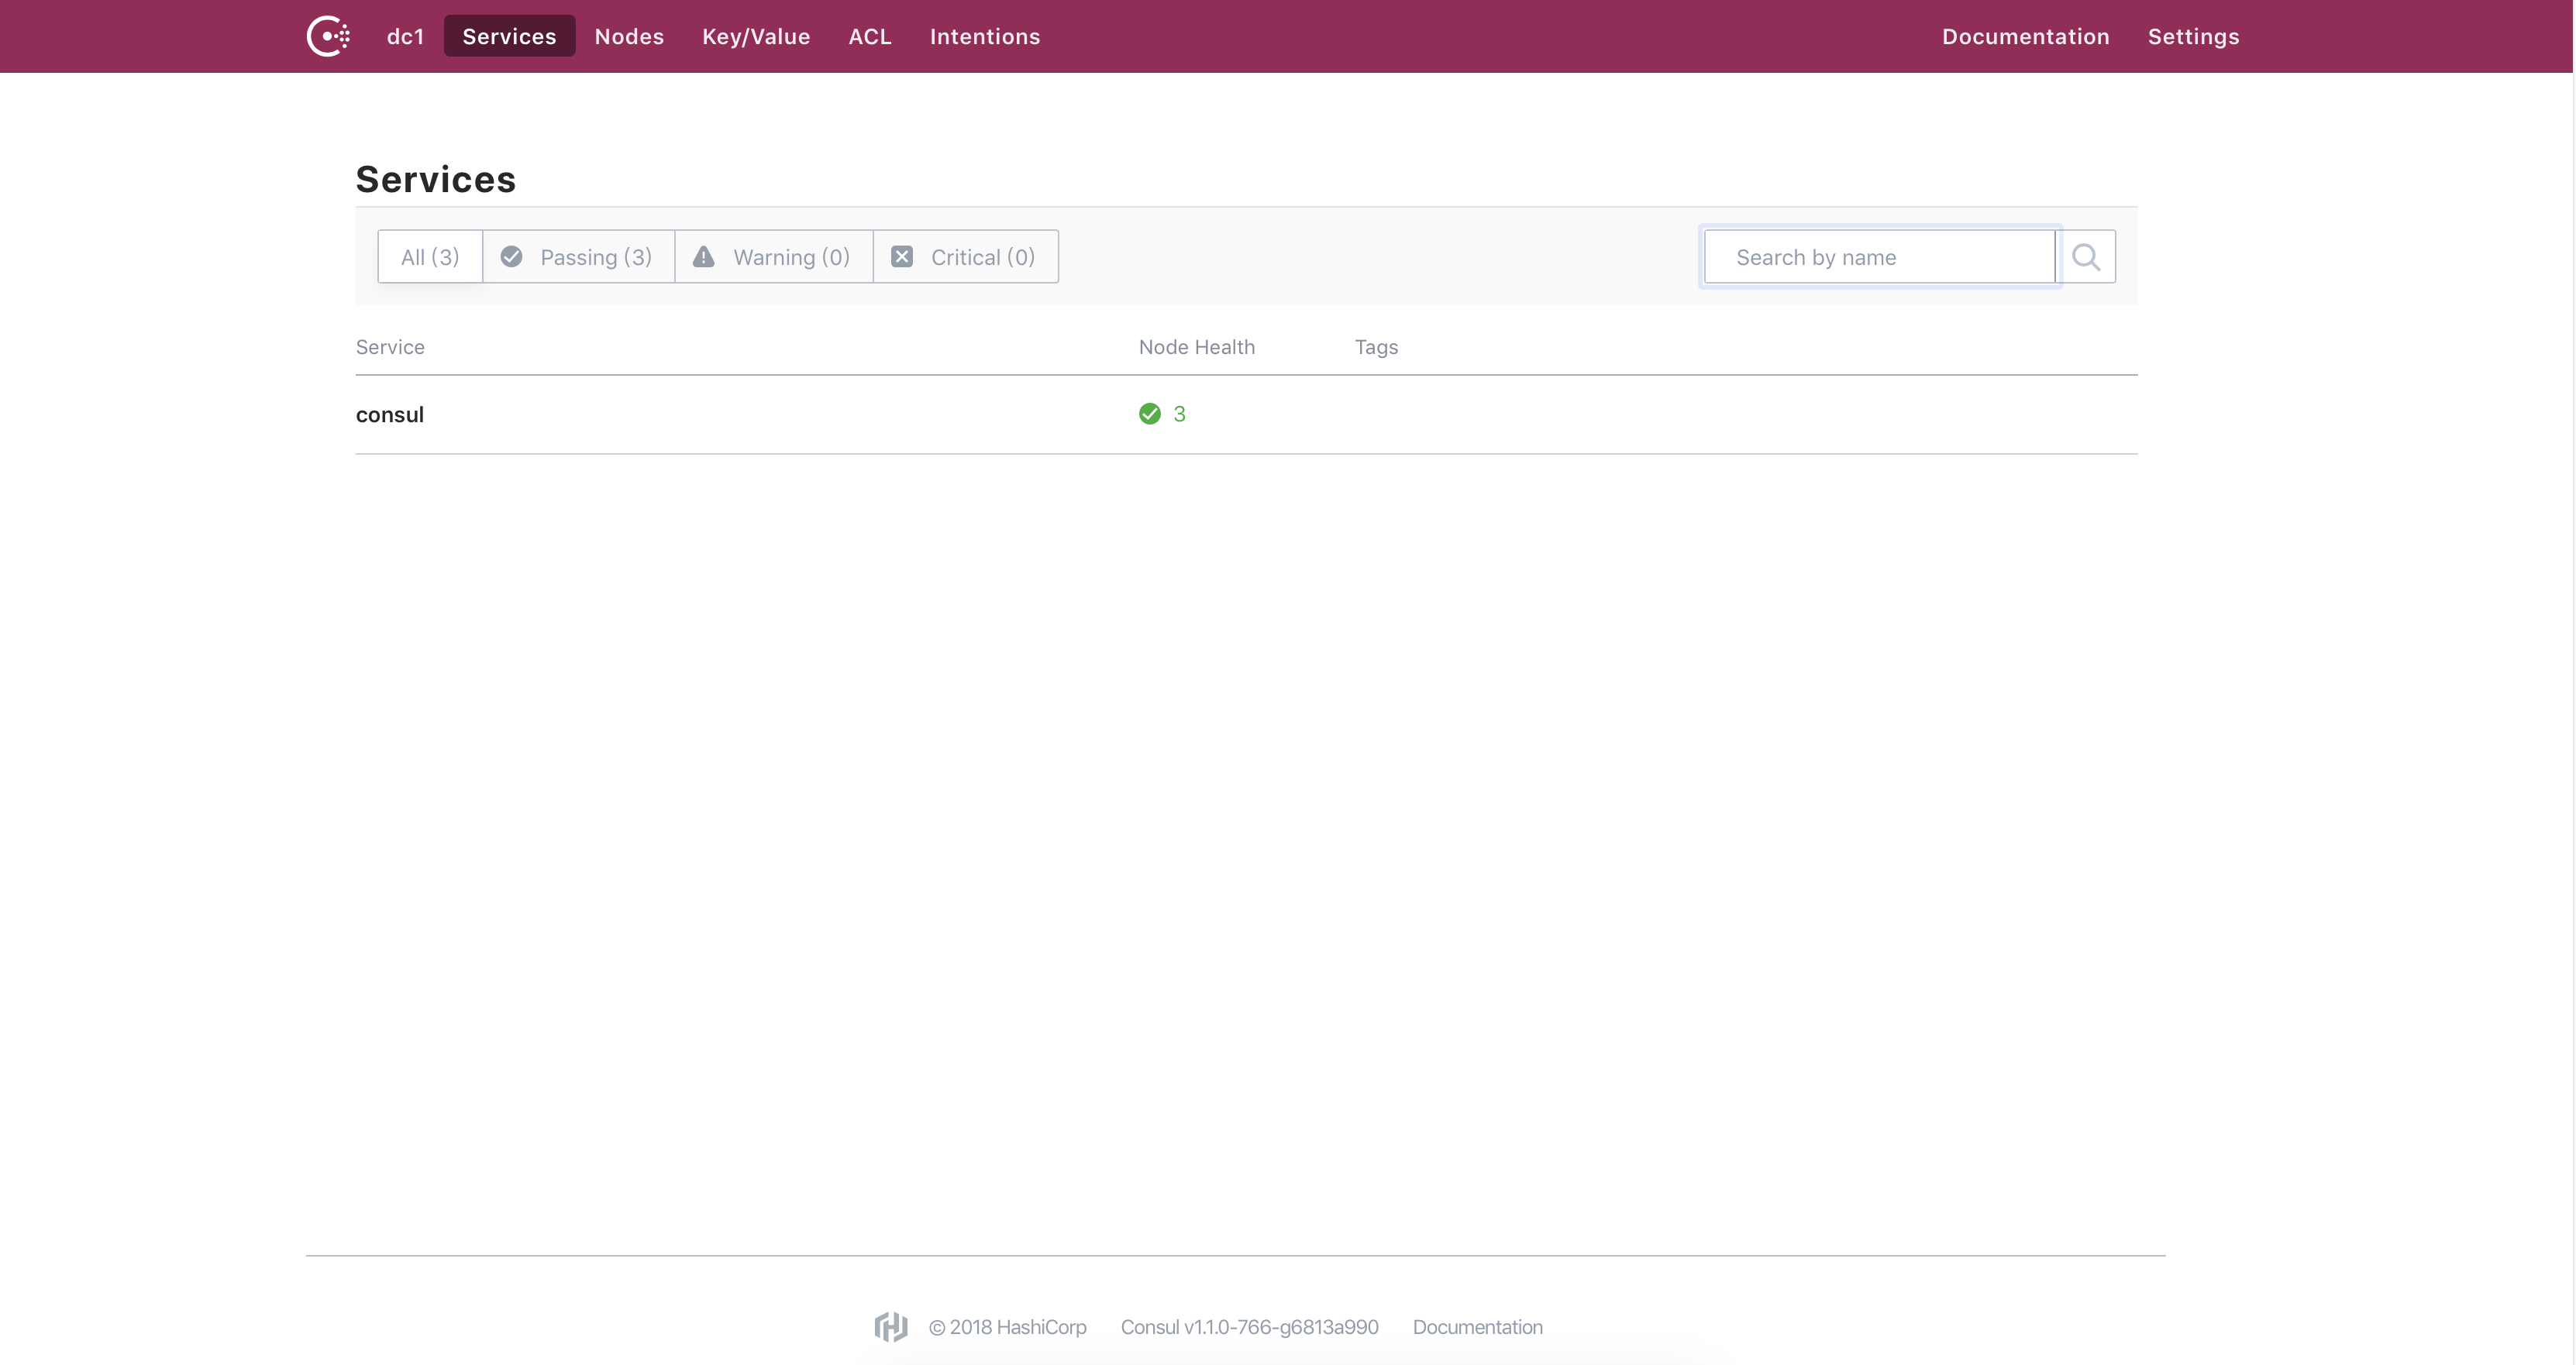
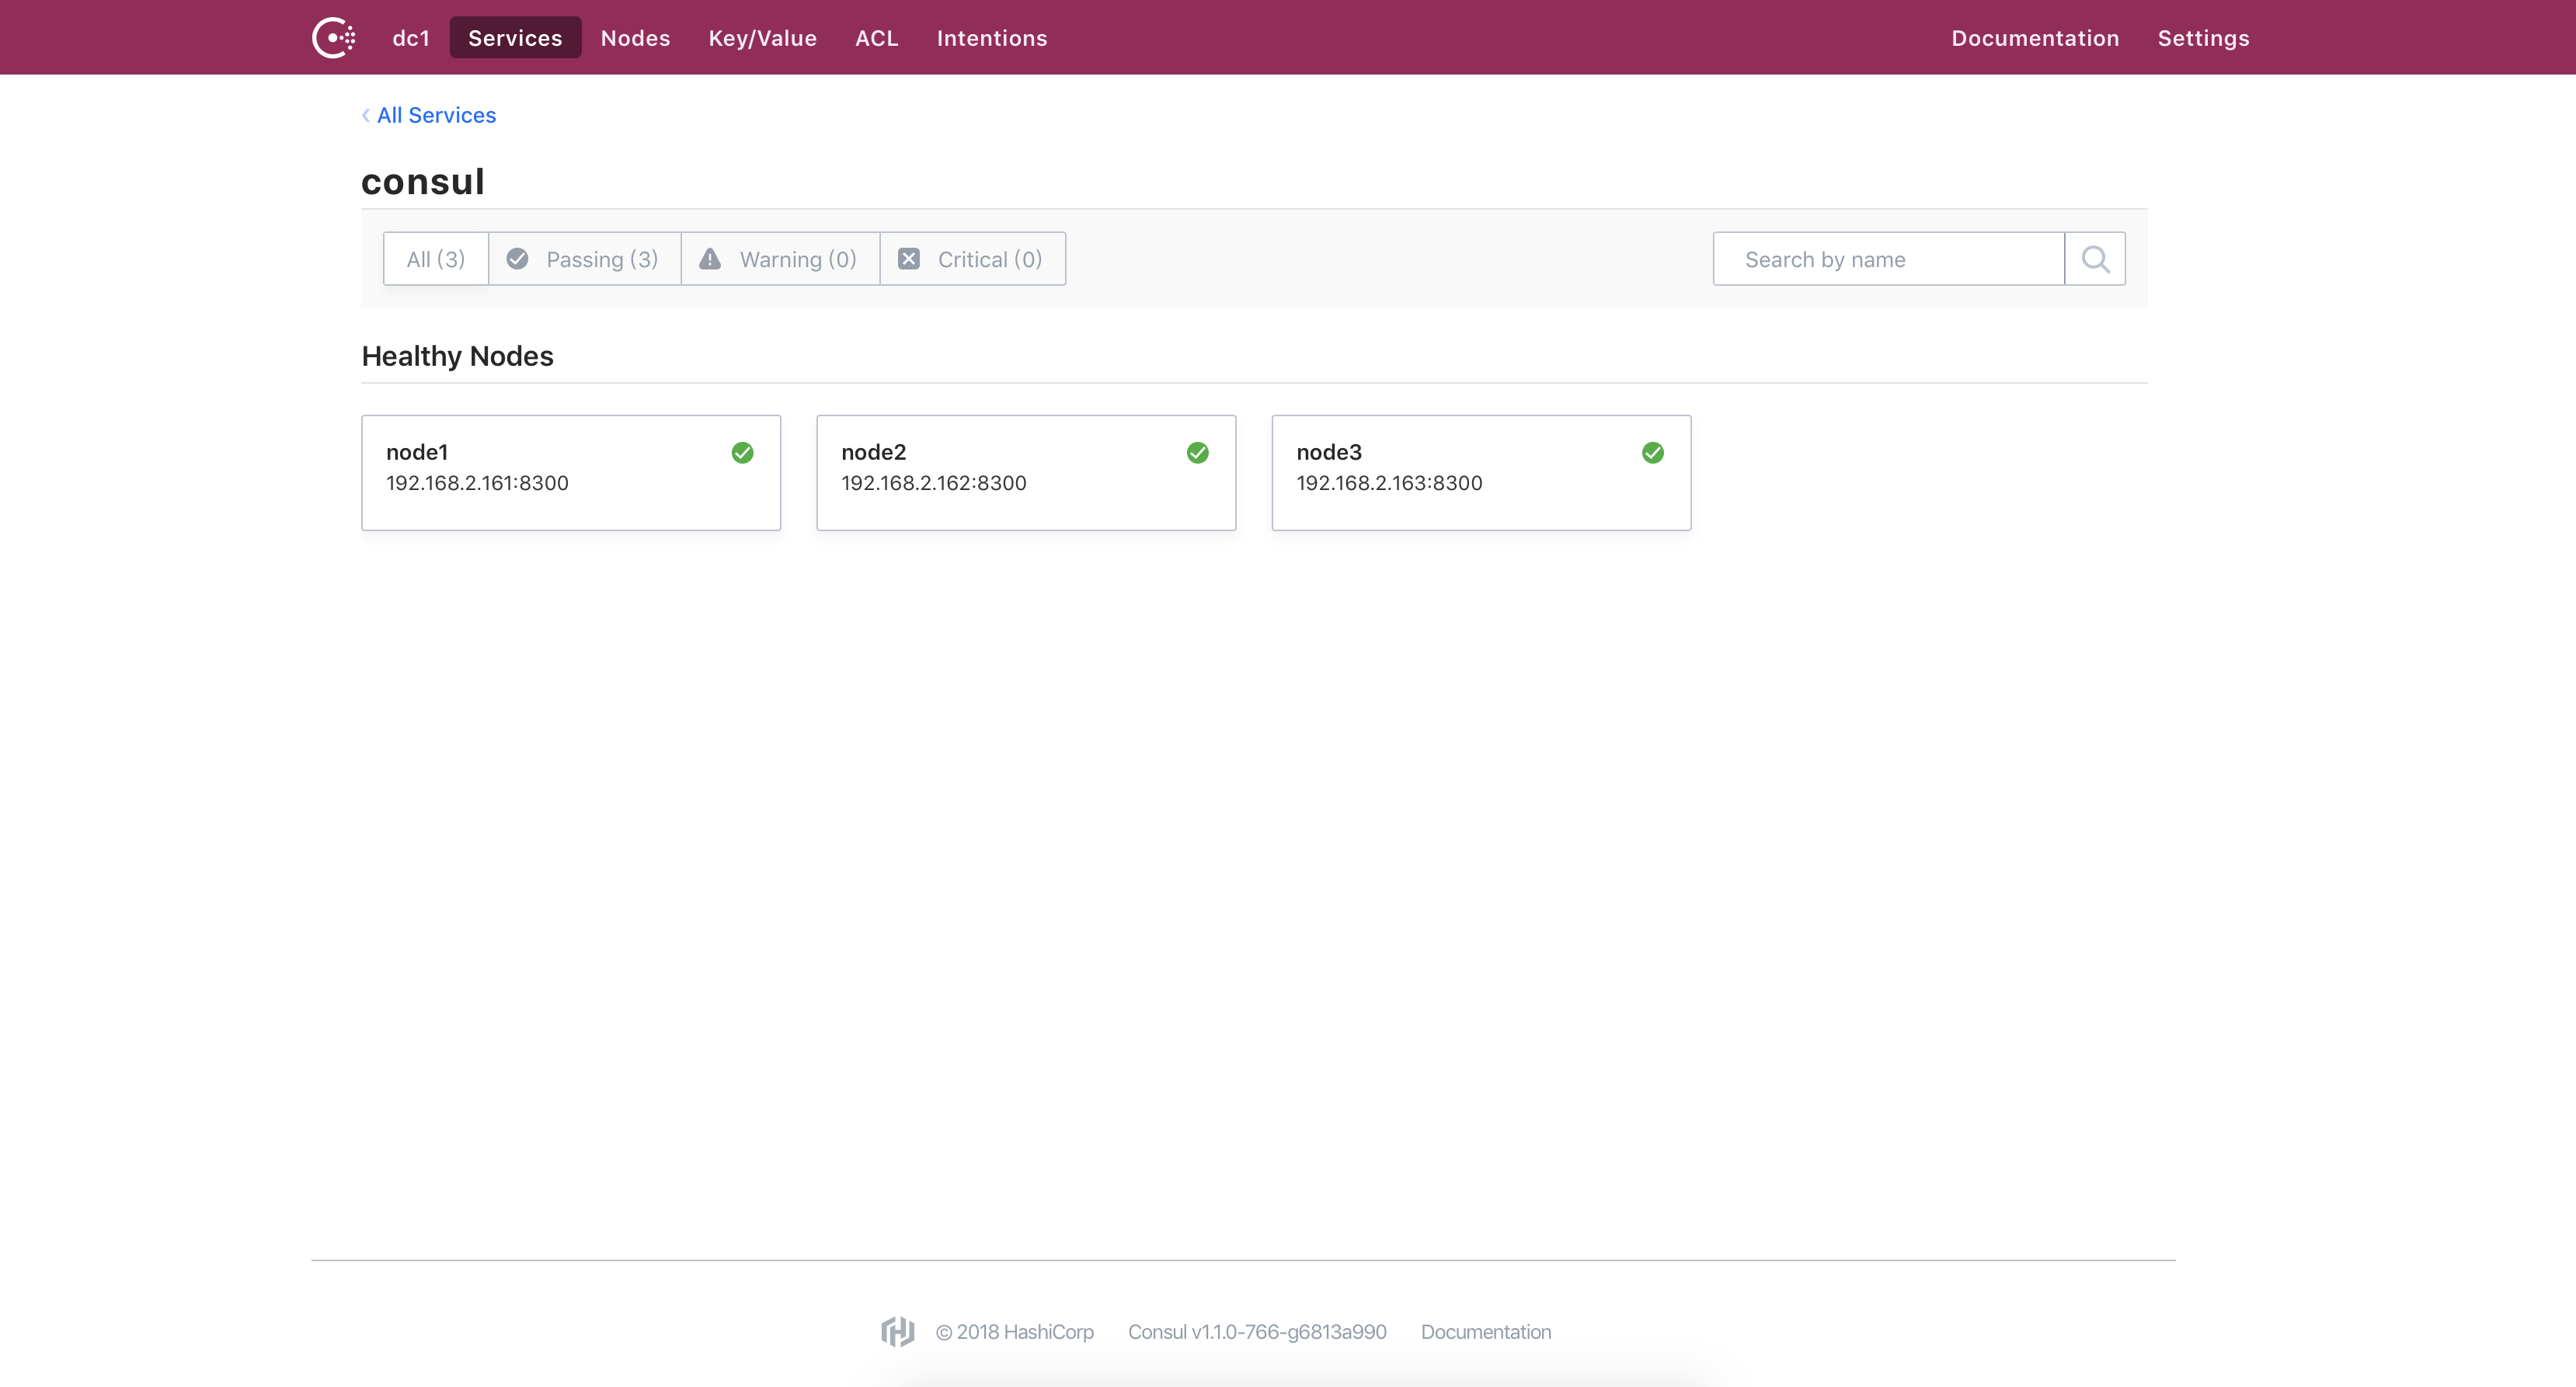
#查看下集群的状态
[root@node1 consul]# ./consul members
Node   Address             Status  Type    Build  Protocol  DC   Segment
node1  192.168.2.161:8301  alive   server  1.2.0  2         dc1  <all>
node2  192.168.2.162:8301  alive   server  1.2.0  2         dc1  <all>
node3  192.168.2.163:8301  alive   server  1.2.0  2         dc1  <all>
2.安装git2consul
原生的Consul不支持Git来做,需要借助Consul 社区提供的另外一个工程git2consul
配置如下:
{
    "version":"1.0",
    "local_store": "本地仓库备份地址",
    "logger":{
        "name":"git2consul",
        "streams":[
            {
                "level":"trace",
                "type":"rotating-file",
                "path":"生成日志路径/git2consul.log"
            }
        ]
    },
    "repos":[
        {
            "name":"pig-config",
            "url":"远程仓库地址",
            "include_branch_name" : true,  //分支信息是否包含到请求中,建议使用
            "branches":[
                "dev"
            ],
            "hooks":[
                {
                  "type" : "polling", //更新策略定时刷新的
                  "interval" : "1"   //1分钟
                }
            ]
        }
    ]
}
我的配置:
{
  "version": "1.0",
  "local_store": "/opt/git2consul/git2consul_cache",
  "logger" : {
    "name" : "git2consul",
    "streams" : [{
      "level": "trace",
      "stream": "process.stdout"
    },
    {
      "level": "debug",
      "type": "rotating-file",
      "path": "/opt/git2consul/logs/git2consul.log"
    }]
  },
  "repos" : [{
    "name" : "woqu_configuration",
    "url" : "https://github.com/zhangorrin/woqu.git",
    "branches" : ["master"],
    "hooks": [{
      "type" : "polling",
      "interval" : "1"
    }]
  }]
}
启动时候指定上边的脚本:
./git2consul --config-file git2consul.json
启动后可以在key/value中看到githup上的配置文件 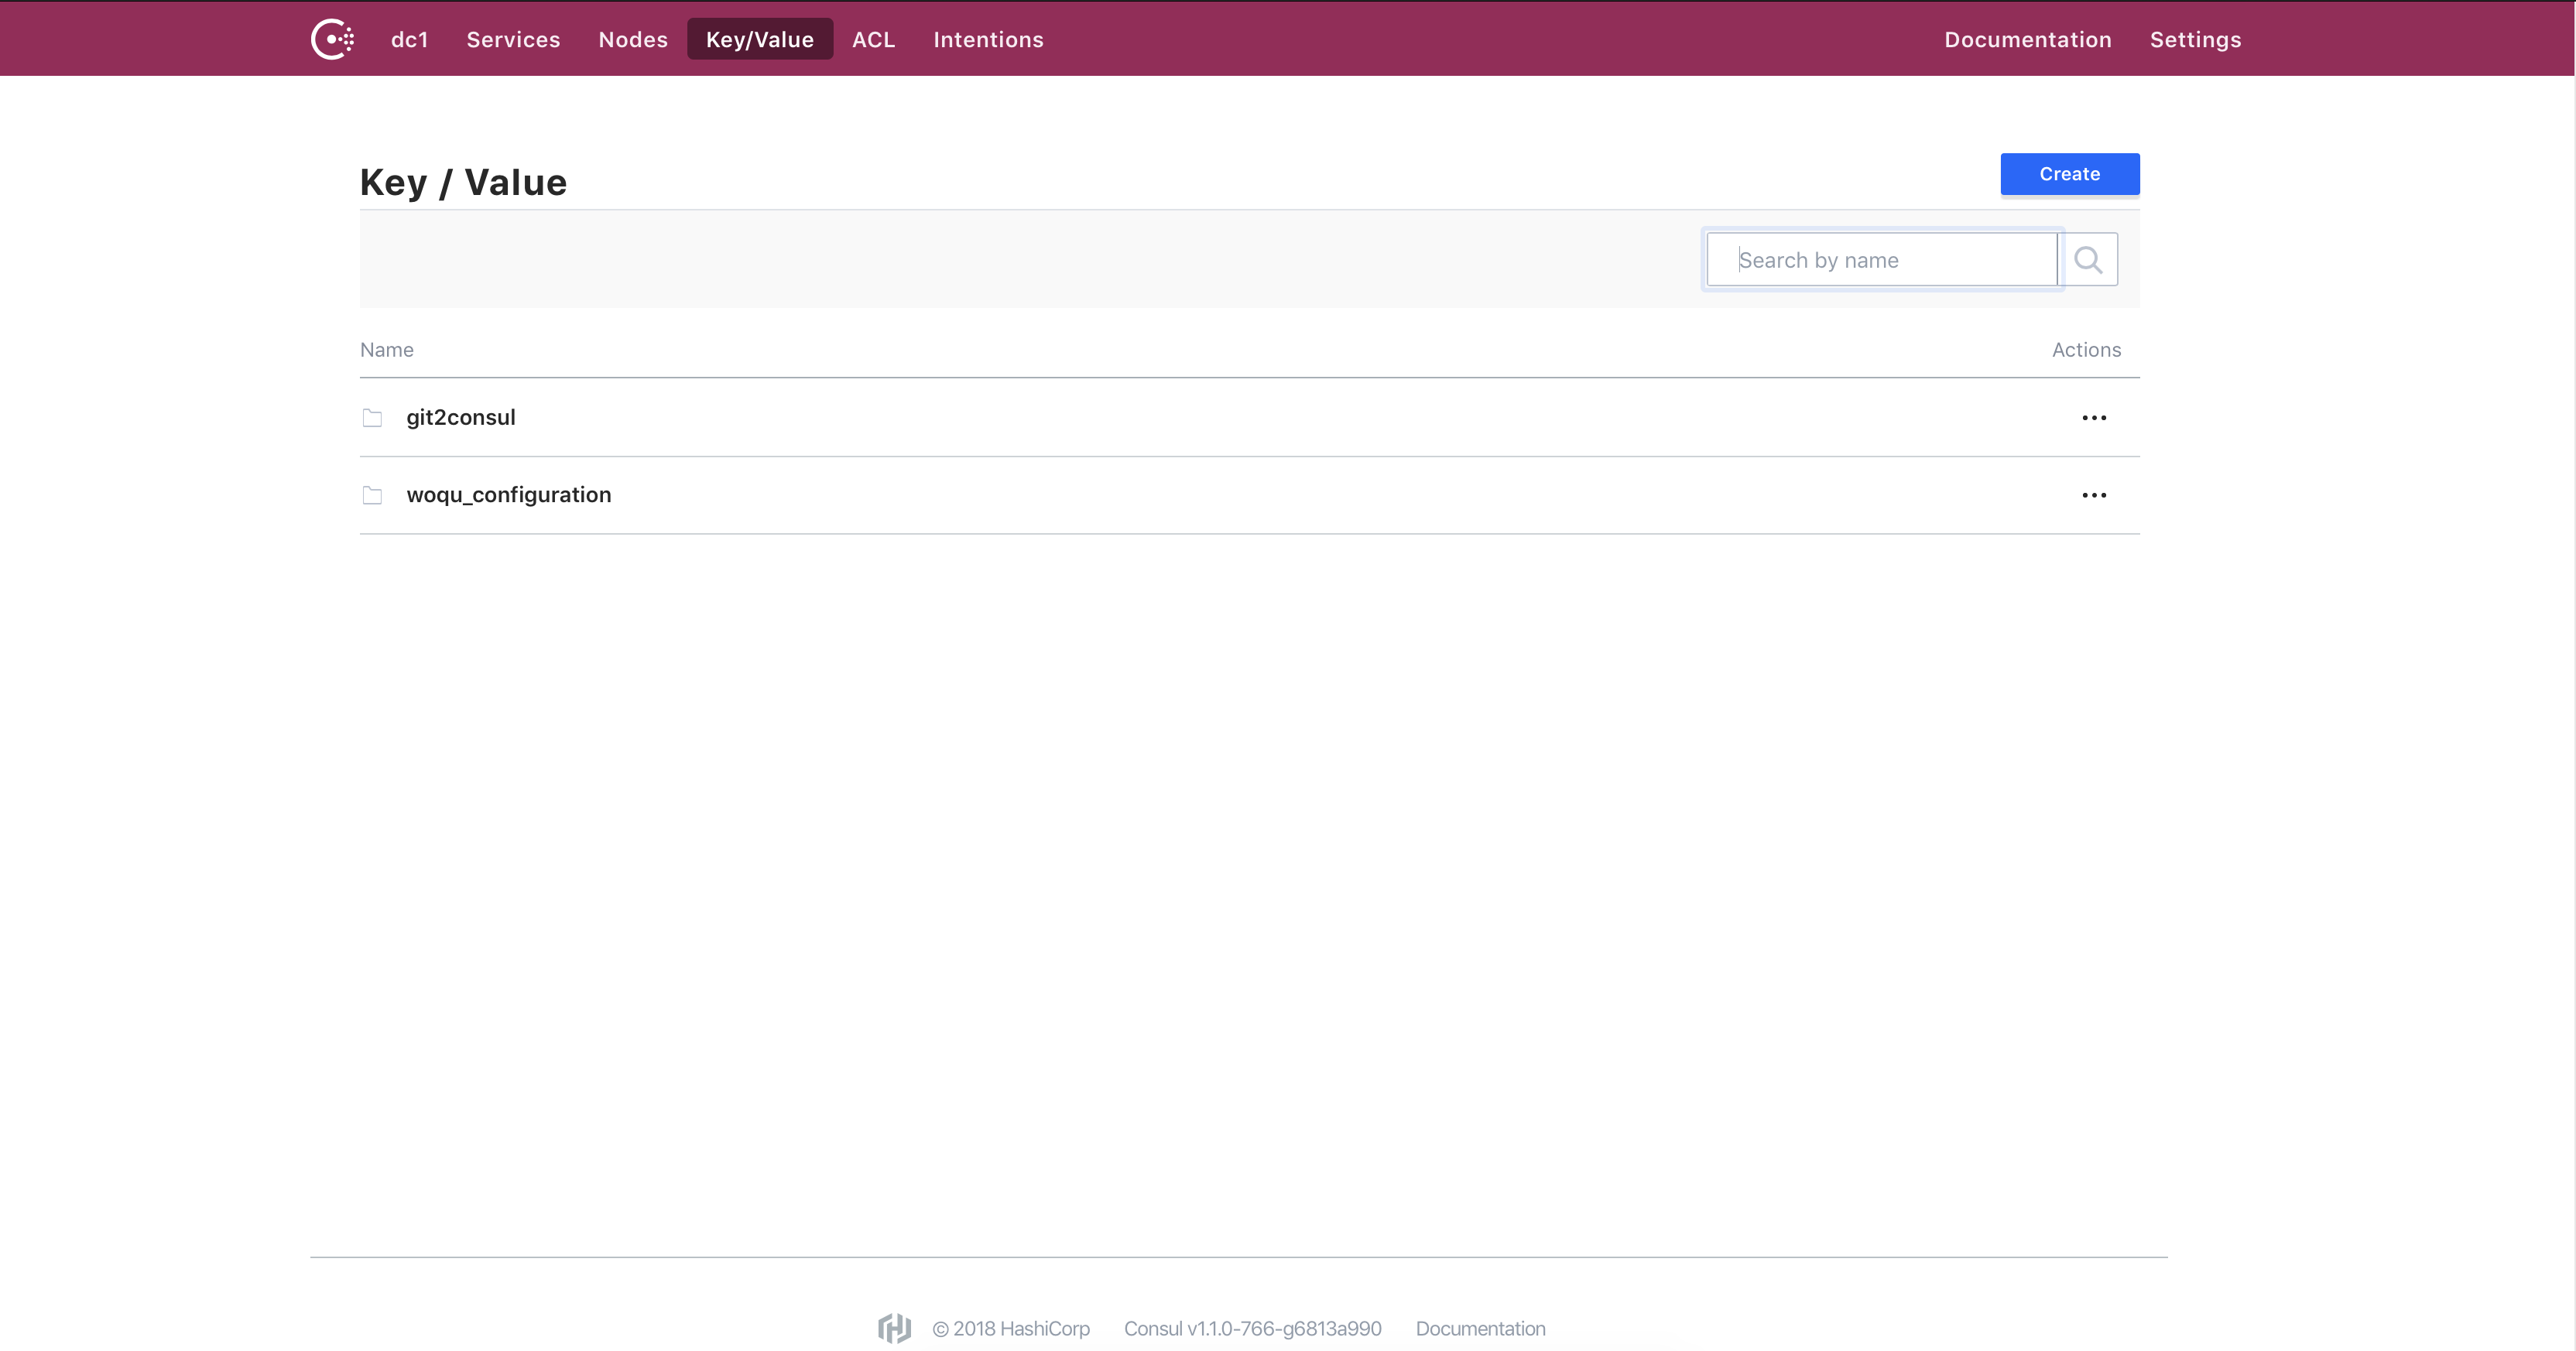
至此,consul服务端安装已经完成,后续在实际项目中讲解如何使用consul client


 546
546


 被折叠的 条评论
为什么被折叠?
被折叠的 条评论
为什么被折叠?
 到【灌水乐园】发言


