


Docker入门与实战——《Docker ABC》电子书 https://github.com/gudaoxuri/Docker_ABC
7. 进阶
本节我们以运行
Gitlab实例为例,进一步介绍Docker的常规使用。
上节MySQL是独立的镜像,没有依赖,但Gitlab会依赖数据库及缓存,我们看看容器间如何交互。Gitlab有官方镜像,但我更喜欢sameersbn的版本,这个版本介绍详细,并且作者一直在持续更新。 |
7.1. 获取Redis镜像并运行
root@ubuntu:~# docker pull redis
...
root@ubuntu:~# docker run --name gitlab-cache -d redis
a2c183f16cee0aa30eca8f27875d3770ac1291fc22b218d4b5e673ce604074c8
7.2. 获取MySQL镜像并运行
root@ubuntu:~# mkdir -p /opt/test/gitlab/db/   <1>
root@ubuntu:~# docker pull mysql...
root@ubuntu:~# docker run --name gitlab-db -e MYSQL_ROOT_PASSWORD=123456 -d -p 3307:3306 -v /opt/test/gitlab/db:/var/lib/mysql mysql:5.7
7c8110b8151e2ddbc67d2bb1d96a9cc24ef68546a885d065e78bd274775ec7f7| <1> | 创建数据库目录映射 |
7.3. 创建相应的数据库及权限
root@ubuntu:~# docker exec -it gitlab-db /bin/bash
root@7c8110b8151e:/# mysql -uroot -p123456
mysql: [Warning] Using a password on the command line interface can be insecure.
Welcome to the MySQL monitor.  Commands end with ; or \g.
Your MySQL connection id is 4
Server version: 5.7.9 MySQL Community Server (GPL)

Copyright (c) 2000, 2015, Oracle and/or its affiliates. All rights reserved.

Oracle is a registered trademark of Oracle Corporation and/or its
affiliates. Other names may be trademarks of their respective
owners.

Type 'help;' or '\h' for help. Type '\c' to clear the current input statement.

mysql> CREATE USER 'gitlab'@'%.%.%.%' IDENTIFIED BY 'password';
Query OK, 0 rows affected (0.00 sec)

mysql> CREATE DATABASE IF NOT EXISTS `gitlabhq_production` DEFAULT CHARACTER SET `utf8` COLLATE `utf8_unicode_ci`;
Query OK, 1 row affected (0.00 sec)

mysql> GRANT ALL PRIVILEGES ON `gitlabhq_production`.* TO 'gitlab'@'%.%.%.%';
Query OK, 0 rows affected (0.00 sec)

mysql> exit
Bye
root@7c8110b8151e:/# exit
exit
exec 表示进入一个运行中的容器 |
| MySQL中执行的语句见: https://hub.docker.com/r/sameersbn/gitlab/#external-mysql-server |
7.4. 获取Gitlab镜像
root@ubuntu:~# mkdir -p /opt/test/gitlab/data  <1>
root@ubuntu:~# docker pull sameersbn/gitlab| <1> | 创建GIT数据目录映射 |
7.5. 运行Gitlab镜像
root@ubuntu:~# docker run --name=gitlab -d \
 -e GITLAB_PORT=10080 \ <1>
 -e GITLAB_SSH_PORT=10022 \ <2>
 -e GITLAB_HOST=inner.ecfront.com \ <3>
 -e DB_TYPE=mysql \ <4>
 -e DB_HOST=192.168.4.99 \
 -e DB_PORT=3307 \
 -e DB_NAME=gitlabhq_production \
 -e DB_USER=gitlab \
 -e DB_PASS=password \
 -e GITLAB_EMAIL=git@ecfront.com \ <5>
 -e SMTP_ENABLED=true \
 -e SMTP_DOMAIN=ecfront.com \
 -e SMTP_HOST=smtp.exmail.qq.com \
 -e SMTP_PORT=25 \
 -e SMTP_USER=git@ecfront.com \
 -e SMTP_PASS=xxx \
 -e SMTP_AUTHENTICATION=login \
 -e NGINX_MAX_UPLOAD_SIZE=512m \ <6>
 -e GITLAB_BACKUPS=monthly \ <7>
 -p 10022:22 \ <8>
 -p 10080:80 \ <9>
 -v /opt/test/gitlab/data:/home/git/data \ <10>
 --link gitlab-cache:redisio \ <11>
 --dns=192.168.4.99 \ <12>
 sameersbn/gitlab
<1> HTTP服务端口
<2> SSH请求端口
<3> 服务域名
<4> 数据库连接信息
<5> Email信息
<6> 解决`RPC failed; result=22, HTTP code = 413`问题,见 http://stackoverflow.com/questions/7489813/github-push-error-rpc-failed-result-22-http-code-413
<7> 备份策略,每天
<8> SSH请求端口映射
<9> HTTP请求端口映射
<10> GIT数据目录映射
<11> 连接Reids容器,实现缓存
<12> 配置DNS
如果使用MySQL数据库一定要加上-e DB_TYPE=mysql否则这个容器会以默认的Postgre类型去连接导致无法启动 |
--dns 用于指定容器的DNS,我们可以指定一个公共DNS以实现不同容器互PING |
Docker默认情况下容器间是不能互访的,要实现交互主要有两种途径,一是用--link这也是Docker推荐的做法,它会在容器中建立被Link容器的Host记录实现单向访问,另一种是开放服务实现调用,对于上述案例,Redis使用的是Link方式,MySQL使用是开放服务方式。 |
访问一下:
http://192.168.4.99:10080(192.168.4.99是我宿主机的IP),等等,为什么访问不了?
7.6. 查看运行日志
在出问题时我们首先想到的是 去看看日志 ,Docker容器运行日志的查看如下:
root@ubuntu:~# docker logs gitlab
   ERROR:   Please configure the GITLAB_SECRETS_DB_KEY_BASE parameter.
Cannot continue. Aborting...提示是需要GITLAB_SECRETS_DB_KEY_BASE变量,查看官方说明:
Note: Since GitLab
8.0.0you need to provide theGITLAB_SECRETS_DB_KEY_BASEparameter while starting the image.Tip: You can generate a random string using
pwgen -Bsv1 64and assign it as the value ofGITLAB_SECRETS_DB_KEY_BASE.
— https://hub.docker.com/r/sameersbn/gitlab/
好的,我们用
pwgen -Bsv1 64生成一个密钥
root@ubuntu:~# pwgen -Bsv1 64
7hpTqCXgf4tVbnFmdC7PNn9n4hWmCnvF479fsJtcdTkhmVfWfzpwTJ4sNRzNkkXf
把
GITLAB_SECRETS_DB_KEY_BASE加上重新运行
root@ubuntu:~# docker rm -f gitlab
root@ubuntu:~# docker run --name=gitlab -d \
 -e GITLAB_PORT=10080 \
 -e GITLAB_SSH_PORT=10022 \
 -e GITLAB_HOST=inner.ecfront.com \
 -e DB_TYPE=mysql \
 -e DB_HOST=192.168.4.99 \
 -e DB_PORT=3307 \
 -e DB_NAME=gitlabhq_production \
 -e DB_USER=gitlab \
 -e DB_PASS=password \
 -e GITLAB_SECRETS_DB_KEY_BASE=7hpTqCXgf4tVbnFmdC7PNn9n4hWmCnvF479fsJtcdTkhmVfWfzpwTJ4sNRzNkkXf \
 -e GITLAB_EMAIL=git@ecfront.com \
 -e SMTP_ENABLED=true \
 -e SMTP_DOMAIN=ecfront.com \
 -e SMTP_HOST=smtp.exmail.qq.com \
 -e SMTP_PORT=25 \
 -e SMTP_USER=git@ecfront.com \
 -e SMTP_PASS=xxx \
 -e SMTP_AUTHENTICATION=login \
 -e NGINX_MAX_UPLOAD_SIZE=512m \
 -e GITLAB_BACKUPS=monthly \
 -p 10022:22 \
 -p 10080:80 \
 -v /opt/test/gitlab/data:/home/git/data \
 --link gitlab-cache:redisio \
 --dns=192.168.4.99 \
 sameersbn/gitlab
7.7. 完成
好了,第一次要做的事情比较多,过一会就可以打开页面了
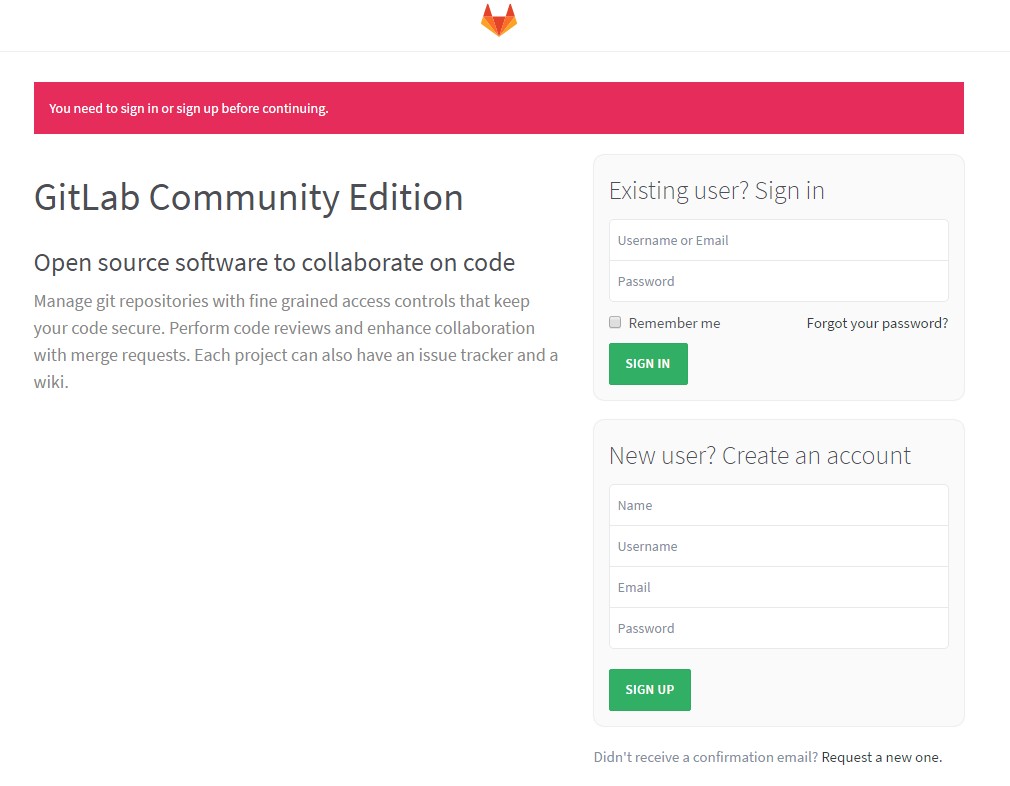
| 用户名:root 密码:5iveL!fe |


 2190
2190

 被折叠的 条评论
为什么被折叠?
被折叠的 条评论
为什么被折叠?
 到【灌水乐园】发言


