


制作闪屏的基本思路就是:
1. 先定义一个UIViewController 或者一个简单的View(最好是viewController,方面管理和加载),并为其 view 子元素。
2. 通过定时器或者
performSelector:<#(SEL)#> withObject:<#(id)#> afterDelay:<#(NSTimeInterval)#>
方法,以动画效果来显示或者调整他们的层次关系。
3. 在AppDelegate 中实例化你刚定义的ViewController,然后将其加载到 window 上,代码如下
- (BOOL)application:(UIApplication *)application didFinishLaunchingWithOptions:(NSDictionary *)launchOptions
{
.........
//这里是你原本设计的主程序的代码
.........
//这里开始实例化你的闪屏ViewController
splitViewCotroller = [[LYGSpliteViewController alloc]initWithNibName:@"LYGSpliteViewController" bundle:nil];
[self.window addSubview:splitViewCotroller.view];
}
注意,这里一定要定义为全局变量,因为这里加载的只是对象的view,而不是对象自己。如果设置的是局部变量一旦这里的周期结束,对象就会dealloc ,则无法再进行其他的操作。
LYGSpliteViewController.m
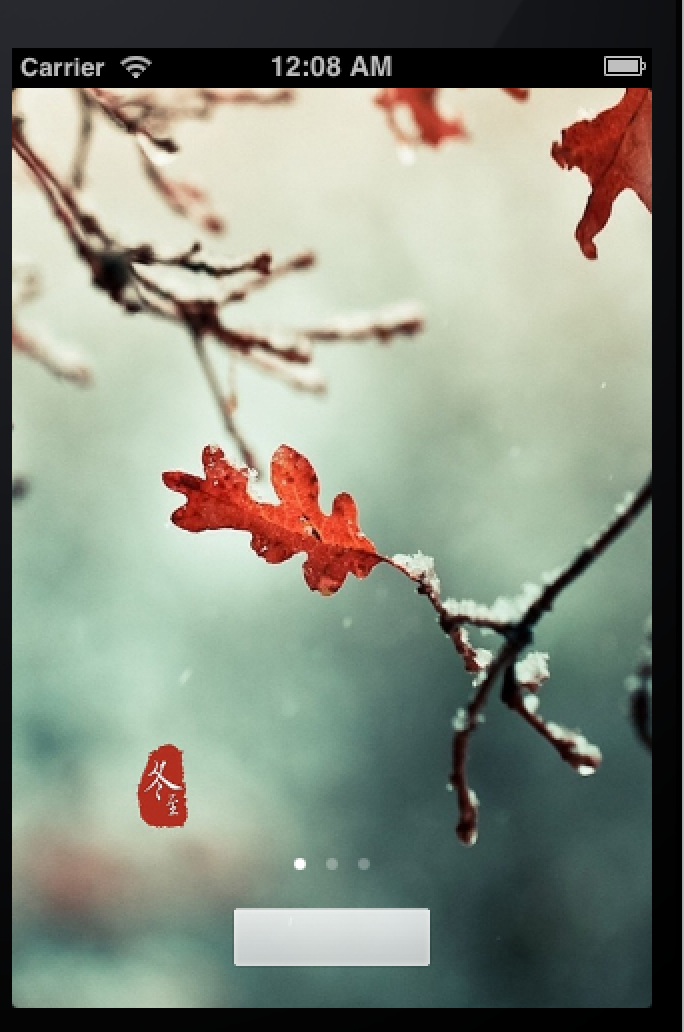
这里的闪屏示例效果是:
数据加载时,显示默认app默认图标的同时,显示 UIActivityIndicatorView 作为加载指示,然后进入一个
UIScrollView 配合 UIPageControl 的图片的动画效果,还有一个button按钮可以停止动画提前进入应用程序。
注意:这里最好添加网络检测及数据加载成功否的判断,然后再决定是否进入主程序,这样在增强程序的健壮性的同时也提高了用户体验度。这个随会再做阐述,这里暂时只针对闪屏的制作。
主要代码如下所示:
for (int i = 0; i < myArr.count; i ++) {
mySplishImageView = [[UIImageView alloc]initWithImage:[UIImage imageNamed:myArr[i]]];
mySplishImageView.frame = CGRectMake(0 + 320 * i, 0, 320,appFrame.size.height + 20);
[myScrollView addSubview:mySplishImageView];
}
myScrollView.contentSize = CGSizeMake(320 * myArr.count, appFrame.size.height + 20);
myScrollView.showsHorizontalScrollIndicator = NO;
myScrollView.showsVerticalScrollIndicator = NO;
[self.view addSubview:myScrollView];
//添加与scrollView自动转动时配套的pagecontrol
myPageControl = [[UIPageControl alloc]initWithFrame:CGRectMake(110, 400, 100, 15)];
myPageControl.numberOfPages = myArr.count;
//添加手动进入主程序的按钮
loginBtn = [UIButton buttonWithType:UIButtonTypeCustom];
[loginBtn setBackgroundImage:[UIImage imageNamed:@"adview_enter@2x.png"] forState:UIControlStateNormal];
[loginBtn addTarget:self action:@selector(finishedAnimate) forControlEvents:UIControlEventTouchUpInside];
loginBtn.frame = CGRectMake(110, 430, 100, 30);
//添加默认启动图片到self.view中
myWPHImageViewBtn = [UIButton buttonWithType:UIButtonTypeRoundedRect];
myWPHImageViewBtn.frame = CGRectMake(0, 0, 320, appFrame.size.height + 20);
[myWPHImageViewBtn addTarget:self action:@selector(refreshNet:) forControlEvents:UIControlEventTouchUpInside];
[myWPHImageViewBtn setBackgroundImage:[UIImage imageNamed:@"Default@2x.png"] forState:UIControlStateNormal];
[myWPHImageViewBtn setBackgroundImage:[UIImage imageNamed:@"imageview_reload@2x.png"] forState:UIControlStateSelected];
[self.view addSubview:myWPHImageViewBtn];
myActivityIndicator = [[UIActivityIndicatorView alloc]initWithActivityIndicatorStyle:UIActivityIndicatorViewStyleWhiteLarge];
myActivityIndicator.center = CGPointMake(160, (appFrame.size.height + 20)/2);
myActivityIndicator.hidesWhenStopped = YES;
myActivityIndicator.color = [UIColor redColor];
[self performSelector:@selector(spliteScreen) withObject:nil afterDelay:6];
[self.view addSubview:myActivityIndicator];
[myActivityIndicator startAnimating];
-(void)spliteScreen
{
CATransition *animation = [CATransition animation];
animation.delegate = self;
animation.duration = 0.5;//动画效果持续时间
animation.timingFunction = UIViewAnimationCurveEaseInOut;
animation.type = kCATransitionFade;//淡入淡出效果
NSUInteger splitV = [[self.view subviews] indexOfObject:myScrollView];
NSUInteger wphV = [[self.view subviews] indexOfObject:myWPHImageViewBtn];
[self.view exchangeSubviewAtIndex:splitV withSubviewAtIndex:wphV];
[myActivityIndicator stopAnimating];
[self.view addSubview:loginBtn];
[self.view addSubview:myPageControl];
[[self.view layer] addAnimation:animation forKey:@"animation"];
myTimer = [NSTimer scheduledTimerWithTimeInterval:1.0 target:self selector:@selector(scrollViewAnimation:) userInfo:nil repeats:YES];
[self performSelector:@selector(finishedAnimate) withObject:nil afterDelay:6];//6s后执行
}
效果图如下:


 1285
1285

 被折叠的 条评论
为什么被折叠?
被折叠的 条评论
为什么被折叠?
 到【灌水乐园】发言


