


在 iOS开发之城市选择器一文中用两列的UIPickerView实现了城市选择器,今天用两个UITableView来实现一下,首先这种联动在很多地方用得上,而且方法有好几种,我这里选择了个人喜欢的一种方式:弄两个UITableView,让当前控制器管理。这种方式总体思路如下:
1、添加两个UITableView到当前控制器中,分别设置它们的的尺寸,然后拖线到控制器中
2、左边的表格设置数据源和代理为当前控制器,然后显示数据,右边的表格也设置数据源为当前控制器,然后显示数据操作。
3、监听左边表格控制器的点击事件,在它的点击事件中刷新右边的表格
这时候就有问题了,一个控制器要成为2个UITableView的数据源和代理,怎么办?—— 在数据源和代理方法中,进行判断 if (self.leftTableView== tableView) {} else{}
</br>
具体步骤:
1、添加2个UITableView,设置约束,设置数据源和代理,拖线到控制器,添加plist文件(和之前文中的一样,就不贴图了)。

添加和准备工作.png
2、在控制器中实现功能,具体代码如下,注释非常详细:
#import "ViewController.h"

@interface ViewController () <UITableViewDataSource, UITableViewDelegate>

#pragma mark 定义的属性
/**
 *  左边的表格
 */
@property (weak, nonatomic) IBOutlet UITableView* leftTableView;
/**
 *  右边的表格
 */
@property (weak, nonatomic) IBOutlet UITableView* rightTableView;

/**
 *  plist对应的字典
 */
@property (nonatomic, strong) NSDictionary* cityNames;
/**
 *  省份
 */
@property (nonatomic, strong) NSArray* provinces;
/**
 *  城市
 */
@property (nonatomic, strong) NSArray* cities;

/**
 *  当前选择的省份
 */
@property (nonatomic, copy) NSString* currentProvince;

/**
 *  当前选择的城市
 */
@property (nonatomic, copy) NSString* currentCity;

@end

@implementation ViewController

#pragma mark 懒加载
/**
 *  懒加载plist
 *
 *  @return plist对应的字典
 */
- (NSDictionary*)cityNames
{
    if (_cityNames == nil) {

        NSString* path = [[NSBundle mainBundle] pathForResource:@"cityData" ofType:@"plist"];

        _cityNames = [NSDictionary dictionaryWithContentsOfFile:path];
    }

    return _cityNames;
}

/**
 *  懒加载省份
 *
 *  @return 省份对应的数组
 */
- (NSArray*)provinces
{
    if (_provinces == nil) {

        //将省份保存到数组中  但是字典保存的是无序的 所以读出来的省份也是无序的
        _provinces = [self.cityNames allKeys];
    }

    return _provinces;
}

#pragma mark ViewController生命周期
- (void)viewDidLoad
{
    [super viewDidLoad];

    //一开始的省份应该是provinces的第一个
    self.currentProvince = self.provinces[0];
}

- (void)didReceiveMemoryWarning
{
    [super didReceiveMemoryWarning];
}

#pragma mark UITableViewDataSource
- (NSInteger)numberOfSectionsInTableView:(UITableView*)tableView
{
    return 1;
}

- (NSInteger)tableView:(UITableView*)tableView numberOfRowsInSection:(NSInteger)section
{

    //左边的返回省份即可
    if (self.leftTableView == tableView) {
        return self.provinces.count;
    }
    //右边的要根据选中的行来设置
    else {
        //通过省份去获取对应的城市
        self.cities = [self.cityNames valueForKey:self.currentProvince];
        return self.cities.count;
    }
}

- (UITableViewCell*)tableView:(UITableView*)tableView cellForRowAtIndexPath:(NSIndexPath*)indexPath
{

    if (self.leftTableView == tableView) {

        UITableViewCell* cell = [tableView dequeueReusableCellWithIdentifier:@"leftCell"];

        if (cell == nil) {
            cell = [[UITableViewCell alloc] initWithStyle:UITableViewCellStyleDefault reuseIdentifier:@"leftCell"];
        }

        //左边显示省份
        cell.textLabel.text = [self.provinces objectAtIndex:indexPath.row];

        return cell;
    }
    else {

        UITableViewCell* cell = [tableView dequeueReusableCellWithIdentifier:@"rightCell"];

        if (cell == nil) {
            cell = [[UITableViewCell alloc] initWithStyle:UITableViewCellStyleDefault reuseIdentifier:@"rightCell"];
        }

        self.cities = [self.cityNames valueForKey:self.currentProvince];

        //右边显示城市
        cell.textLabel.text = [self.cities objectAtIndex:indexPath.row];

        return cell;
    }
}

#pragma mark UITableViewDelegate

- (void)tableView:(UITableView*)tableView didSelectRowAtIndexPath:(NSIndexPath*)indexPath
{

    //点击左边加载右边的数据
    if (self.leftTableView == tableView) {

        self.currentProvince = [self.provinces objectAtIndex:indexPath.row];

        [self.rightTableView reloadData];
    }
    //点击右边显示用户选择的省份和城市
    else {
        self.currentCity = [self.cities objectAtIndex:indexPath.row];

        // 1.实例化alert:alertControllerWithTitle
        NSString* msg = [NSString stringWithFormat:@"%@ -- %@", self.currentProvince, self.currentCity];
        UIAlertController* alertControl = [UIAlertController alertControllerWithTitle:@"选择城市" message:msg preferredStyle:UIAlertControllerStyleAlert];

        // 2.实例化按钮:actionWithTitle

        [alertControl addAction:[UIAlertAction actionWithTitle:@"确定" style:UIAlertActionStyleDefault handler:^(UIAlertAction* action){
                                    // 点击确定按钮的时候, 会调用这个block
                                    //[self dismissViewControllerAnimated:YES completion:nil];

                                }]];

        // 3.显示alertController:presentViewController
        [self presentViewController:alertControl animated:YES completion:nil];
    }
}
@end
3、运行结果
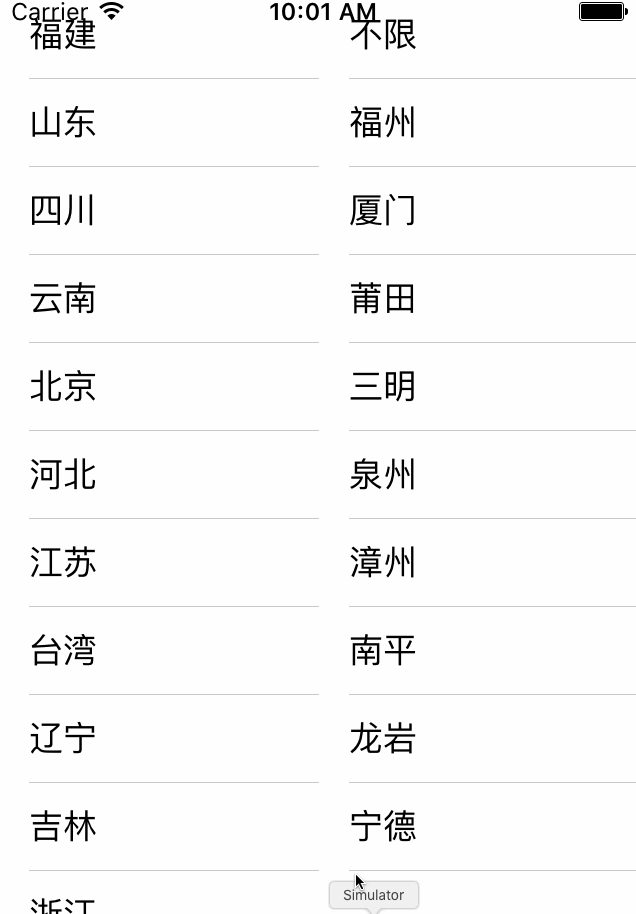
联动效果.gif


 1万+
1万+


 被折叠的 条评论
为什么被折叠?
被折叠的 条评论
为什么被折叠?
 到【灌水乐园】发言


