刚看到Exchange Technet Blog发的一篇Blog《Announcing Exchange Server 2016 Preview!》,小编就下载了Exchange 2016预装版,尝尝鲜。
demo环境:DC+Exchange
Exchange 2016预览版下载地址:http://www.microsoft.com/en-us/download/details.aspx?id=48210
Exchange环境准备之AD目录要求:至少Windows Server 2008的林域功能级别
Exchange环境准备之Exchange系统要求:Windows Server 2012 standard or DataCenter、Windows Server 2012 R2 standard or DataCenter
具体要求可以参考Technet 链接:https://technet.microsoft.com/en-us/library/aa996719(v=exchg.160).aspx
1.直接进入正题,在Exchange虚拟机上开始部署Exchange 2016,我们先要安装功能组件:
Install-WindowsFeature RSAT-ADDS
Install-WindowsFeature AS-HTTP-Activation, Desktop-Experience, NET-Framework-45-Features, RPC-over-HTTP-proxy, RSAT-Clustering, RSAT-Clustering-CmdInterface, RSAT-Clustering-Mgmt, RSAT-Clustering-PowerShell, Web-Mgmt-Console, WAS-Process-Model, Web-Asp-Net45, Web-Basic-Auth, Web-Client-Auth, Web-Digest-Auth, Web-Dir-Browsing, Web-Dyn-Compression, Web-Http-Errors, Web-Http-Logging, Web-Http-Redirect, Web-Http-Tracing, Web-ISAPI-Ext, Web-ISAPI-Filter, Web-Lgcy-Mgmt-Console, Web-Metabase, Web-Mgmt-Console, Web-Mgmt-Service, Web-Net-Ext45, Web-Request-Monitor, Web-Server, Web-Stat-Compression, Web-Static-Content, Web-Windows-Auth, Web-WMI, Windows-Identity-Foundation
2.安装组件后,我们需要安装软件:Microsoft Unified Communications Managed API 4.0, Core Runtime 64-bit和.NET Framework 4.5.2 http://support.microsoft.com/kb/2901907;
3.扩展架构、林、域
扩展架构输入:.\setup.exe /PrepareSchema /IAcceptExchangeServerLicenseTerms
扩展林输入:.\setup.exe /PrepareAD /OrganizationName:gsh(自己的组织名) /IAcceptExchangeServerLicenseTerms
扩展域输入:.\Setup /PrepareDomain:gsh.local /IAcceptExchangeServerLicenseTerms(注意:gsh.local为你的域名)
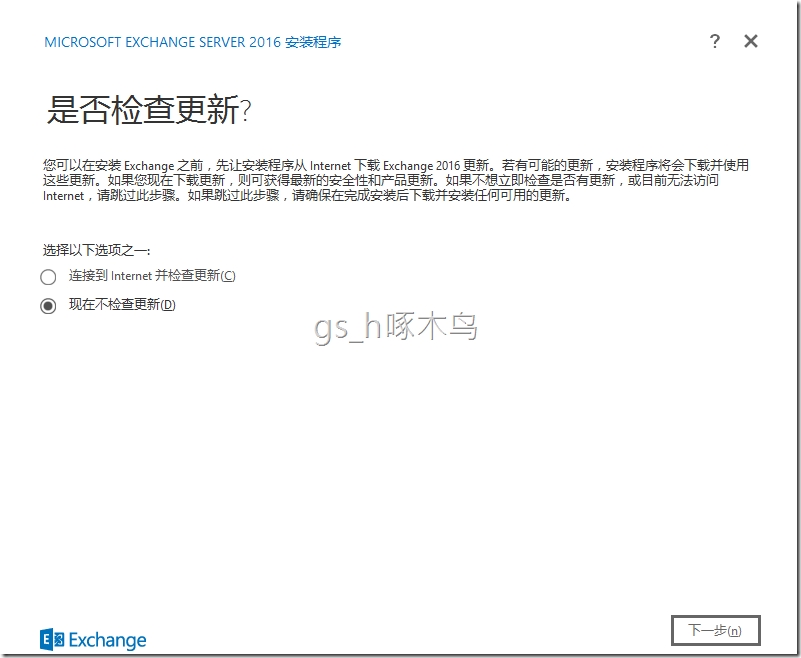
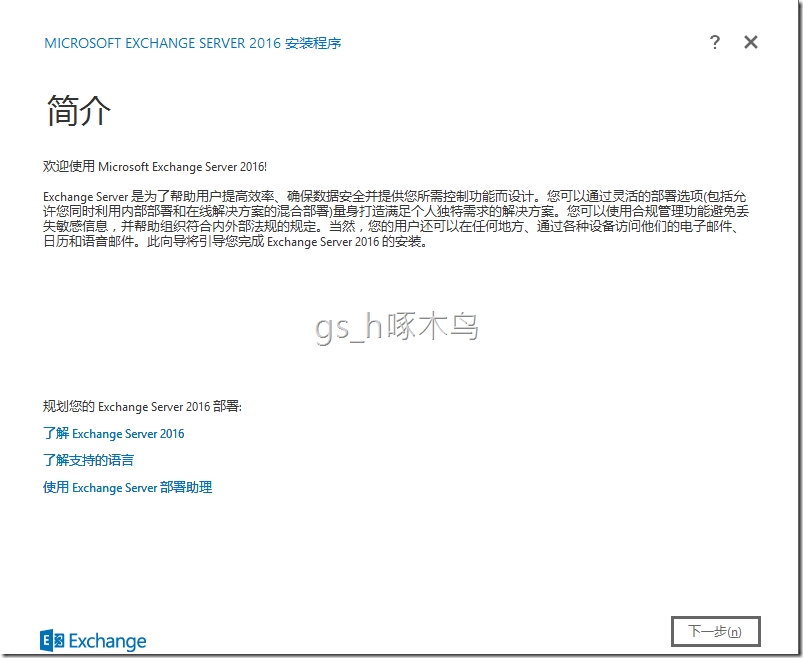
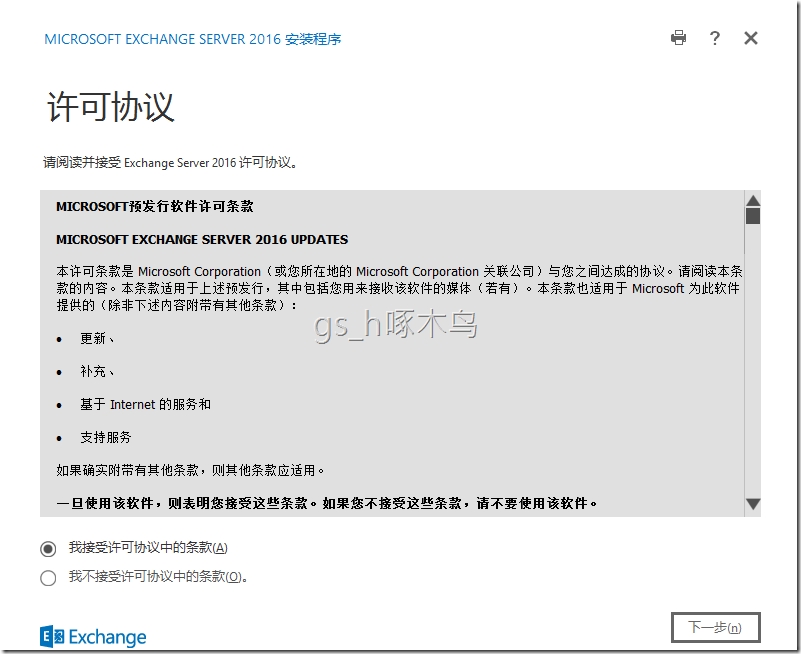
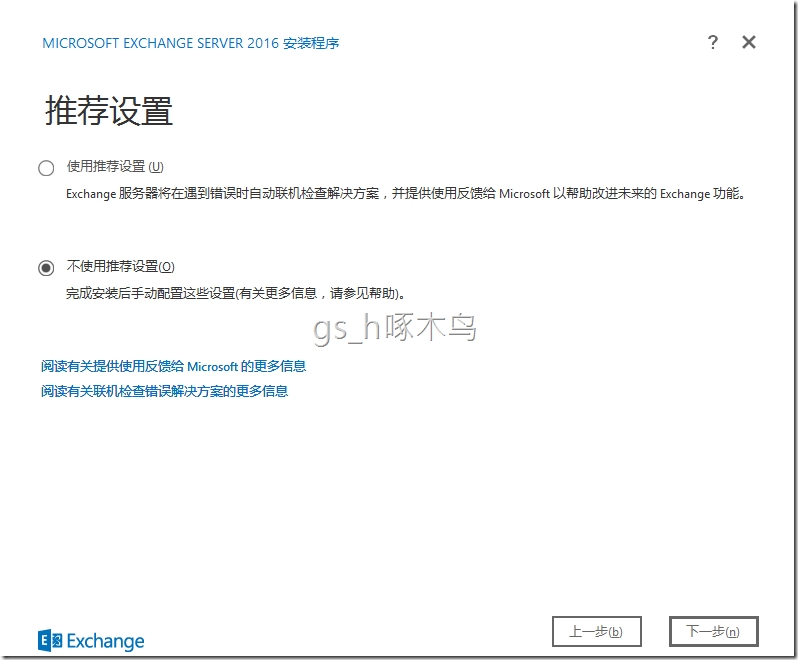
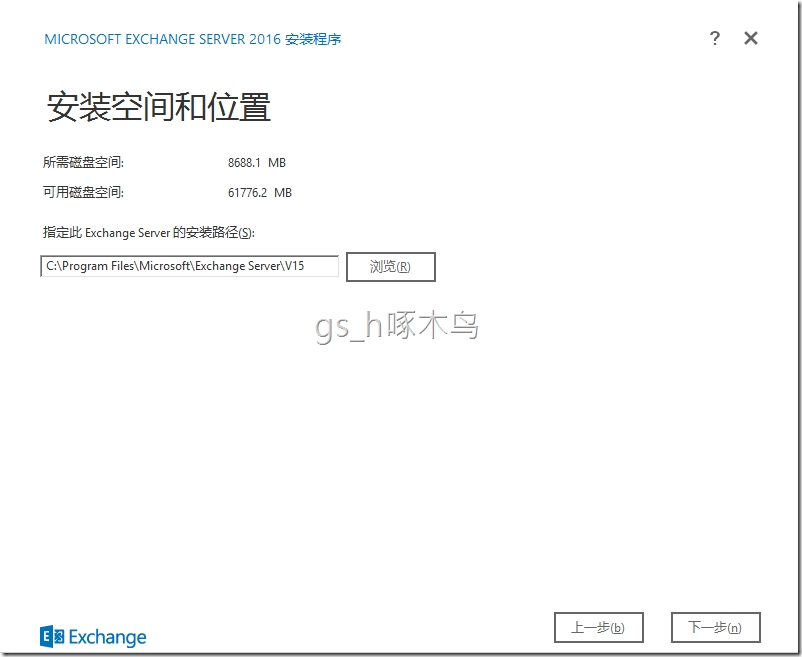
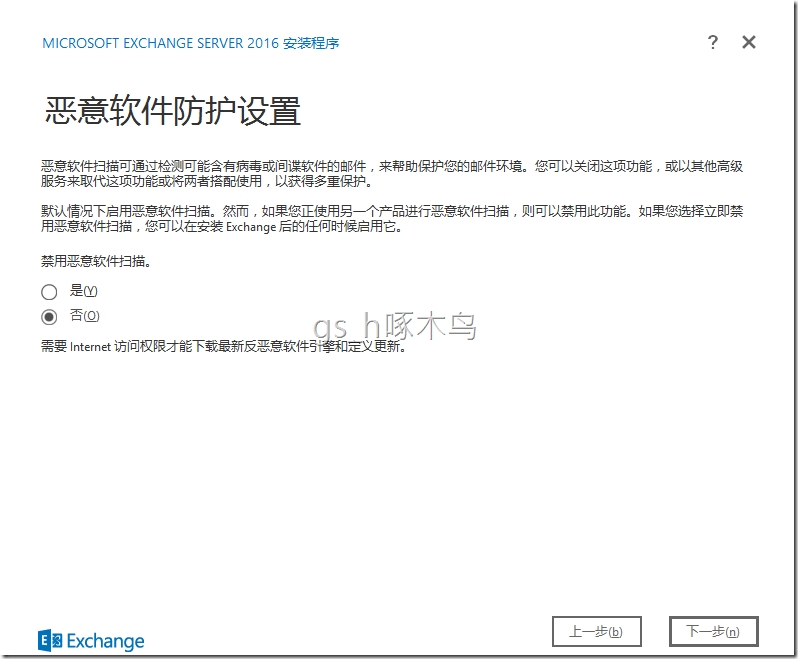
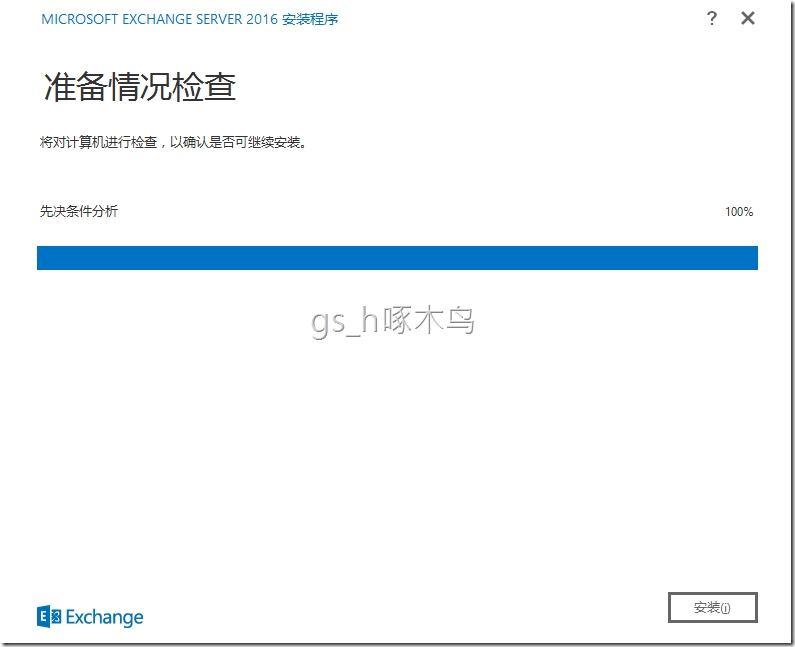
4.安装Exchange Server 2016;
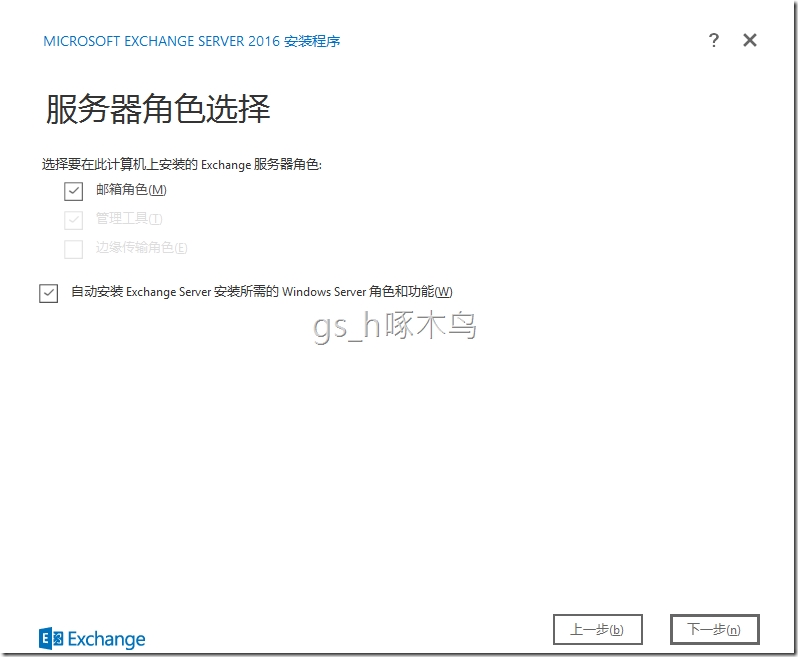
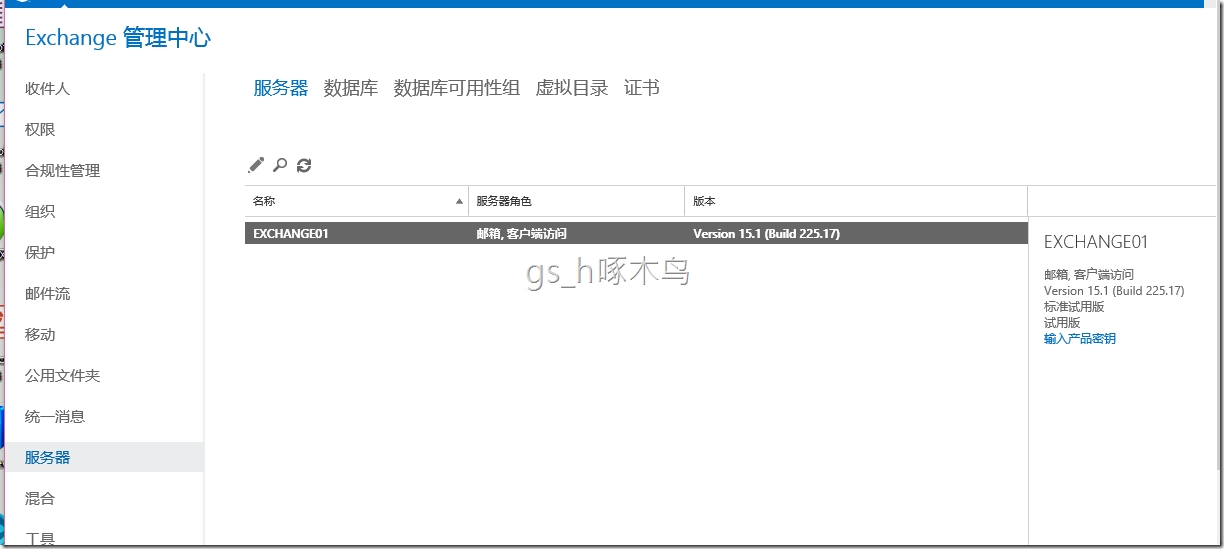
可以看到Exchange 2016的角色就有两个mailbox和Edge。在以前的CAS角色,现在在Exchange 2016作为一个服务。
从这里我们可以推断2016跟2013其实是同个版本号的,说明是在2013的基础上更新的一个版本。
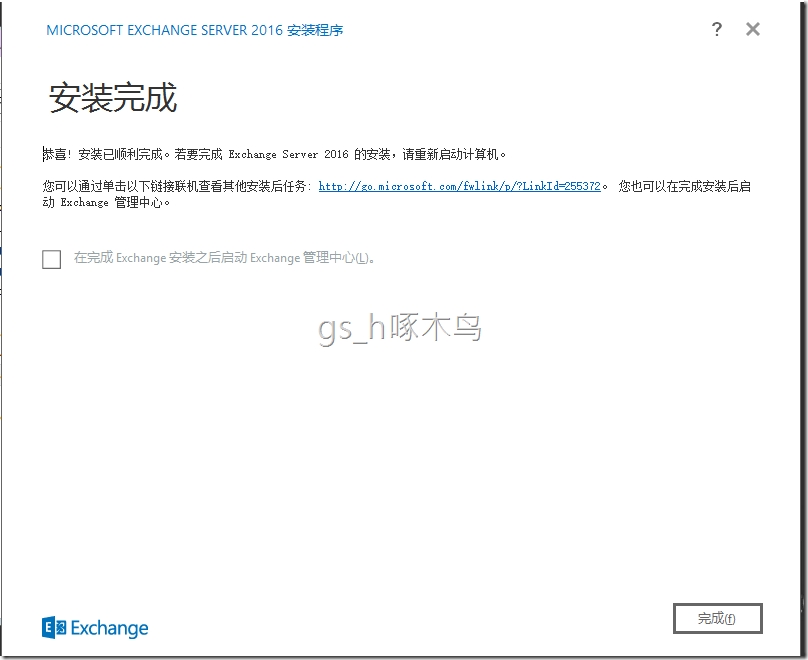
就安装完成了
5.登陆EAC,跟Exchange 2013一样的。
PS:Exchange 2013是version 15.0,不过这里的设计显示2016有两个角色。呵呵。
转载于:https://blog.51cto.com/gshao/1685238




 54
54


 被折叠的 条评论
为什么被折叠?


