


Cygwin的安装与简单使用
--zran,最后一次更新于2014年01月14日,星期二
(1)安装
1.
下载安装文件setup-x86_64.exe。

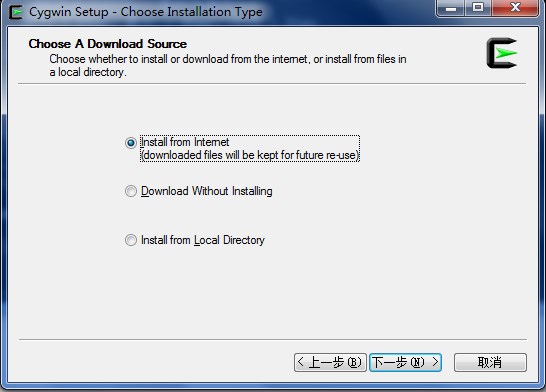
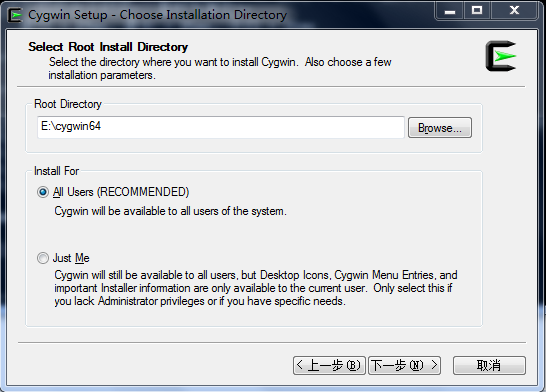
2.双击安装程序,选择下一步-->Install from Internet,目录修改为E:\cygwin64,用户选择“ALL USERS
”。
PS1:要将安装路径放在根目录,如D:\
cygwin64。此处为选择安装在E盘。
PS2:以防万一,我选择的是管理员权限安装。

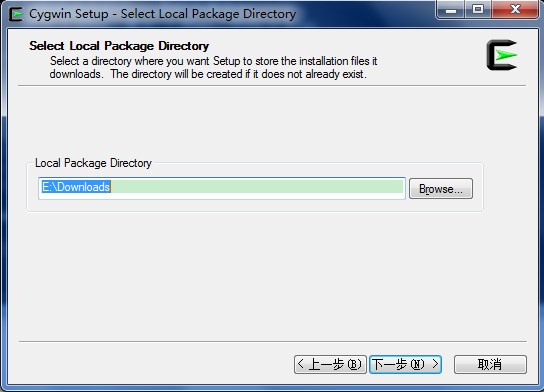
3.下一步,"Local Package Directory",我改成了
E:\Downloads,方便下次安装(下次选择从指定目录安装);
4.下一步,提示我没有该目录,是否自动创建,创建,这一步忘了截图,反正很简单;
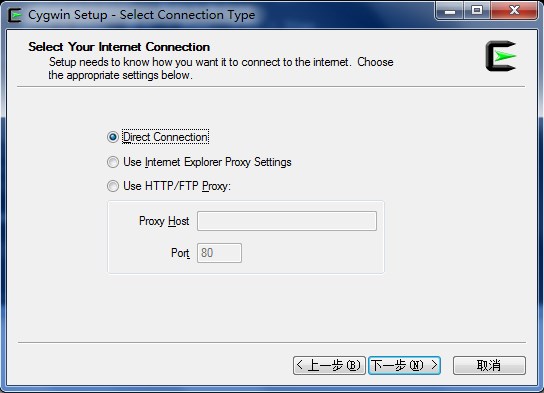
5.下一步,选择Internet连接类型,缺省的"Direct Connection"即可;
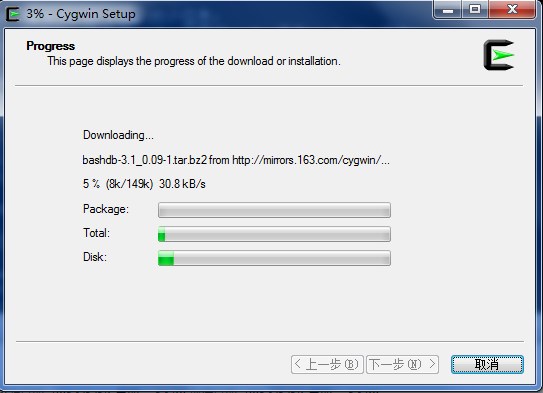
6.下一步,"Choose A Download Site",我不记得自己以前选的哪个了,何况不同网络下,哪怕是同一个链接,速度ye'hui'you 很大差异,怎么办?ping一下即可。
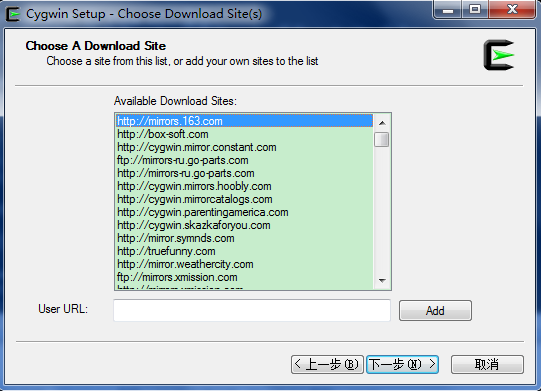
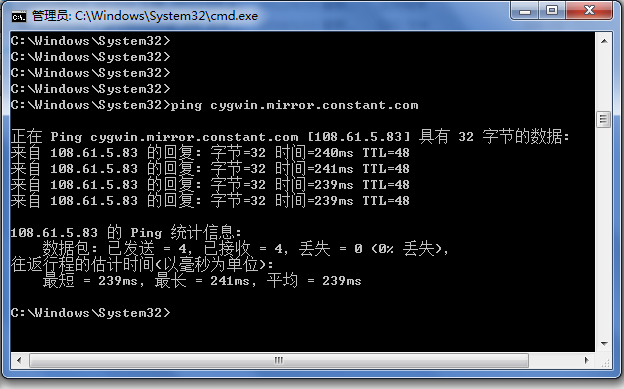
类似与这样,反复的ping链接(不要接http://),最后我选择的是http://mirrors.163.com,响应速度是30ms左右。
7.下一步,开始安装,短暂的几秒加载后,出现弹窗选择;

我
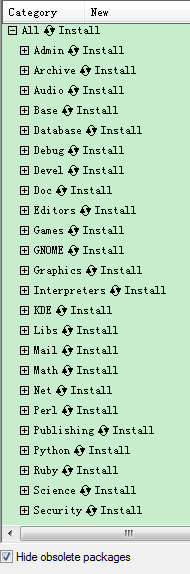
选择安装全部组件,在最上面的“ALL“-->"Default”上点鼠标左键,忽略两个弹窗警告,确认其变为了"Install",再选择下一步:
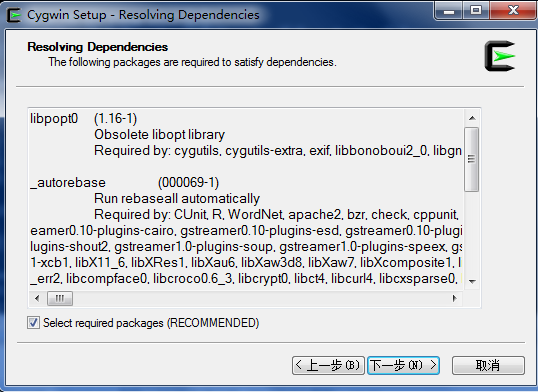
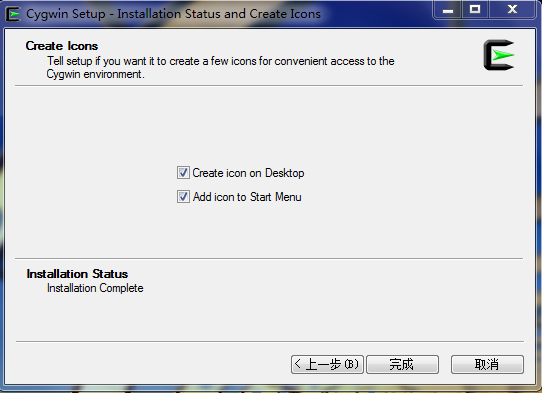
8.下一步,打勾即可(默认已经勾选了),下一步;
9.漫长的等待......网络慢的说不定得要装一天,快也要几小时把。安装完后再更新,先这样了。
10.安装完成,在桌面、开始才菜单创建快捷方式。
11.开始使用。
(2)cygwin配置
1.vim配置
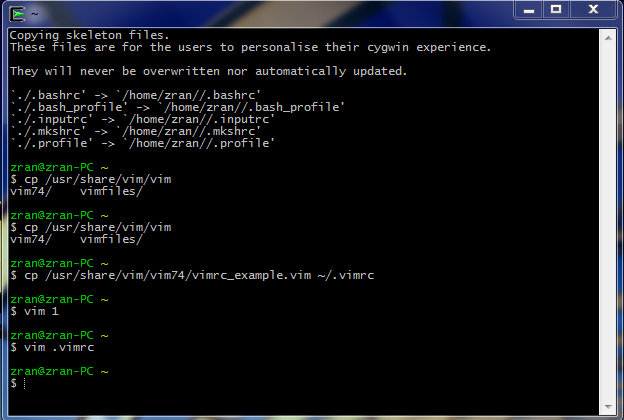
第一次用cygwin,准备用vim来写个脚本。发现编辑模式下不能来Backspace进行删除操作,一用方向键就退出编辑模式。郁闷了,上网搜了一堆解决方案。有许多不对我的症。
最终的解决方法是:
$ cp /usr/share/vim/vim73/vimrc_example.vim ~/.vimrc
说白了,我的情况是装完vim后,在用户目录下没有自动生成vim的配置文件。
附上我的.vimrc自己加的配置:
$vim ~/.vimrc
"=====zran======================================================="
"显示行号
set number
"语法高亮度显示
" syntax on
"去掉有关vi一致性模式,避免以前版本的一些bug和局限
set nocompatible
"检测文件的类型
filetype on
"记录历史的行数
set history=1000
"背景使用黑色
" set background=dark
"vim使用自动对齐,也就是把当前行的对齐格式应用到下一行
set autoindent
"依据上面的对齐格式,智能的选择对齐方式,对于类似C语言编
set smartindent
"设置Windows风格的C/C++自动缩进,第一行设置tab键为4个空格,第二行设置当行之间交错时使用4个空格
set tabstop=4
set shiftwidth=4
"设置匹配模式,类似当输入一个左括号时会匹配相应的那个右括号
set showmatch
"去除vim的GUI版本中的toolbar
set guioptions-=T
"默认情况下,寻找匹配是高亮度显示的,该设置关闭高亮显示
set nohls
"使用此设置会快速找到答案,当你找要匹配的单词时,别忘记回车
set incsearch
" 设定默认解码
" set fenc=utf-8
" set fencs=utf-8,usc-bom,euc-jp,gb18030,gbk,gb2312,cp936
"在状态行上显示光标所在位置的行号和列号
set ruler
" set rulerformat= (%2*%
"与windows共享剪贴板
set clipboard+=unnamed
"鼠标可以启动于各种模式中:
"The mouse can be enabled for different modes:
"n Normal mode
"v Visual mode
"i Insert mode
"c Command-line mode
"h all previous modes when editing a help file
"a all previous modes
"r for |hit-enter| and |more-prompt| prompt
" In many terminal emulators the mouse works just fine, thus enable it.
if has('mouse')
" set mouse=a
endif
"==============================================================="
事实上,在cygwin中,直接用vim修改.vimrc很麻烦,手动敲得很累,这时候有两个办法:
1.先修改.vimrc,注释
set mouse=a
,再重新vim打开.vimrc,用鼠标右键复制配置贴在最下面,只是这样可能还需要排版;
2.更简单的办法是,找到你的安装路径下的配置文件,例如我的cygwin安装在E盘根目录,我的用户名是zran,我的个人vim配置文件是家目录下的.vimrc,那么我可以直接在windows里面用记事本、notepad++等打开文件
E:\cygwin64\home\zran\.vimrc,然后鼠标复制配置到最下面,保存后重新打开cygwin即可。


 2441
2441

 被折叠的 条评论
为什么被折叠?
被折叠的 条评论
为什么被折叠?
 到【灌水乐园】发言


