


1) Copy files from the Android SDK:
Go to android-sdk/platforms/android-1.6/data/res/drawable and copy the following .xml files to your project's /res/drawable folder:
- list_selector_background.xml
- list_selector_background_transition.xml
- list_selector_background_focus.9.png
- list_selector_background_longpress.9.png
- list_selector_background_pressed.9.png
- list_selector_background_disabled.9.png
In our case this is only the following item:
<item android:drawable="@android:color/transparent" android:state_window_focused="false"></item>
All the other elements can point to the local namespace, because we copied the resources (images) into our local project's /res/drawable/ folder.
3) Modify whatever you like
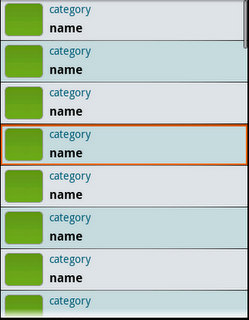
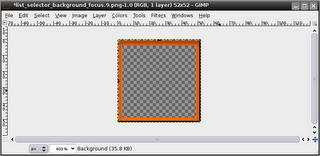
Instead of having the selected list item been overpainted by a transparent orange color (as it is default in Android), I prefered to have a full opaque (non-transparent) border around the selected list item. Therefor I opened up the list_selector_background_focus.9.png file in gimp and removed everything except of a thin orange frame (→ make sure the center is transparent). The black pixels around the image are 9-patch parameters. Don't remove them. If you want to modify them read up on it first here.
4) Creating a new style
Open up your /res/values/styles.xml (create it if it doesn't exist) and add this new style to it:
<style name="MyListView" parent="@android:style/Widget.ListView">
<item name="android:listSelector">@drawable/list_selector_background</item>
</style>
The @drawable/list_selector_background is a reference to your list_selector_background.xml file in /res/drawable/
5) Applying the new style to your layout
Open up your layout's xml file and add the style attribute.
<listview android:drawselectorontop="true" android:id="@+id/MyList" android:layout_height="wrap_content" android:layout_width="wrap_content">
</listview>
I also added android:drawSelectorOnTop=“true” so that the orange image frame will be drawn with full opacity (no transparency effects).


 2394
2394

 被折叠的 条评论
为什么被折叠?
被折叠的 条评论
为什么被折叠?
 到【灌水乐园】发言


