


1.修改myblog_ngnix.conf 文件中的 upstream django{}里面的内容:
#myblog_nginx.conf

# the upstream component nginx needs to connect tou
upstream django {
    server unix:///home/aslan/myblog/myblog.sock; # for a file socket
   #server 127.0.0.1:8080; # for a web port socket (we'll use this first)
}
# configuration of the server
server {
    # the port your site will be served on
    listen      8000;
    # the domain name it will serve for
    server_name www.maiba360.cn 123.206.254.39; # substitute your machine's IP address or FQDN
    #server_name 10.141.11.215; # substitute your machine's IP address or FQDN
    charset     utf-8;

    # max upload size
    client_max_body_size 75M;   # adjust to taste

    # Django media
    location /media  {
        #index /home/aslan/myblog/media;  # your Django project's media files - amend as required
        #rewrite /media /usr/share/nginx/html/index.html;  # your Django project's media files - amend as required
        alias /home/aslan/myblog/media; # your Django project's static files - amend as required
    }

    location /static {
        alias /home/aslan/myblog/static; # your Django project's static files - amend as required
    }

    # Finally, send all non-media requests to the Django server.
    location / {
        uwsgi_pass  django;
        include     /home/aslan/myblog/uwsgi_params; # the uwsgi_params file you installed
    }
}
2.重启ngnix
3.在manage.py同一级目录创建myblog_uwsgi.ini
#myblog_uwsgi.ini file
[uwsgi]

# Django-related settings

# process-related settings
# ... with appropriate permissions - may be needed
# chmod-socket    = 664
#stats = 127.0.0.1:9001

# the base directory (full path)
chdir = /home/aslan/myblog/

# the virtualenv (full path)
#home            = /path/to/virtualenv

# Django's wsgi file
wsgi-file = myblog/wsgi.py
# master
master          = true
# maximum number of worker processes
processes       = 10
# the socket (use the full path to be safe
socket = /home/aslan/myblog/myblog.sock
# clear environment on exit
vacuum          = true
4.执行(3)中的ini脚本
uwsgi --ini myblog_uwsgi.ini
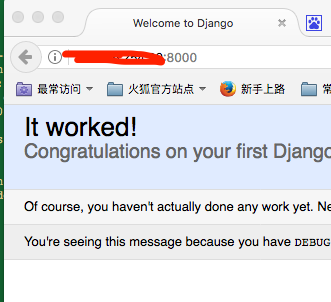
5.访问服务器的8000端口,显示django的主页:
6.服务器ps -aux 看后台进程:
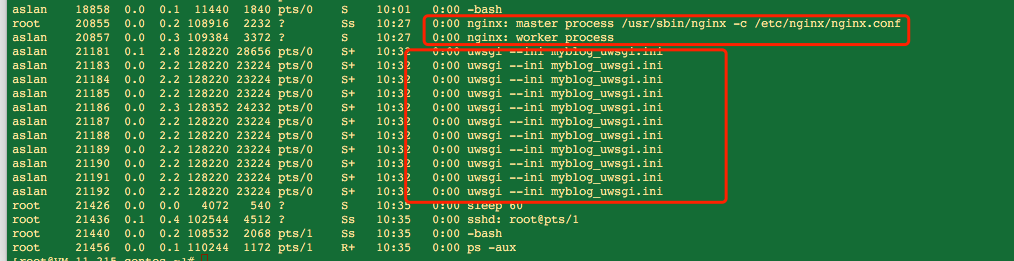
可以看到ngnix的进程和uwsgi的进程
至此,nginx + uwsgi + django + python 的部署就成功了。
备注:
python版本 3.5
django版本 1.10
nginx版本:nginx/1.10.2 (命令直接安装的这个版本)
uwsgi版本:2.0.14
参考教程:
http://www.jianshu.com/p/e6ff4a28ab5a


 4626
4626

 被折叠的 条评论
为什么被折叠?
被折叠的 条评论
为什么被折叠?
 到【灌水乐园】发言


