


vim编辑模式、vim命令模式
vim编辑模式
使用vim filename 进入的界面是一般模式,在这个模式下虽然我们能够查看,复制,剪切,粘贴,但是不能编辑新的内容,如何能直接写入东西呢?这就需要进入编辑模式了,从一般模式进入编辑模式有很多个按键都可以实现,但是不同的按键进入编辑模式是有区别的
- i 在光标当前字符前插入
- I 在光标所在行的行首插入
- a 在当前字符后插入
- A 在光标所在行尾插入
- o 在当前行的下一行另起一行插入
- O 在当前行的上一行另起一行插入
vim命令模式
vim工具还有一个命令模式,在一般模式下输入“:、/”就可以进入命令模式,在命令模式下我们可以搜索某个字符串,也可以实现保存,替换,退出,显示行号,高亮显示等操作。
- /word 在光标之后查找一个字符串word,按n键向后继续搜索
- ?word 在光标之前查找一个字符串word,按n键向前继续搜索
- :n1,n2s/word1/word2/g 在n1和n2行之间查找word1并替换成word2,不加g则只替换每行的第一个word1
- :1,$s/word1/word2/g 将文档中所有的word1替换成word2,不加g则只替换每行的第一个word1
- 当要被替换或要替换的内容当中有“/”时,系统会不识别命令,可以用“#或@”将语法中的/替换掉,比如讲wo/rd1 替换成wo/rd2 可以使用:1,$s#wo/rd1#wo/rd2#g
命令模式的其他功能
- :w 保存文本
- :q 退出vim
- :w! 强制保存文本,使用root用户时,即使文本是只读的,也可以完成保存
- :q! 强制退出,所有改动不生效
- :wq 保存并退出(如果没有改动文本,使用该命令也会更新文件的Mtime)
- :x 保存并退出(如果没有改动文本,使用该命令不会更新文件的Mtime)
- :set nu 显示行号
:set nonu 不显示行号
vim 实践
[root@bogon ~]# vim test.txt
[root@bogon ~]# cp /etc/dnsmasq.conf /tmp/1.txt
[root@bogon ~]# vim /tmp/1.txt
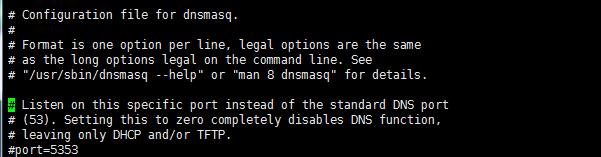
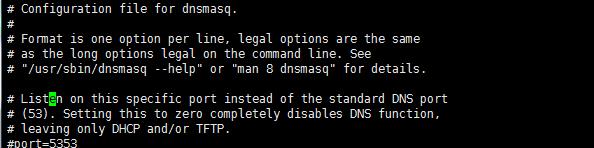
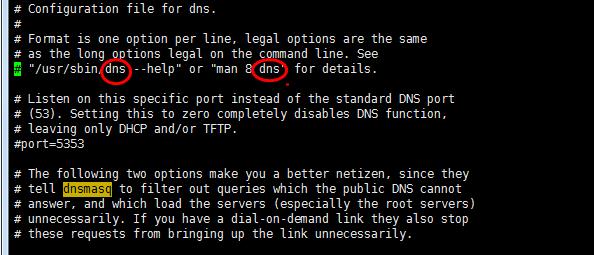
# Configuration file for dnsmasq.
#
# Format is one option per line, legal options are the same
# as the long options legal on the command line. See
# "/usr/sbin/dnsmasq --help" or "man 8 dnsmasq" for details.
# Listen on this specific port instead of the standard DNS port
# (53). Setting this to zero completely disables DNS function,
# leaving only DHCP and/or TFTP.
#port=5353
# The following two options make you a better netizen, since they
# tell dnsmasq to filter out queries which the public DNS cannot
# answer, and which load the servers (especially the root servers)
# unnecessarily. If you have a dial-on-demand link they also stop
# these requests from bringing up the link unnecessarily.
# Never forward plain names (without a dot or domain part)
#domain-needed
# Never forward addresses in the non-routed address spaces.
#bogus-priv
# Uncomment these to enable DNSSEC validation and caching:
# (Requires dnsmasq to be built with DNSSEC option.)
#conf-file=%%PREFIX%%/share/dnsmasq/trust-anchors.conf
#dnssec
# Replies which are not DNSSEC signed may be legitimate, because the domain
# is unsigned, or may be forgeries. Setting this option tells dnsmasq to
# check that an unsigned reply is OK, by finding a secure proof that a DS
# record somewhere between the root and the domain does not exist.
# The cost of setting this is that even queries in unsigned domains will need
# one or more extra DNS queries to verify.
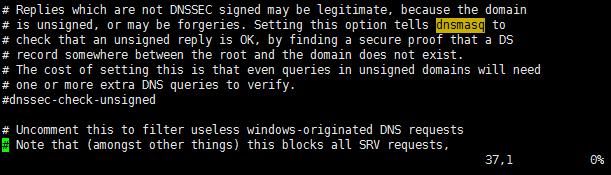
#dnssec-check-unsigned
# Uncomment this to filter useless windows-originated DNS requests
分别向下、向右、向左、向右移动6个字符(6j 6l 6h 6l)
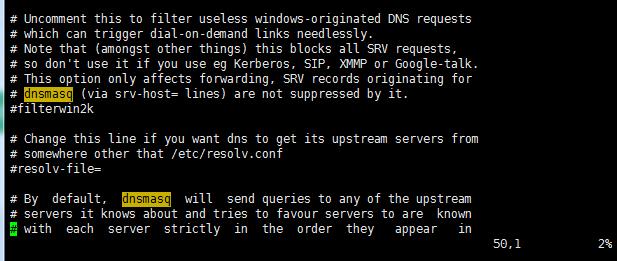
搜索文件中出现的dnsmasq字符串,并数一下该字符串出现的次数(输入/dnsmsq,然后按n)。
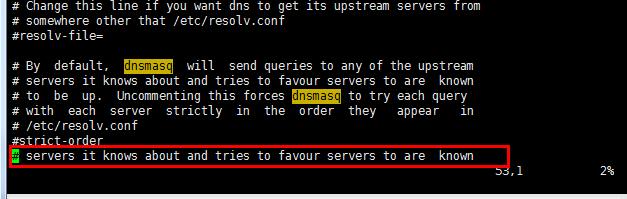
把从第1行到第10行出现的dnsmasq字符串替换成dns(:1,10s/dnsmasq/dns/g)
还原上一步操作(u)
把光标移动到第25行,删除字符串1y(输入25G后回车,然后按j向右移动光标找到ly,按v选中,然后按x)

删除第50行

删除第37行至第42行的所有内容(37G 6dd)
复制第48行的内容并将其粘贴到第52行下面(48G yy 52G p)。


 1362
1362

 被折叠的 条评论
为什么被折叠?
被折叠的 条评论
为什么被折叠?
 到【灌水乐园】发言


