


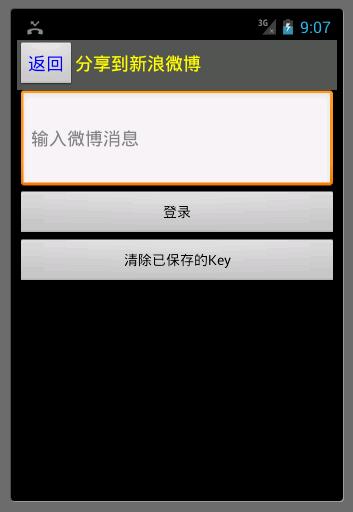
requestWindowFeature(Window.FEATURE_CUSTOM_TITLE); setContentView(R.layout.main); //软件activity的布局 getWindow().setFeatureInt(Window.FEATURE_CUSTOM_TITLE, R.layout.titlebar); //titlebar为自己标题栏的布局Layout下建立titlebar.xml:

<?xml version="1.0" encoding="utf-8"?> <LinearLayout xmlns:android="http://schemas.android.com/apk/res/android" android:layout_width="fill_parent" android:layout_height="wrap_content" android:layout_gravity="center_vertical" android:orientation="horizontal" > <Button android:id="@+id/back" android:layout_width="wrap_content" android:layout_height="wrap_content" android:text="@string/back" android:textSize="18sp" android:textColor="#FF0000FF" /> <TextView android:layout_width="wrap_content" android:layout_height="wrap_content" android:text="@string/share" android:textSize="18sp" android:textColor="#FFFFFF00" /> </LinearLayout>
这样虽然可以在一定程度上定制标题栏, 不过, 这里无法改变标题栏的高度和背景(背景设置之后会在两端有两个
非常难看的边框). 据说, 原因是android 固有的.
这里有修改方法:
原理是这样的. 直接像上述代码那样添加title仅仅是把一个子界面添加到原有的title上的, 并没有改变原来的属性,
比如 标题栏大小, 标题栏背景. 这些需要在theme 主题里面定义.
因此先定义一个style, 若修改背景请修改android:windowTitleBackgroundStyle
若修改标题栏高度,请修改android:windowTitleSize
例子: <?xml version="1.0" encoding="utf-8"?> <resources xmlns:android="http://schemas.android.com/apk/res/android"> <style name="CustomWindowTitleBackground"> <item name="android:background">#565656</item> </style> <style name="test" parent="android:Theme"> <item name="android:windowTitleSize">50dp</item> <item name="android:windowTitleBackgroundStyle">@style/CustomWindowTitleBackground</item> </style> </resources>
在程序的android manifest.xml中对应:
activity中添加属性 android:theme = "@style/test" 就可以了
<?xml version="1.0" encoding="utf-8"?> <manifest xmlns:android="http://schemas.android.com/apk/res/android" package="com.guardian" android:versionCode="1" android:versionName="1.0"> <application android:icon="@drawable/icon" android:label="@string/app_name" > <activity android:name=".Guardian" android:label="@string/app_name" android:theme = "@style/test" //就在这里 > <intent-filter> <action android:name="android.intent.action.MAIN" /> <category android:name="android.intent.category.LAUNCHER" /> </intent-filter> </activity> </application> <uses-sdk android:minSdkVersion="4" /> </manifest>
之后借助于设置自定义的标题栏xml文件,就可以自定义标题栏布局了


 1220
1220


 被折叠的 条评论
为什么被折叠?
被折叠的 条评论
为什么被折叠?
 到【灌水乐园】发言


