


官方其实是有资料的,不过在这里还是写的浅显点。
官方地址https://docs.djangoproject.com/en/dev/topics/auth/customizing/
在实际开发过程中,django提供的user字段肯定是不够用的,比如用户积分啊,描述啊,头像呀。。。这时候就需要扩展auth.User模型。
扩展User有2种方式。1种是建1个新的模型,然后User做为外键导入。
以下用pycharm来演示
建立工程
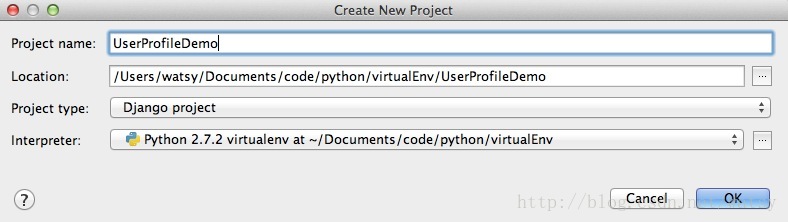
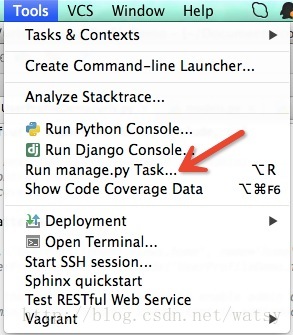
建立好以后进入命令行模式
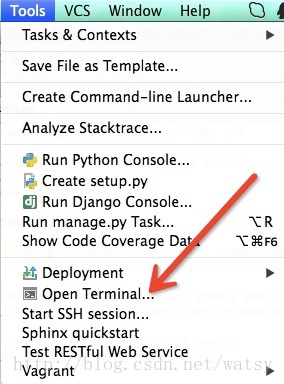
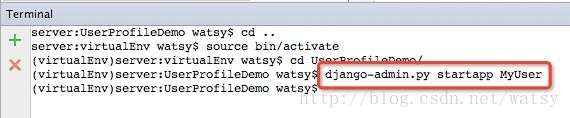
执行命令(因为我用的是virtualenv虚拟环境,因此有前面的一段进入虚拟环境的过程,否则直接执行红框内的命令就ok)
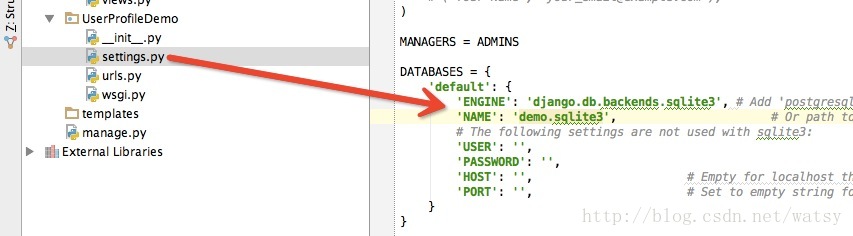
设置数据库
接下来演示第一种模式
扩展User
配置好以后,设置模型

代码:
[python] view plaincopy
#coding: utf-8
from django.db import models
from django.contrib.auth.models import User
from django.db.models.signals import post_save
class UserProfile(models.Model):
user = models.OneToOneField(User)
description = models.TextField(max_length=51200)
scope = models.IntegerField(default=100)
def create_user_profile(sender, instance, created, **kwargs):
if created:
profile, created = UserProfile.objects.get_or_create(user=instance)
post_save.connect(create_user_profile, sender=User)
修改view代码为
代码:
[python] view plaincopy
#coding: utf-8
from django.http import HttpRequest, HttpResponse
from django.contrib.auth.models import User
from .models import UserProfile
def userDemo(request):
desc = User.objects.all()[0].get_profile().description
return HttpResponse(desc)
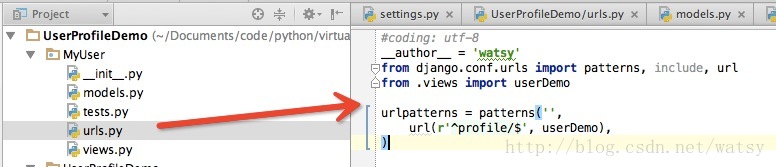
新建urls文件,并填充代码
代码:
[python] view plaincopy
#coding: utf-8
__author__ = 'watsy'
from django.conf.urls import patterns, include, url
from .views import userDemo
urlpatterns = patterns('',
url(r'^profile/$', userDemo),
)
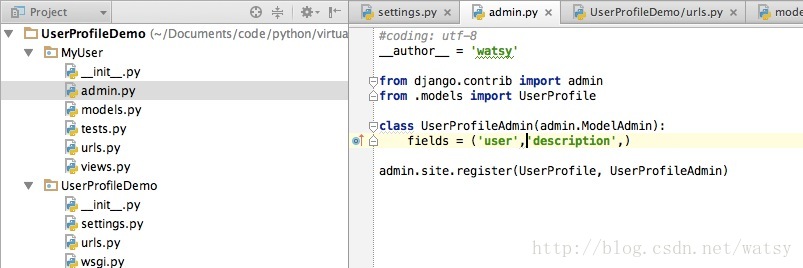
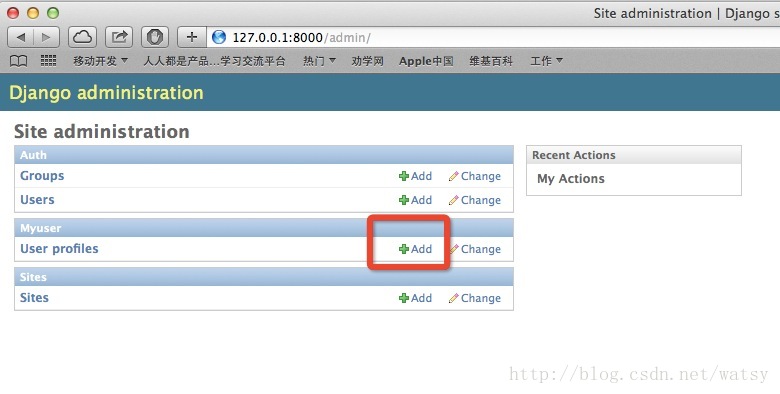
添加admin.py文件,并添加代码
代码:
[python] view plaincopy
#coding: utf-8
__author__ = 'watsy'
from django.contrib import admin
from .models import UserProfile
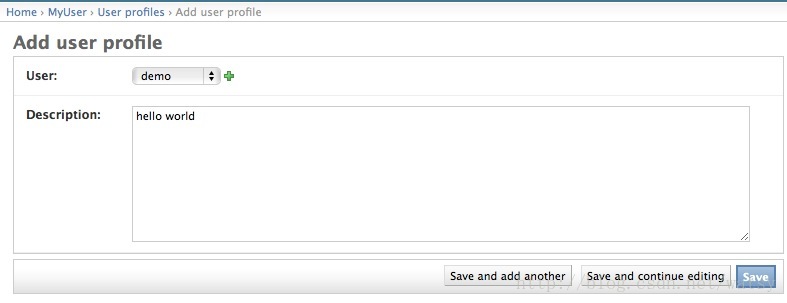
class UserProfileAdmin(admin.ModelAdmin):
fields = ('user','description',)
admin.site.register(UserProfile, UserProfileAdmin)
接下来修改入口url代码:

插入代码:
[python] view plaincopy
url('^user/', include('MyUser.urls')),
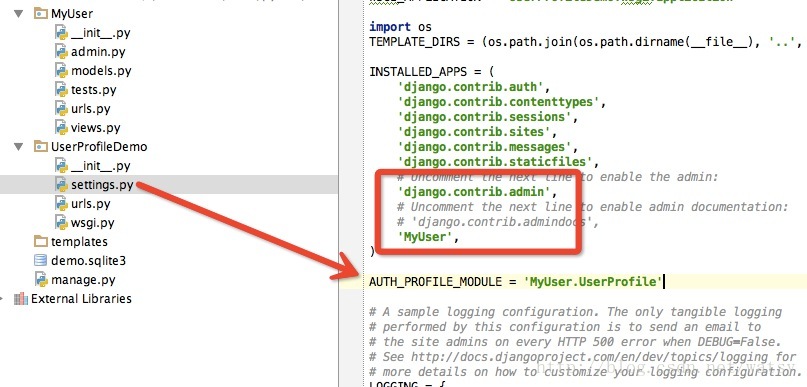
接下来修改配置文件。
接下来执行模型导入数据库

输入admin的帐号密码

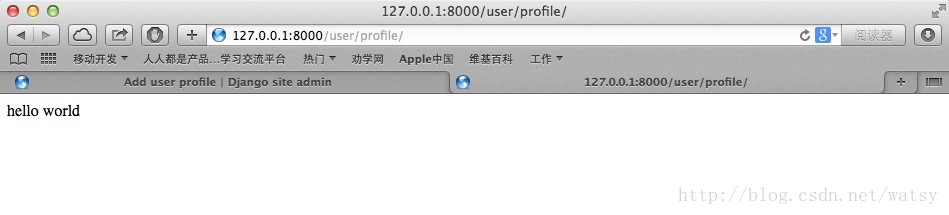
接下来在浏览器中输入
输入帐号密码 demo admin
浏览器中输入
http://127.0.0.1:8000/user/profile/
第二种方案
修改替代User
http://www.roguelynn.com/words/django-custom-user-models/
官方文档地址https://docs.djangoproject.com/en/dev/topics/auth/customizing/#substituting-a-custom-user-model
虽然是全英文的,不过代码写的很清晰,这里就不写拉。偷懒一下。有兴趣的留言,下次在详细写。
第三种方案
从User派生
这种方案是测试过使用效果不错的。
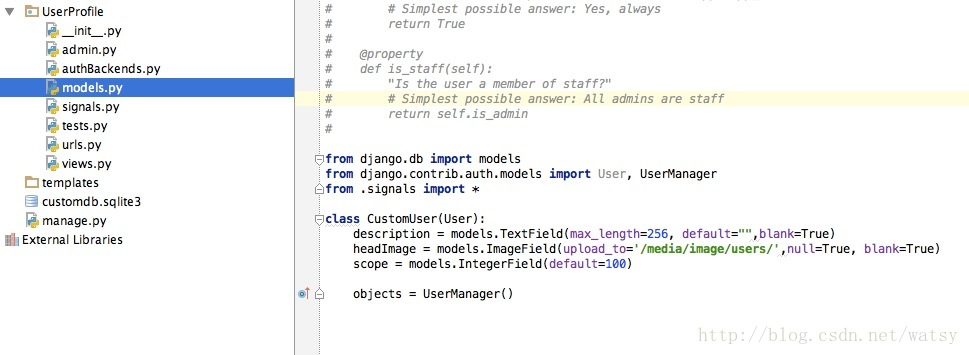
首先来设定模型类。
代码:
[python] view plaincopy
from django.db import models
from django.contrib.auth.models import User, UserManager
from .signals import *
class CustomUser(User):
description = models.TextField(max_length=256, default="",blank=True)
headImage = models.ImageField(upload_to='/media/p_w_picpath/users/',null=True, blank=True)
scope = models.IntegerField(default=100)
objects = UserManager()
接下来利用信号方法,当用户创建User时候,填充CustomUser模型实例。
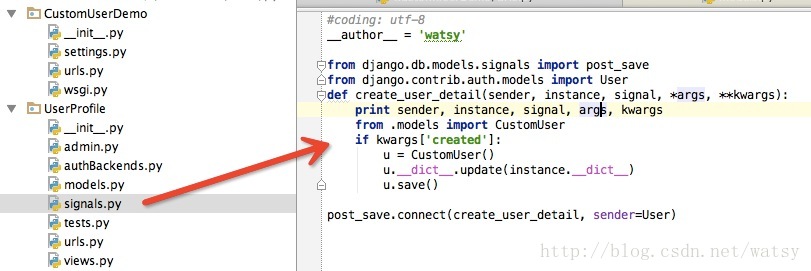
代码:
[python] view plaincopy
from django.db.models.signals import post_save
from django.contrib.auth.models import User
def create_user_detail(sender, instance, signal, *args, **kwargs):
print sender, instance, signal, args, kwargs
from .models import CustomUser
if kwargs['created']:
u = CustomUser()
u.__dict__.update(instance.__dict__)
u.save()
post_save.connect(create_user_detail, sender=User)
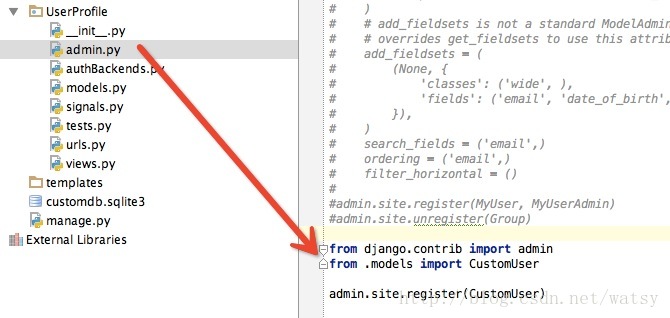
接下来注册到admin中
修改settings.py中配置。
添加
[python] view plaincopy
CUSTOM_USER_MODEL = 'UserProfile.CustomUser'
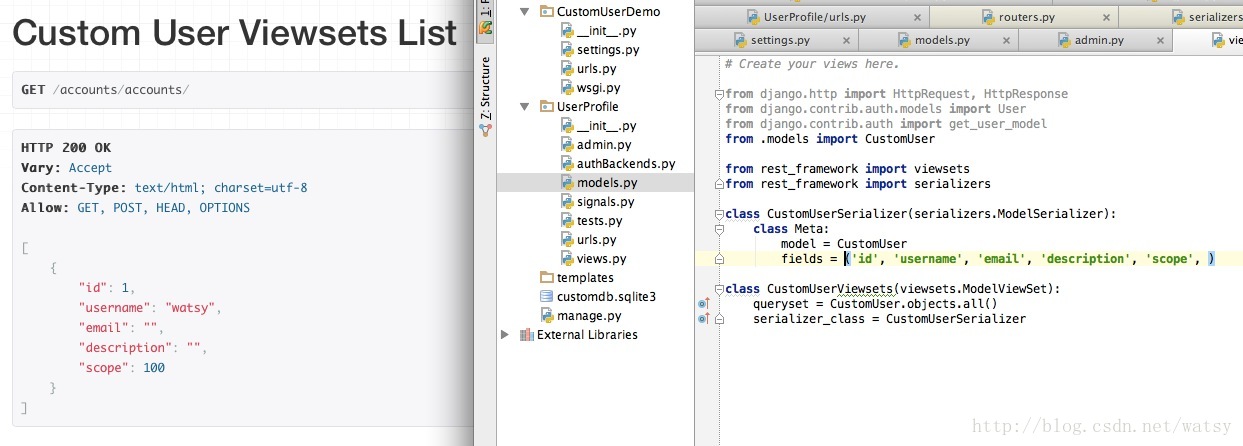
通过restframework来测试一下。
转载于:https://blog.51cto.com/1161192890/1544994


 2万+
2万+


 被折叠的 条评论
为什么被折叠?
被折叠的 条评论
为什么被折叠?
 到【灌水乐园】发言


