安装及设置xrdp
touch ~/installXrdp.sh
cat > ~/installXrdp.sh <<EOF

#!/bin/bash

echo "root:root123"|chpasswd
sed -i "s,PermitRootLogin.*,PermitRootLogin yes,g" /etc/ssh/sshd_config
service ssh restart
cp /etc/apt/sources.list /etc/apt/sources.list_ori
sed -i "s,us.archive.ubuntu.com,cn.archive.ubuntu.com,g" /etc/apt/sources.list
apt-get update
apt-get -y upgrade
apt-get install -y xrdp vnc4server xubuntu-desktop
apt-get clean
echo "xfce4-session" >~/.xsession
service xrdp restart
EOF

chmod +x ~/installXrdp.sh
~/installXrdp.sh
在/etc/xrdp/xrdp.ini追加以下内容,使得断开连接后再次重连时还能进入之前的桌面环境
参考地址 http://c-nergy.be/blog/?p=4471
[xrdp8]
name=Reconnect
lib=libvnc.so
username=ask
password=ask
ip=127.0.0.1
port=5910
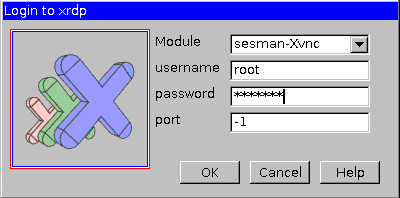
首次连接是选择sesman-Xvnc
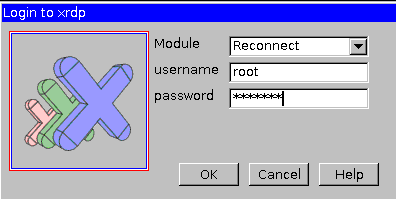
后续连接时选择Reconnet即可访问之前的界面
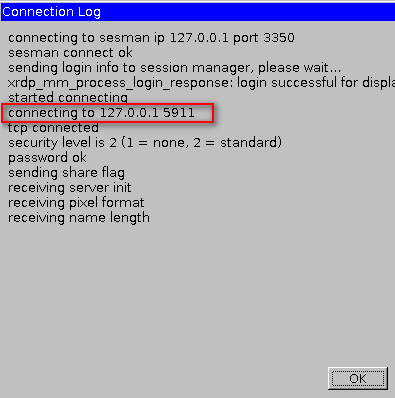
也可以在首次登陆时记录一下端口号(无需修改/etc/xrdp/xrdp.ini文件)
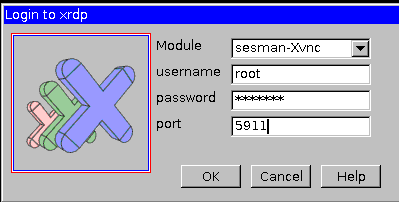
后续访问是仍然选择 sesman-Xvnc,但端口号填写之前记录的那个端口
其他:
安装必要组件
apt-get install -y vim openssh-server
apt-get install language-pack-zh-hans  #最好在界面中操作,系统设置-语言支持
apt-get clean
安装谷歌输入法
apt-get install -y fcitx-googlepinyin
apt-get clean
安装subline
转载于:https://blog.51cto.com/xdwqs/1789274


 4746
4746


 被折叠的 条评论
为什么被折叠?


