


1,下载对应jar包,并拷贝到sorl服务器的lib目录底下
2,添加配置文件(在Solr的安装部署及简单使用已经有过介绍)
<fieldtype name="textComplex" class="solr.TextField" positionIncrementGap="100">
		<analyzer>
			<tokenizer class="com.chenlb.mmseg4j.solr.MMSegTokenizerFactory" mode="complex" dicPath="d:\solr\my_dic"/>
		</analyzer>
	</fieldtype>

	<fieldtype name="textMaxWord" class="solr.TextField" positionIncrementGap="100">
		<analyzer>
			<tokenizer class="com.chenlb.mmseg4j.solr.MMSegTokenizerFactory" mode="max-word" />
		</analyzer>
	</fieldtype>

	<fieldtype name="textSimple" class="solr.TextField" positionIncrementGap="100">
		<analyzer>
			<tokenizer class="com.chenlb.mmseg4j.solr.MMSegTokenizerFactory" mode="simple" dicPath="dic" />
		</analyzer>
	</fieldtype>
其中 dicPath="d:\solr\my_dic" 是我们指定的词库路径,词库文件都在这个文件夹底下,并且名字要以words开头,以dic做后缀,例如 words_my.dic。作为演示,在词库里添加
爱他美
高富帅值得强调的是:这个词典文件必须是utf-8格式的,否则无法识别。
3,重启solr服务,进入管理界面
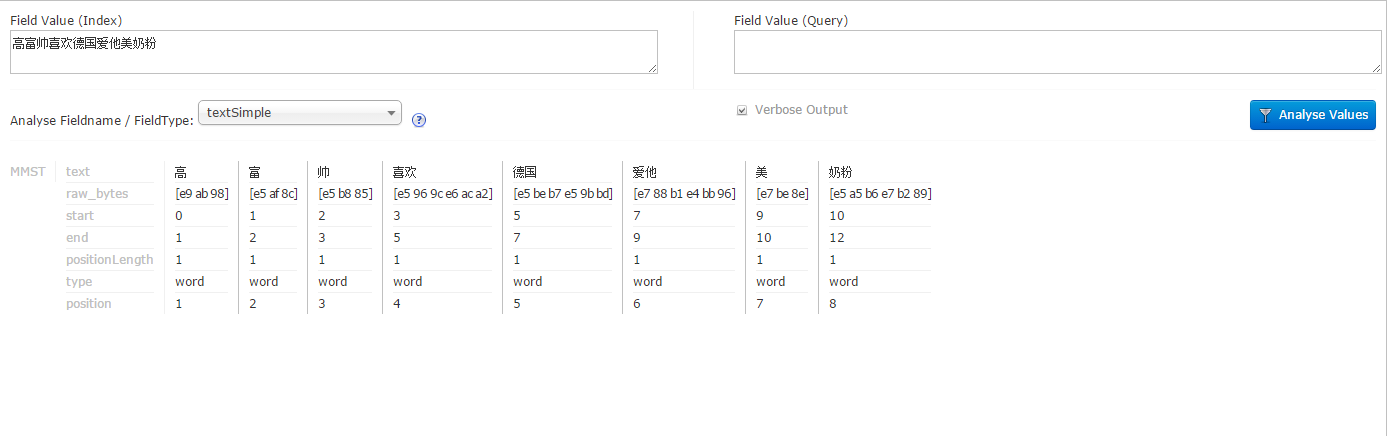
先试一下没有添加自定义词库的效果,输入文字:高富帅喜欢德国爱他美奶粉(使用textSimple)
再试一下添加了自定义词库的效果,还是上面的文字
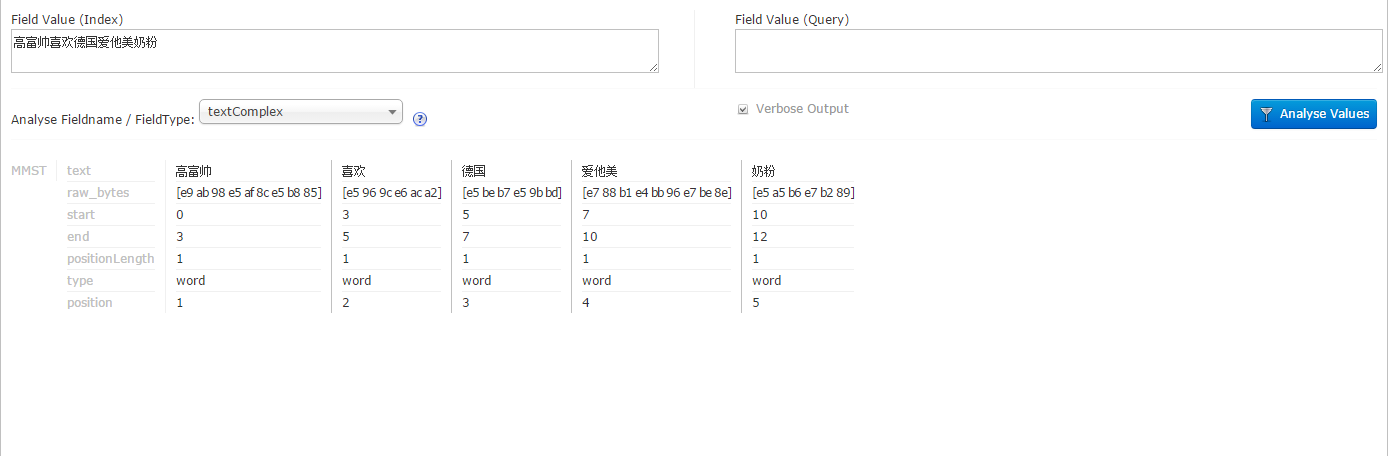
明显添加了自定义词库的显示效果要比没添加好很多


 785
785

 被折叠的 条评论
为什么被折叠?
被折叠的 条评论
为什么被折叠?
 到【灌水乐园】发言


