


此教程来自于子山龙人的cocos2d版本 http://www.cnblogs.com/zilongshanren/archive/2011/05/15/2045784.html
子山龙人的教程是属于cocos2d版本的 现在边学学做成cocos2d-x3.0版本
本例子的git地址:http://git.oschina.net/gejw0623/cocos2d-x3.0_Sample.git
本教程的资源文件:http://pan.baidu.com/s/1qW2PWXu
接下来 我们创建一个类 用于本教程的开发 我在这创建了一个 PlayTheMouse 类 继承了 Layer
一、添加背景层
我们的背景层图片为 『bg_dirt.png』
将背景层添加代码加到init()初始化方法中
        //添加背景
        auto background = Sprite::create("bg_dirt.png");
        //由于子山的博客里面用的素材不是针对800x480的  所以我们要计算一个缩放比
        float scale = background->getContentSize().width * 2 / winSize.width;
        //同理  由于有一个缩放比  所以我们在接下来使用地鼠高宽时  需要计算缩放之后才会获取正确值
        moleScale = winSize.width / (background->getContentSize().width * 2.0f);
        background->setScale(scale);
        background->setPosition(Point(winSize.width / 2, winSize.height / 2));
        //-2是z轴  在2d游戏中 z轴用于显示层级 z越大 就越在上层
        this->addChild(background, -2);
我们运行下代码 看下效果

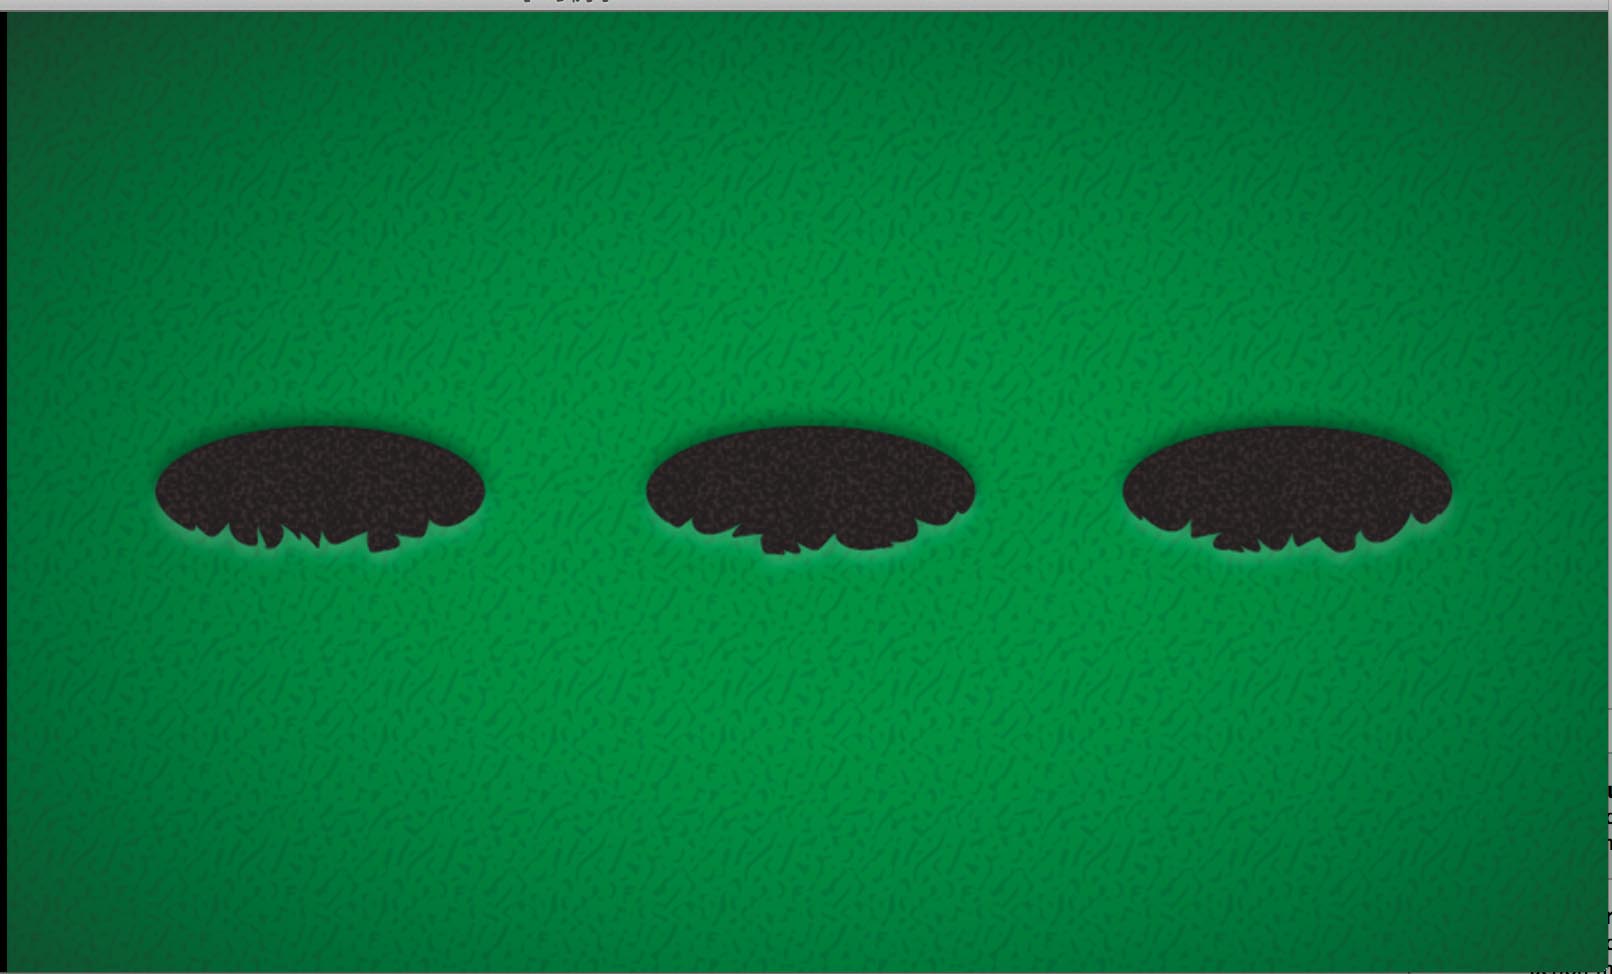
二、添加草坪
我们将草坪分为两块 一块上部分 一块下部分
代码添加在背景层代码下方
        SpriteFrameCache::getInstance()->addSpriteFramesWithFile("playthemouse.plist");

        //下半部分的草坪
        auto lower = Sprite::createWithSpriteFrameName("grass_lower.png");
        lower->setAnchorPoint(Point(0.5, 1));
        lower->setPosition(Point(winSize.width / 2, winSize.height / 2 + 1));
        this->addChild(lower, 1);

        //上半部分的草坪
        auto upper = Sprite::createWithSpriteFrameName("grass_upper.png");
        upper->setAnchorPoint(Point(0.5, 0));
        upper->setPosition(Point(winSize.width / 2, winSize.height / 2));
        this->addChild(upper, -1);
为了模拟出地鼠钻出钻入洞的效果 我们将上部分z值设为1 下部分设为-1 地鼠设为0
运行代码 我们可以看到草坪出现了
三、添加三只可爱的小地鼠
我们先在头文件中添加一个Vector对象 用于保存三只地鼠对象 方便接下来的代码中进行循环处理
Vector<Sprite*> moles;接下来 我们在init方法中使用一个for循环来添加三只小地鼠
        //接下来添加三个小地鼠 并且初始化坐标
        for (int i = 0 ; i < 3; i++) {
            auto mole = Sprite::createWithSpriteFrameName("mole_1.png");
            mole->setScale(moleScale);
            mole->setPosition(Point(155 + 245 * i, winSize.height / 2 - mole->getContentSize().height / 2 * moleScale - 30));
            this->addChild(mole, 0);
            moles.pushBack(mole);
        }
运行代码 我们看下效果
~~~~~~哎呀 地鼠没出现 等等 我们将地鼠的z值改为2 在草坪上方
this->addChild(mole, 1);接下来 我们再运行下代码 看看 地鼠出现了

但是 如果地鼠在洞下面的时候 我们不该让他显示的 所以 我们将z值改回来 改成0
接下来我们要让地鼠动起来了
四、让地鼠动起来
我们需要执行一个方法 让他每0.5s进行地鼠检测 并且有1/3的机率让地鼠钻出地面
首先 我们创建一个方法 此方法每0.5s执行一次
     //此方法每0.5s执行一次  用于判断每一个地鼠 让它有机会钻出洞来
    void updateMole(float dt);
接下来 我们在init中使用schedule 控制0.5s执行一次
         //每隔0.5s执行一次updateMole
        this->schedule(schedule_selector(PlayTheMouse::updateMole), 0.5f);
现在 我们可以在updateMole中写关于检测地鼠的代码
void PlayTheMouse::updateMole(float dt){
    //循环遍历地鼠
    for(auto mole : moles){
        //计算1/3的机率可以让地鼠钻出
        if(arc4random() % 3 == 0){
            //当地鼠没有动作执行时  我们让他执行动作
            if(mole->getNumberOfRunningActions() == 0){
                this->popMole(mole);
            }
        }
    }
}
代码中注释写的很清楚 我就不解释了
上面的代码中有一个popMole方法 这个方法可以让地鼠执行一连串动作
void PlayTheMouse::popMole(Sprite *mole){
    //在此方法中 执行了一串动作,从地鼠钻出地面  然后再钻入地面
    //第一个动作 地鼠上移
    auto moveup = MoveBy::create(0.2f, Point(0, mole->getContentSize().height * moleScale));
    //第二个动作 用于延迟0.5s
    auto delay = DelayTime::create(0.5f);
    //第三个动作 钻入地面 (reverse:返回一个反向动作,即从地面钻入洞中)
    auto movedown = moveup->reverse();
    //接下来执行动作 (Sequence:按序列执行动作,这会让节点连续执行几个动作)
    mole->runAction(Sequence::create(moveup,delay,movedown, nullptr));

}
好了 我们运行代码 可以看到 三个地鼠在不停的钻出 钻入

不过 我们现在也不能打它们 我们怎么打他们 下一章讲
五、本章完整代码
//
//  PlayTheMouse.h
//  study
//
//  Created by Robin on 14-5-3.
//
//

#ifndef __study__PlayTheMouse__
#define __study__PlayTheMouse__

#include <iostream>
#include "cocos2d.h"

USING_NS_CC;

class PlayTheMouse : public Layer{
public:
    static Scene* createScene();
    virtual bool init();
    CREATE_FUNC(PlayTheMouse);
private:
    Size winSize;
    //由于我们的素材不是按照800x480来的  所以需要计算一个缩放值
    float moleScale;
    //用于保存地鼠的数组
    Vector<Sprite*> moles;
    //此方法每0.5s执行一次  用于判断每一个地鼠 让它有机会钻出洞来
    void updateMole(float dt);
    //弹出地鼠
    void popMole(Sprite* mole);

};

#endif /* defined(__study__PlayTheMouse__) */
//
//  PlayTheMouse.cpp
//  study
//
//  Created by Robin on 14-5-3.
//
//

#include "PlayTheMouse.h"

Scene* PlayTheMouse::createScene(){
    auto scene = Scene::create();
    auto layer = PlayTheMouse::create();
    scene->addChild(layer);
    return scene;
}

bool PlayTheMouse::init(){
    bool bRet = false;
    do {
        winSize = Director::getInstance()->getWinSize();

        SpriteFrameCache::getInstance()->addSpriteFramesWithFile("playthemouse.plist");

        //添加背景
        auto background = Sprite::create("bg_dirt.png");
        float scale = background->getContentSize().width * 2 / winSize.width;
        moleScale = winSize.width / (background->getContentSize().width * 2.0f);
        background->setScale(scale);
        background->setPosition(Point(winSize.width / 2, winSize.height / 2));
        this->addChild(background, -2);

        //下半部分的草坪
        auto lower = Sprite::createWithSpriteFrameName("grass_lower.png");
        lower->setAnchorPoint(Point(0.5, 1));
        lower->setPosition(Point(winSize.width / 2, winSize.height / 2 + 1));
        this->addChild(lower, 1);

        //上半部分的草坪
        auto upper = Sprite::createWithSpriteFrameName("grass_upper.png");
        upper->setAnchorPoint(Point(0.5, 0));
        upper->setPosition(Point(winSize.width / 2, winSize.height / 2));
        this->addChild(upper, -1);

        //接下来添加三个小地鼠 并且初始化坐标
        for (int i = 0 ; i < 3; i++) {
            auto mole = Sprite::createWithSpriteFrameName("mole_1.png");
            mole->setScale(moleScale);
            mole->setPosition(Point(155 + 245 * i, winSize.height / 2 - mole->getContentSize().height / 2 * moleScale - 30));
            this->addChild(mole, 0);
            moles.pushBack(mole);
        }

        //每隔0.5s执行一次updateMole
        this->schedule(schedule_selector(PlayTheMouse::updateMole), 0.5f);

        bRet = true;
    } while (0);
    return bRet;
}

void PlayTheMouse::updateMole(float dt){
    //循环遍历地鼠
    for(auto mole : moles){
        //计算1/3的机率可以让地鼠钻出
        if(arc4random() % 3 == 0){
            //当地鼠没有动作执行时  我们让他执行动作
            if(mole->getNumberOfRunningActions() == 0){
                this->popMole(mole);
            }
        }
    }
}

void PlayTheMouse::popMole(Sprite *mole){
    //在此方法中 执行了一串动作,从地鼠钻出地面  然后再钻入地面
    //第一个动作 地鼠上移
    auto moveup = MoveBy::create(0.2f, Point(0, mole->getContentSize().height * moleScale));
    //第二个动作 用于延迟0.5s
    auto delay = DelayTime::create(0.5f);
    //第三个动作 钻入地面 (reverse:返回一个反向动作,即从地面钻入洞中)
    auto movedown = moveup->reverse();
    //接下来执行动作 (Sequence:按序列执行动作,这会让节点连续执行几个动作)
    mole->runAction(Sequence::create(moveup,delay,movedown, nullptr));

}

Animate* PlayTheMouse::createAnimate(){
    auto animation = Animation::create();
    animation->addSpriteFrame(SpriteFrameCache::getInstance()->getSpriteFrameByName("mole_laugh1.png"));
    animation->addSpriteFrame(SpriteFrameCache::getInstance()->getSpriteFrameByName("mole_laugh2.png"));
    animation->addSpriteFrame(SpriteFrameCache::getInstance()->getSpriteFrameByName("mole_laugh3.png"));
    animation->setDelayPerUnit(0.1f);
    animation->setRestoreOriginalFrame(true);
    return Animate::create(animation);
}
素材已经在开始给出


 12万+
12万+

 被折叠的 条评论
为什么被折叠?
被折叠的 条评论
为什么被折叠?
 到【灌水乐园】发言


